crwdns2915892:0crwdne2915892:0
The pads on Hover-1 Matrix are weight sensitive, so when they sense weight, the hover board starts to move automatically. Overused pads must be replaced for the Hover-1 Matrix to move when there is a rider.
crwdns2942213:0crwdne2942213:0
-
-
Remove the screws on the back of the hoverboard using a Phillips #1 screwdriver.
-
Remove the back shell from the hoverboard.
-
-
-
Remove the screws from the metal layer inside the hoverboard using a Phillips #1 screwdriver.
-
-
-
-
Separate the upper shell of the hoverboard and the metal layer inside.
-
-
-
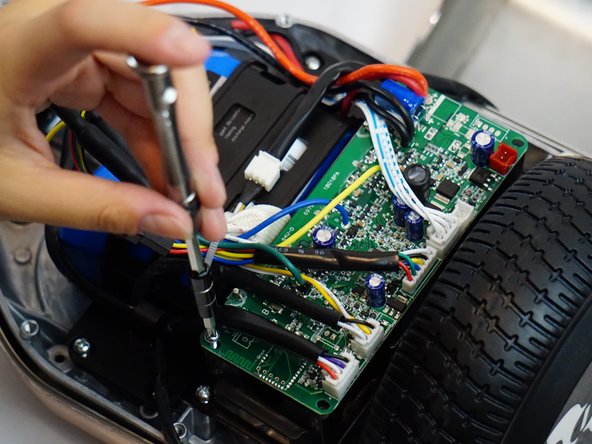
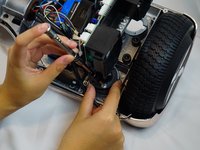
Start by identifying the motherboard, which is the green pad shown in the picture.
-
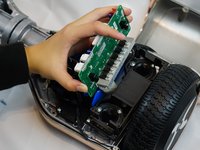
Remove the screws on the corners of the motherboard with the Phillips #1 screwdriver and take it off.
-
There are cables attached to the motherboard so go ahead and unattach them.
-
-
-
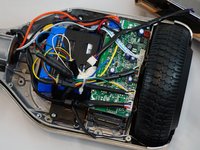
Use picture 1 as a guide and move the motherboard to the other side.
-
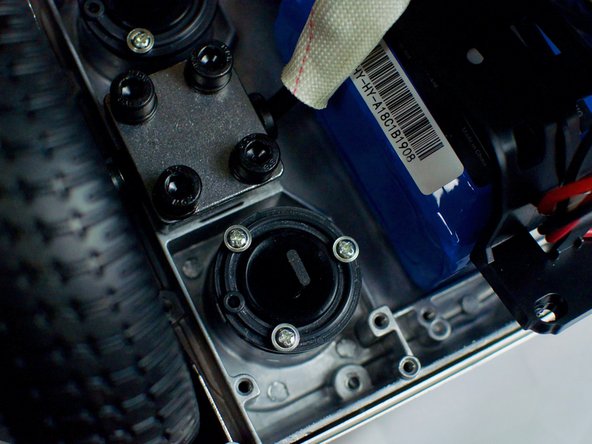
Identify the two black rubber buttons that are shown in the second picture.
-
Remove the two rubber buttons using the Phillips #1 screwdriver.
-
-
-
Removing the rubber buttons in the previous step allows you to take the pad off.
-
Finally, take off the old pad and put on a new pad.
-


To reassemble your device, follow these instructions starting with step number 6 and finishing with step number 1.
To reassemble your device, follow these instructions starting with step number 6 and finishing with step number 1.
crwdns2935221:0crwdne2935221:0
crwdns2935227:0crwdne2935227:0
crwdns2915084:0crwdne2915084:0

UC Davis, Team S7-G2, Lore Fall 2018 crwdns2935289:0UC Davis, Team S7-G2, Lore Fall 2018crwdne2935289:0
UCD-LORE-F18S7G2
crwdns2931471:03crwdne2931471:0
crwdns2935297:04crwdne2935297:0