crwdns2915892:0crwdne2915892:0
If your Hover-1 Liberty is not holding a charge and there is no problem with the charging cord, then the battery needs to be replaced. In this guide, the side of the hoverboard with the words Hover-1 printed on it will be referred to as the right side.
crwdns2942213:0crwdne2942213:0
-
-
Flip the hoverboard over so the labels are facing upwards.
-
Remove the twenty 18mm screws using a Phillips #2 screwdriver and twisting counterclockwise.
-
-
-
Remove the bottom cover by lifting it away from the hoverboard.
-
-
-
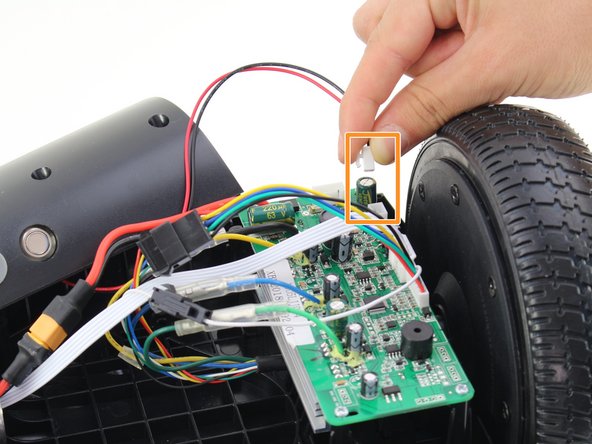
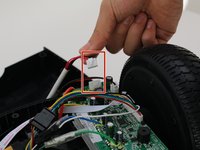
Remove one connector from the non-battery side circuit board.
-
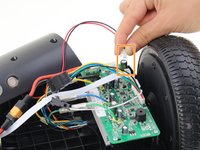
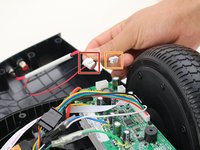
Remove the next connector from the non-battery side circuit board.
-
-
-
-
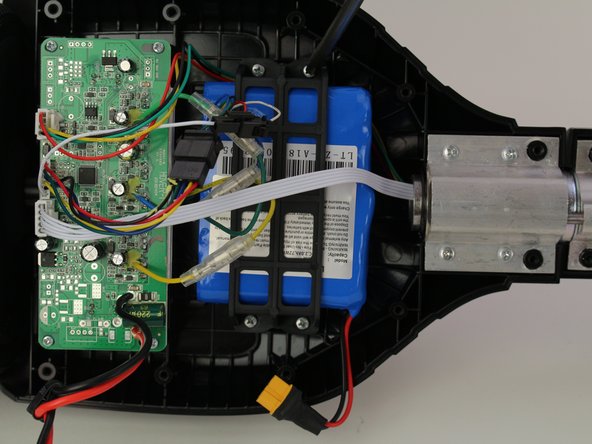
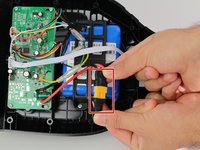
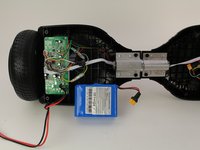
Disconnect the large red and black wire from the battery by pulling apart the connector.
-
-
-
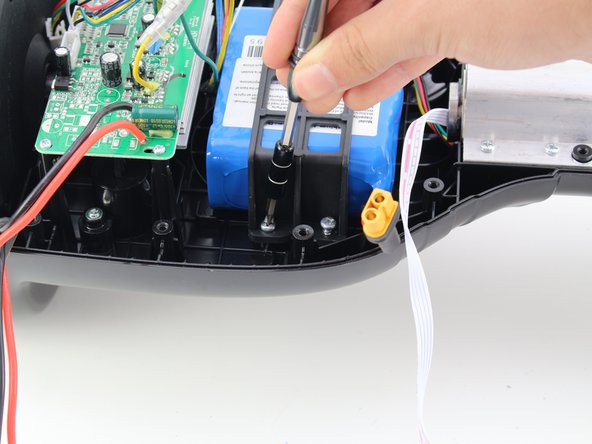
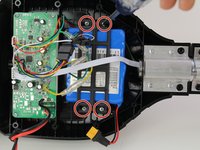
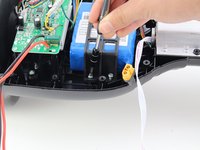
Remove the four 15mm Phillips #1 screws from the bracket holding the battery in place.
-
-
-
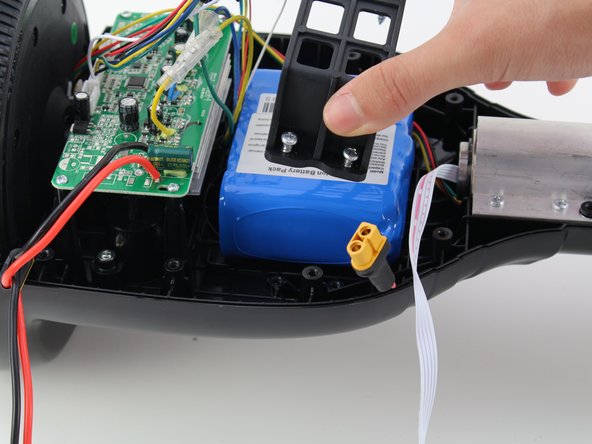
Remove the bracket by pulling it upwards, away from the hoverboard.
-
-
-
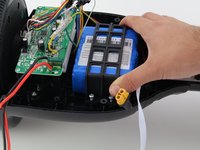
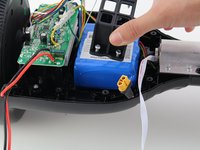
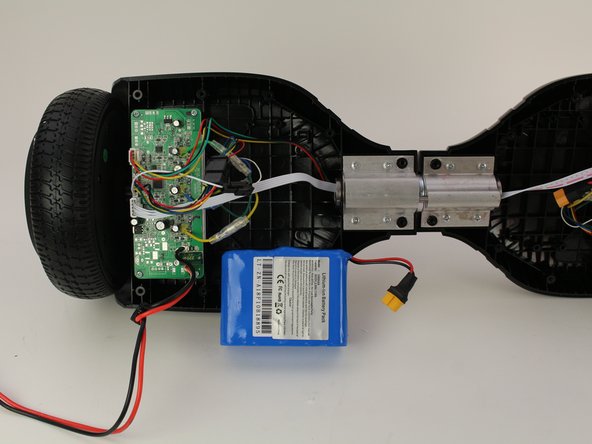
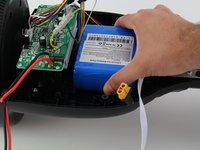
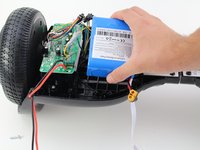
Remove the battery by grasping the battery and hoverboard firmly and pulling apart.
-
To reassemble your device, follow these instructions in reverse order.
To reassemble your device, follow these instructions in reverse order.
crwdns2935221:0crwdne2935221:0
crwdns2935227:0crwdne2935227:0


