crwdns2933423:0crwdne2933423:0

Hover-1 Horizon Power Button Replacement

crwdns2942213:0crwdne2942213:0

  1. Hover-1 Horizon Power Button Replacement, Base Plate: crwdns2935265:01crwdnd2935265:01crwdnd2935265:02crwdne2935265:0 Hover-1 Horizon Power Button Replacement, Base Plate: crwdns2935265:01crwdnd2935265:02crwdnd2935265:02crwdne2935265:0
    • Remove the six 12mm Phillips #2 screws holding the base plate.

  2. Hover-1 Horizon Power Button Replacement: crwdns2935265:02crwdnd2935265:01crwdnd2935265:02crwdne2935265:0 Hover-1 Horizon Power Button Replacement: crwdns2935265:02crwdnd2935265:02crwdnd2935265:02crwdne2935265:0
    • Remove the two 11mm Phillips #1 screws that hold the base plate to the body.

  3. Hover-1 Horizon Power Button Replacement: crwdns2935265:03crwdnd2935265:01crwdnd2935265:03crwdne2935265:0 Hover-1 Horizon Power Button Replacement: crwdns2935265:03crwdnd2935265:02crwdnd2935265:03crwdne2935265:0 Hover-1 Horizon Power Button Replacement: crwdns2935265:03crwdnd2935265:03crwdnd2935265:03crwdne2935265:0
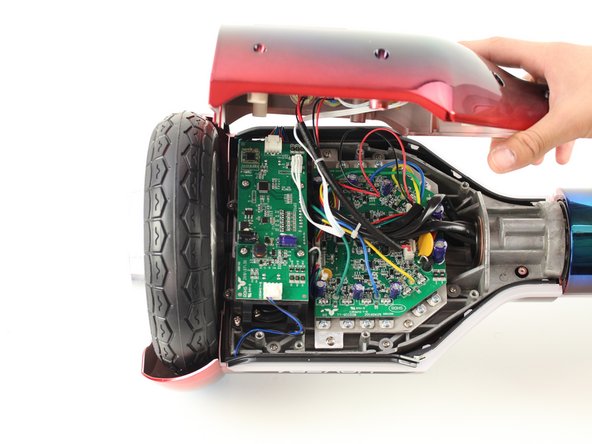
    • Remove the base plate by lifting it up.

    • The base plate is connected to the body with wires. The wires are long enough to set the base plate to the side.

  4. Hover-1 Horizon Power Button Replacement, Power Button: crwdns2935265:04crwdnd2935265:01crwdnd2935265:01crwdne2935265:0
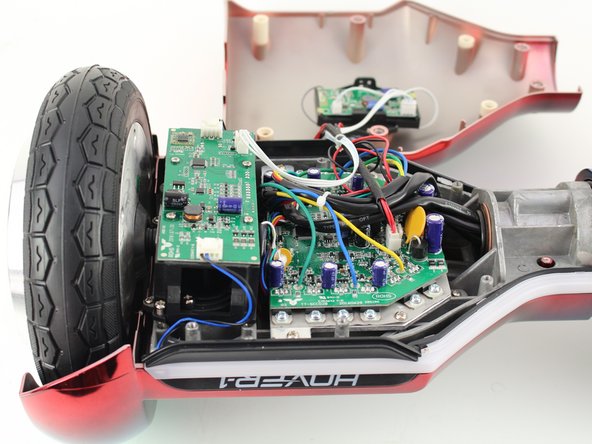
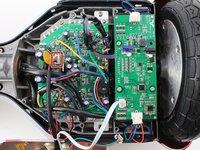
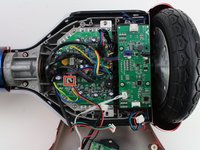
    • Reorient the Hover-1 Horizon so the base plate opens towards you.

  5. Hover-1 Horizon Power Button Replacement: crwdns2935265:05crwdnd2935265:01crwdnd2935265:03crwdne2935265:0 Hover-1 Horizon Power Button Replacement: crwdns2935265:05crwdnd2935265:02crwdnd2935265:03crwdne2935265:0 Hover-1 Horizon Power Button Replacement: crwdns2935265:05crwdnd2935265:03crwdnd2935265:03crwdne2935265:0
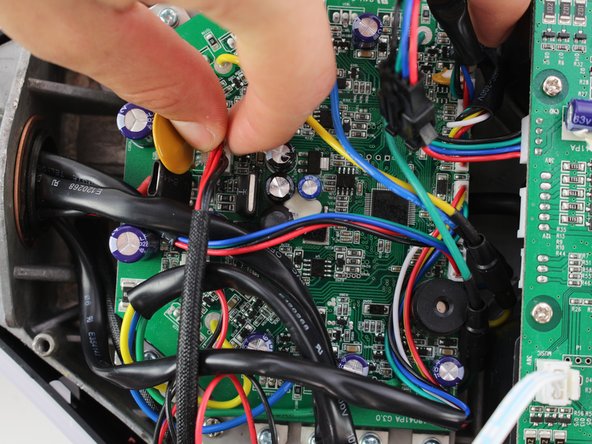
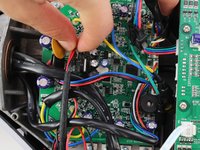
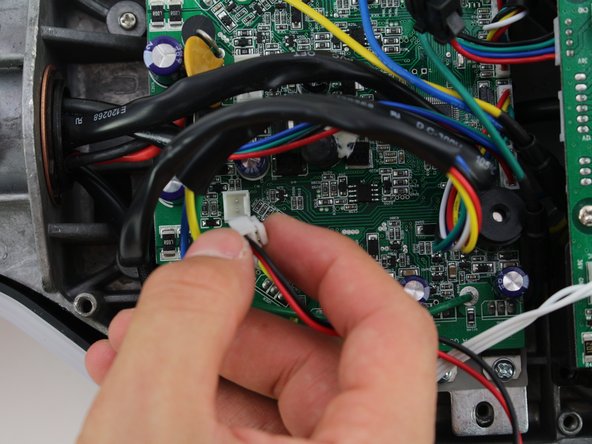
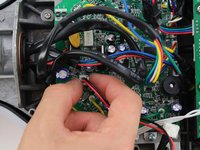
    • Remove the connector by squeezing the tab and lifting up.

  6. Hover-1 Horizon Power Button Replacement: crwdns2935265:06crwdnd2935265:01crwdnd2935265:03crwdne2935265:0 Hover-1 Horizon Power Button Replacement: crwdns2935265:06crwdnd2935265:02crwdnd2935265:03crwdne2935265:0 Hover-1 Horizon Power Button Replacement: crwdns2935265:06crwdnd2935265:03crwdnd2935265:03crwdne2935265:0
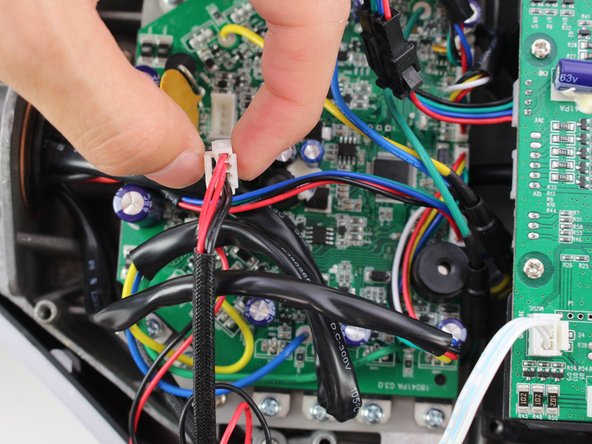
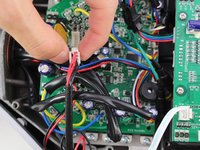
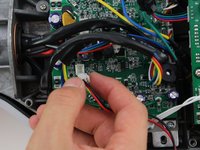
    • Remove the second connector by squeezing the tab and pulling up.

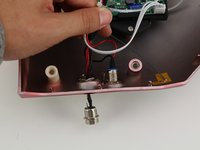
  7. Hover-1 Horizon Power Button Replacement: crwdns2935265:07crwdnd2935265:01crwdnd2935265:03crwdne2935265:0 Hover-1 Horizon Power Button Replacement: crwdns2935265:07crwdnd2935265:02crwdnd2935265:03crwdne2935265:0 Hover-1 Horizon Power Button Replacement: crwdns2935265:07crwdnd2935265:03crwdnd2935265:03crwdne2935265:0
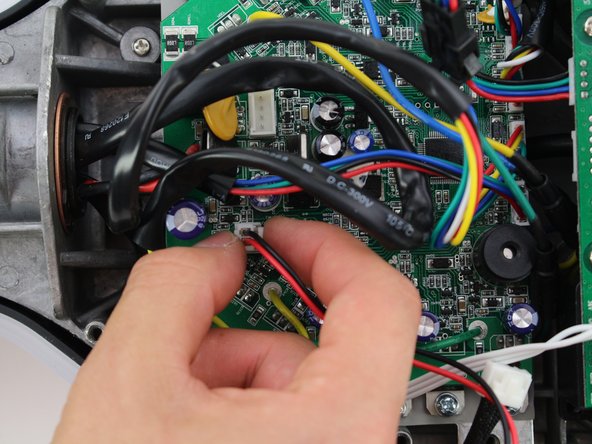
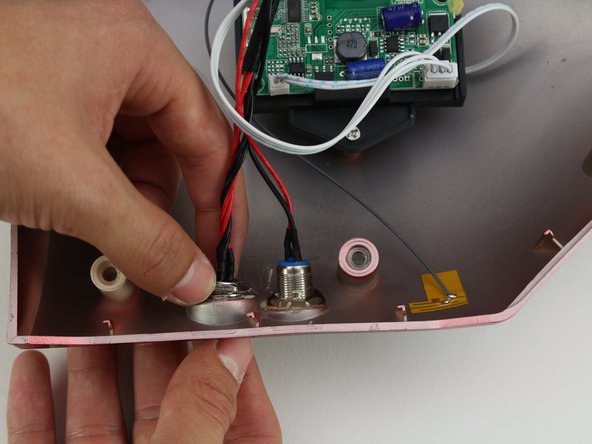
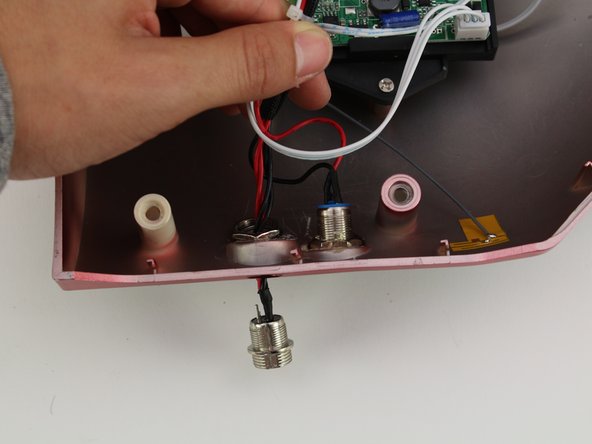
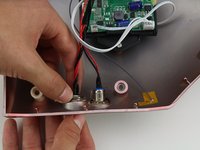
    • Unscrew the power button by holding the front and twisting the back nut counter-clockwise.

    • Push the power button through the base plate to remove.

    • A hot air gun may need to be used to remove the adhesive connecting the base plate to the power button.

crwdns2915888:0crwdne2915888:0

To reassemble your device, follow these instructions in reverse order.

Christina Fong

crwdns2935283:010/08/18crwdne2935283:0

165 crwdns2915208:0crwdne2915208:0

crwdns2935295:0crwdne2935295:0

crwdns2915084:0crwdne2915084:0

Cal Poly, Team S13-G6, White Fall 2018 crwdns2935289:0Cal Poly, Team S13-G6, White Fall 2018crwdne2935289:0

CPSU-WHITE-F18S13G6

crwdns2931471:04crwdne2931471:0

crwdns2935297:06crwdne2935297:0

crwdns2944067:00crwdne2944067:0

crwdns2917038:0crwdne2917038:0

crwdns2936625:0crwdne2936625:0:

crwdns2936751:024crwdne2936751:0 2

crwdns2936753:07crwdne2936753:0 2

crwdns2936753:030crwdne2936753:0 14

crwdns2942667:0crwdne2942667:0 454