crwdns2915892:0crwdne2915892:0
Disassembling the Hover-1 All Star allows us to examine the inner workings of the device, identify potential issues, and gain insight into the quality and design of the components. In this guide, we will carefully take apart the Hover-1 All Star step by step, offering tips on how to safely and effectively disassemble the hoverboard while maintaining its functionality for future use. Whether you're looking to repair a malfunction or simply learn more about its inner mechanics, this process will give you a deeper understanding of how this device operates.
crwdns2942213:0crwdne2942213:0
-
-
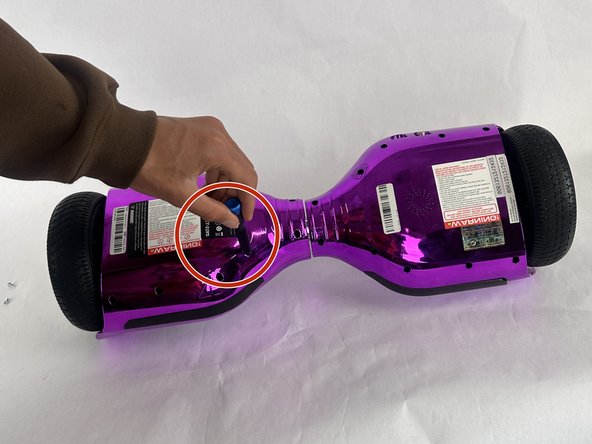
Turn the hoverboard upside down and remove the twenty Phillips #1 screws that secure the casing.
-
-
-
-
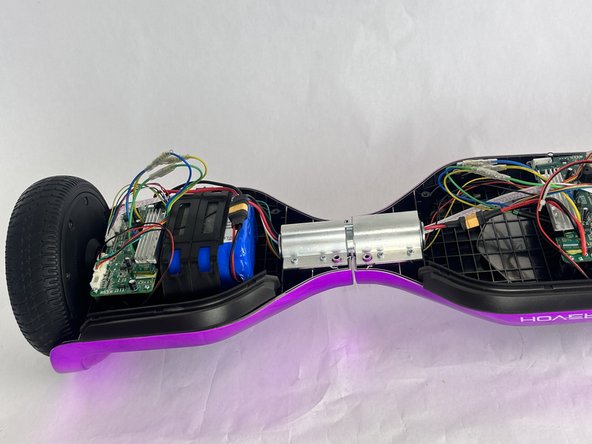
After all the screws are removed simply pull off the bottom part of the casing in two pieces (Right and Left).
-


To reassemble your device, follow the above steps in reverse order.
Repair didn’t go as planned? Try some basic troubleshooting or ask our Answers community for help.
To reassemble your device, follow the above steps in reverse order.
Repair didn’t go as planned? Try some basic troubleshooting or ask our Answers community for help.

crwdns2915084:0crwdne2915084:0

Cuesta, Team 10-2, Krynen Fall 2024 crwdns2935289:0Cuesta, Team 10-2, Krynen Fall 2024crwdne2935289:0
CUESTA-KRYNEN-F24S10G2
crwdns2931471:03crwdne2931471:0
crwdns2935297:06crwdne2935297:0