crwdns2915892:0crwdne2915892:0
This guide will aid you in replacing the shell for your Hover-1 Eclipse. The shell is what protects your hoverboard’s interior from damage and identifies it as the Eclipse. On the Hover-1 Eclipse the shell is comprised of 4 separate pieces, two on top and two on the bottom. You might want to replace your shell if it has been damaged or if you want to change your hoverboard’s look. In order to complete this guide, you must be comfortable with a screwdriver and unplugging different types of cords.
crwdns2942213:0crwdne2942213:0
-
-
-
Using a Phillips #1 Screwdriver, remove the four 11mm screws that surround the edge of the plug side bottom shell piece.
-
Using a Phillips #1 Screwdriver, remove the four 13mm screws that surround the edge of the plug side bottom shell piece.
-
Remove the plug side bottom shell piece.
-
Using a Phillips #1 Screwdriver, remove the four 11mm screws that surround the edge of the remaining bottom shell piece.
-
Using a Phillips #1 Screwdriver, remove the four 13mm screws that surround the edge of the remaining side bottom shell piece.
-
Remove final bottom shell piece
 crwdns2952109:0crwdne2952109:0
-
-
-
On the bottom plug side shell pieces, there are two white and pink wires connecting the shell and the motherboard.
-
On the circuit board by the speaker, carefully squeeze and unplug the small white headers that connect the shell piece to the hoverboard body.
-
Follow the wires that connect the lights to the motherboard. Disconnect these wires from the motherboard by squeezing and pulling the small white headers.
-
Now you can fully remove the bottom plug side shell piece.
-
-
-
-
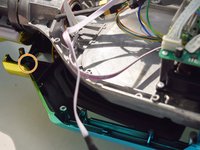
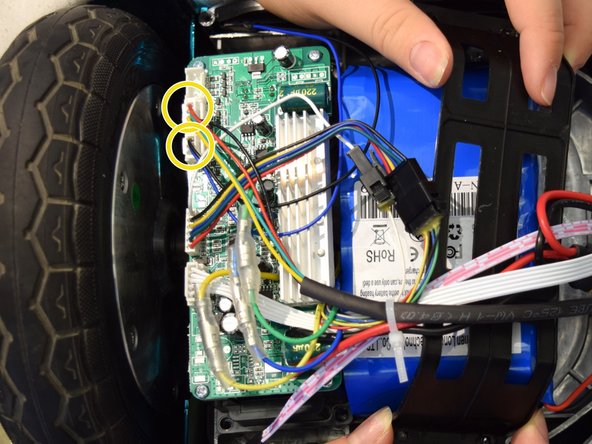
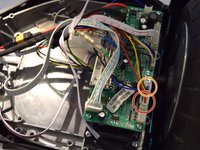
Unplug the yellow tipped plug attached to the red and black cord on the non-battery side.
-
-
-
Using a Phillips #1 Screwdriver, remove the twelve 11mm and 13mm screws that line the bottom inside of the battery side of the Hover-1 Eclipse.
-
Repeat these steps for the left inside of the Hover-1 Eclipse.
-
-
-
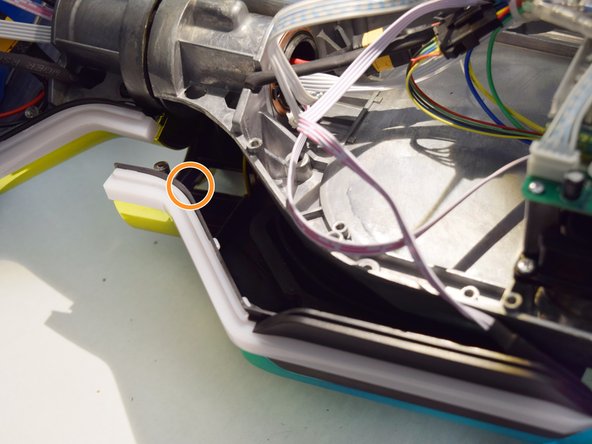
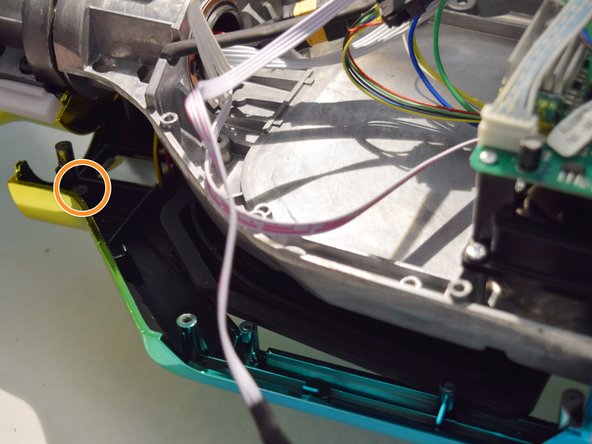
Push down the shell and LED light near the center of the board as shown.
-
In the newly exposed area, there will be an 11mm screw holding in the wire that connects to the LED light of the frame. Remove this screw.
-
Now separate the light from the shell and board.
-
Repeat this for the other 3 lights.
-
-
-
Follow the rainbow cord that connects the left side shell piece to the inside board. Find where it is plugged into and disconnect it.
-
Follow the black and blue cord that connects the left side shell piece to the inside board. Find where it is plugged into and disconnect it.
-
Repeat for the top right shell piece.
-
Remove both shell pieces.
-
-



To reassemble your device, follow these instructions in reverse order.

crwdns2935287:0crwdne2935287:0

Cal Poly, Team S12-G4, Regan Fall 2019 crwdns2935289:0Cal Poly, Team S12-G4, Regan Fall 2019crwdne2935289:0
CPSU-REGAN-F19S12G4
crwdns2931471:04crwdne2931471:0
crwdns2935297:060crwdne2935297:0
crwdns2947410:01crwdne2947410:0
Where can I buy the shell please help me
luke - crwdns2934203:0crwdne2934203:0 crwdns2950251:0crwdne2950251:0
