crwdns2915892:0crwdne2915892:0
This guide will teach you how to replace the Bluetooth speaker on your Hover 1 Eclipse. Your speaker will need replacing if it is malfunctioning or has been damaged. To replace your speaker you must have basic knowledge of how to use a screwdriver. You must also be careful when detaching the headers from the motherboards, as they have small fragile pins that can not be bent.
crwdns2942213:0crwdne2942213:0
-
-
Using a Phillips #1 Screwdriver, remove the four 11mm screws that surround the edge of the plug side bottom shell piece.
-
Using a Phillips #1 Screwdriver, remove the four 13mm screws that surround the edge of the plug side bottom shell piece.
-
Remove the plug side bottom shell piece
-
-
-
-
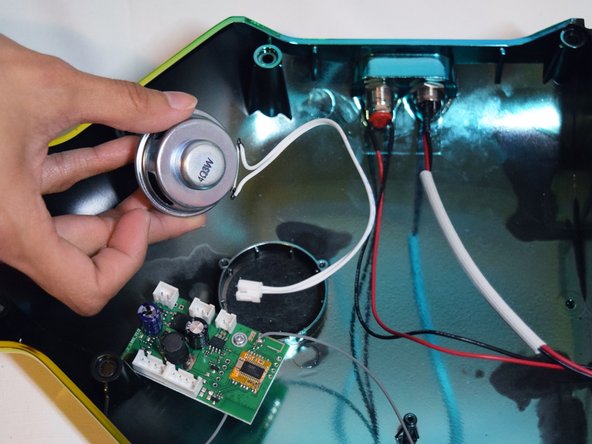
within the plug side shell piece, there are two white and pink wires connecting the shell and the motherboard.
-
On the circuit board by the speaker, carefully squeeze and unplug the small white headers that connect the shell piece to the hoverboard body.
-
On the body of the board, follow the wires that connect the lights to the motherboard. Disconnect these wires from the motherboard by squeezing and pulling the small white headers.
-
Now you can fully remove the shell piece.
-
-
-
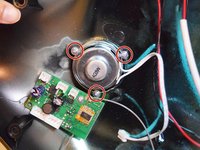
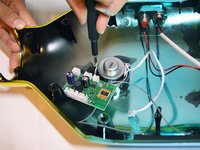
Using a Phillips #0 Screwdriver, remove the 3 screws holding the speaker to the shell.
-
Lift the speaker out from the casing.
-


To reassemble your device, follow these instructions in reverse order.
crwdns2935287:0crwdne2935287:0

Cal Poly, Team S12-G4, Regan Fall 2019 crwdns2935289:0Cal Poly, Team S12-G4, Regan Fall 2019crwdne2935289:0
CPSU-REGAN-F19S12G4
crwdns2931471:04crwdne2931471:0
crwdns2935297:05crwdne2935297:0