crwdns2915892:0crwdne2915892:0
This guide is for the Hoover Rogue 970 (Model BH70970) Smart Vacuum.
crwdns2942213:0crwdne2942213:0
-
-
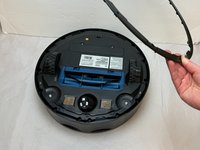
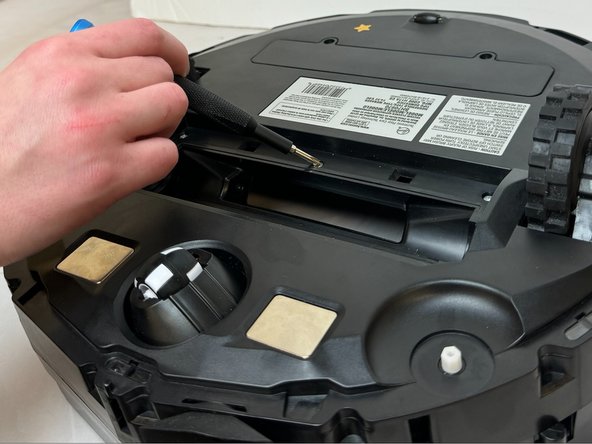
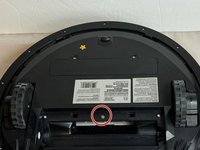
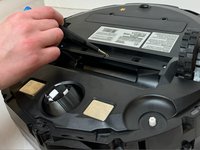
Flip the vacuum over so the wall brushes are facing up.
-
-
-
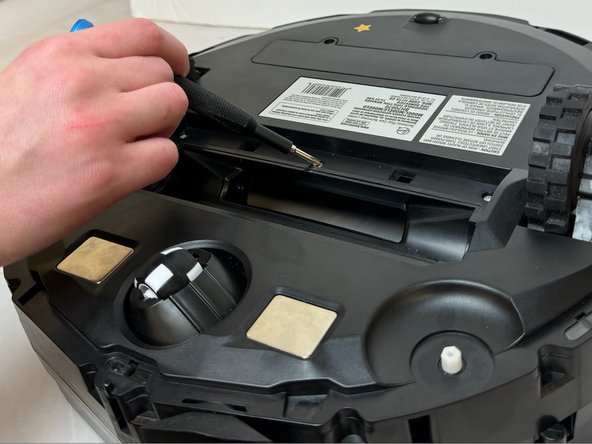
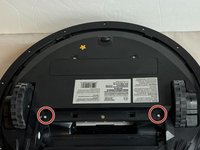
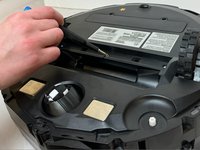
Remove the two 8.2 mm screws using a Phillips #2 screwdriver.
-
-
-
Gently lift up on the wall brushes to remove them from the vacuum.
-
-
-
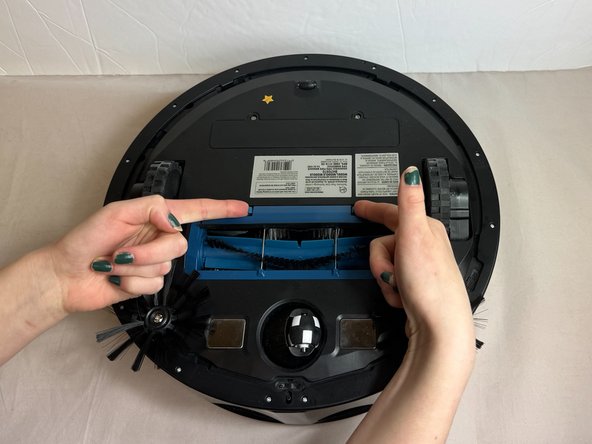
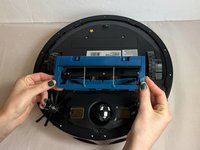
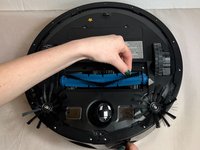
Press the buttons on the brush roll cover inward.
-
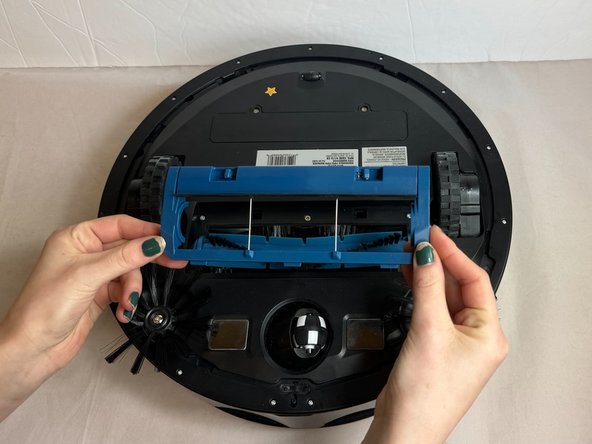
Gently pull the brush roll cover away from the vacuum.
-
-
-
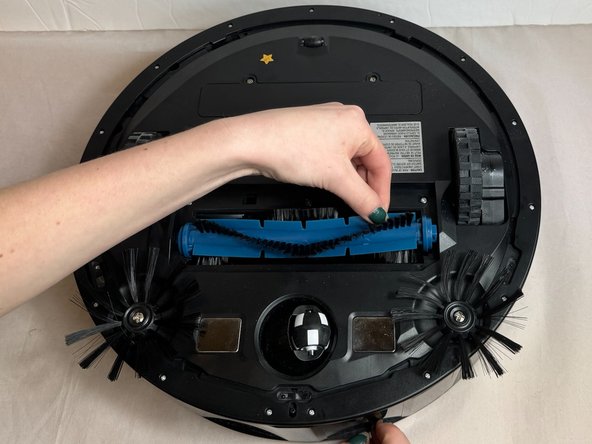
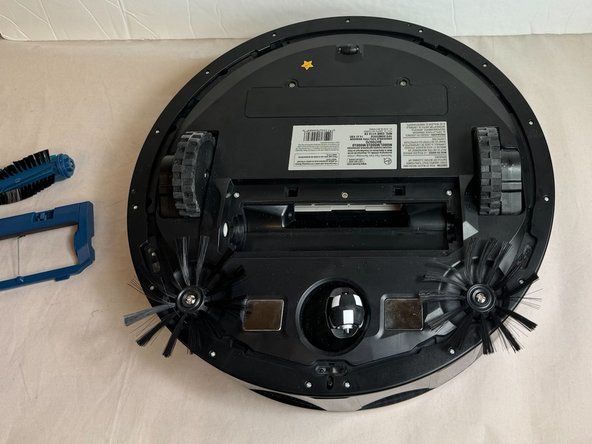
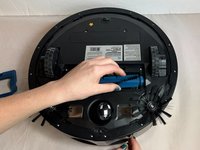
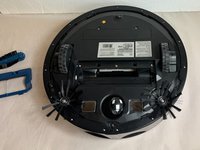
Pull the brush roll straight out of the vacuum.
-
-
-
-
Flip the vacuum over so that the underside is facing up.
-
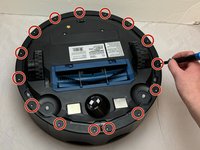
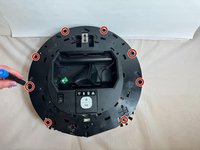
Remove the fifteen 9.3 mm screws from the bottom frame with a Phillips #0 screwdriver.
-
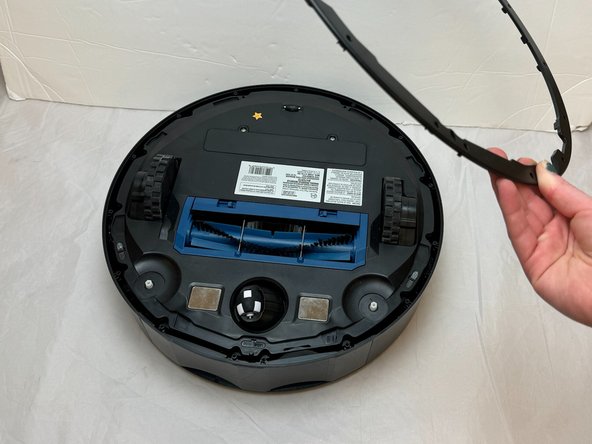
Lift the bottom frame away from the vacuum.
-
-
-
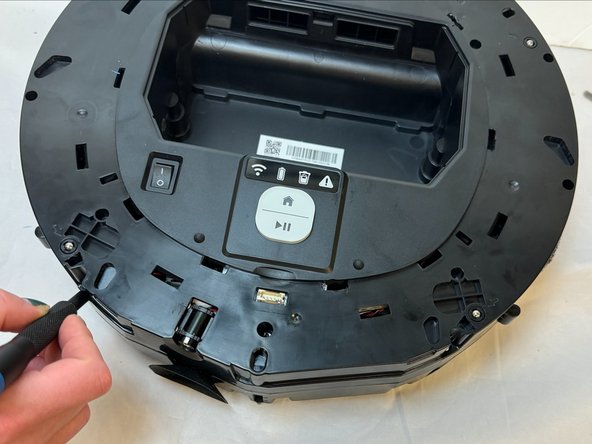
Remove the two 11.9 mm screws using a Phillips #0 screwdriver.
-
-
-
Remove the single 5.9 mm screw using a Phillips #0 screwdriver.
-
-
-
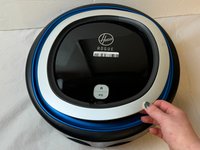
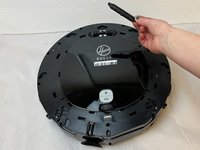
Flip the device over so that the top side of the vacuum is facing up.
-
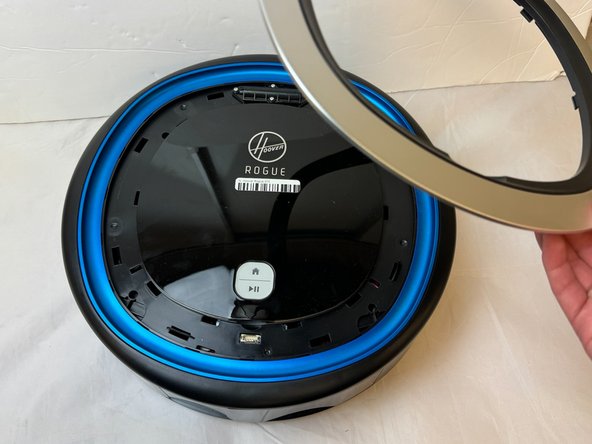
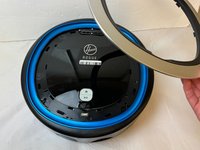
Firmly pull the silver face-plate away from the vacuum.
-
-
-
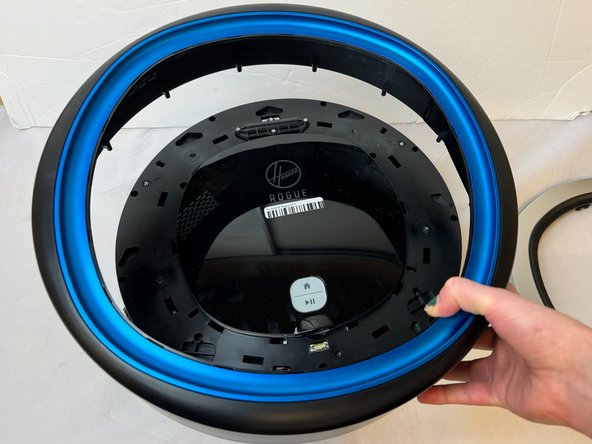
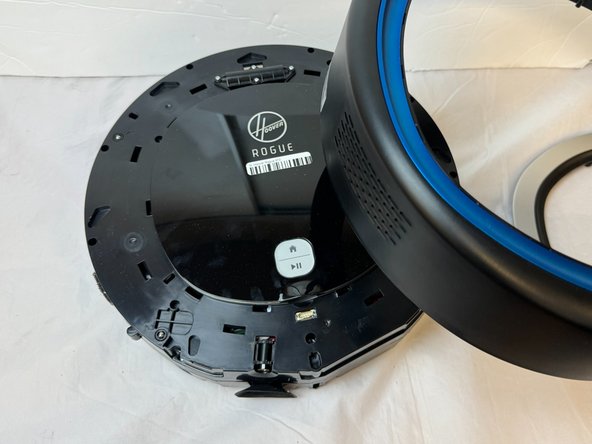
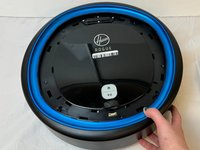
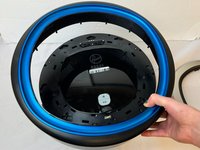
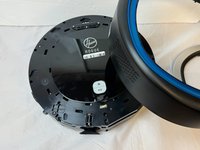
Firmly pull the surrounding black and blue cover away from the vacuum.
-
-
-
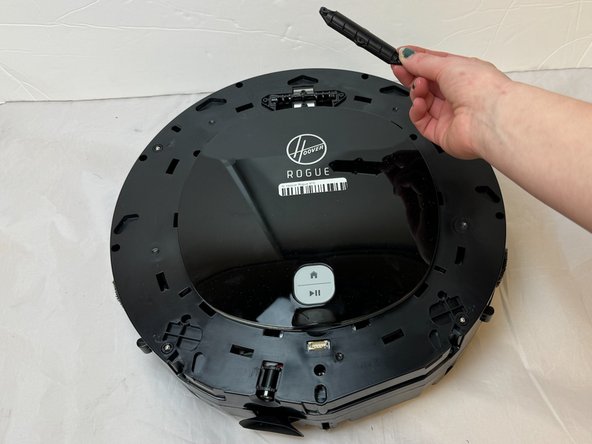
Remove four 8.7 mm screws using a Phillips #0 screwdriver.
-
Pull the top cover with the 'Hoover Rogue' markings away from the vacuum.
-
-
-
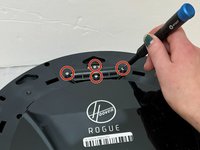
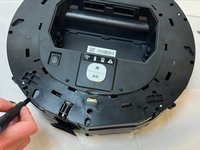
Remove the eight 15.8 mm screws from the vacuum using a Phillips #0 screwdriver.
-
Gently pry along seam with an iFixit opening tool in order to break the glue seals.
-
-
-
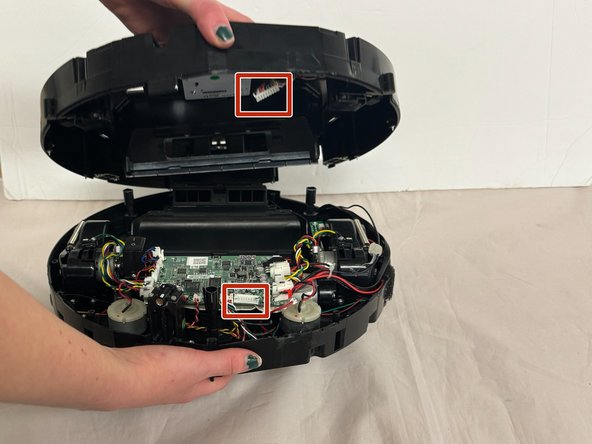
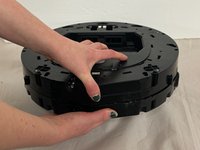
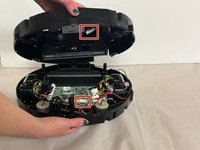
Firmly grasp the top and bottom portions of the vacuum with each thumb exerting pressure in opposite directions.
-
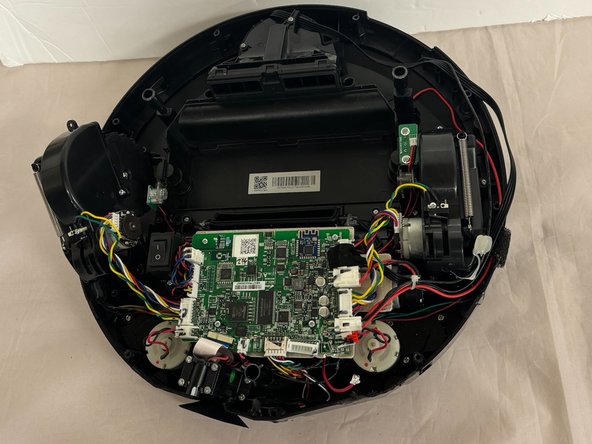
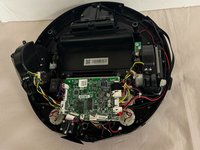
Disconnect the motherboard from the base assembly.
-
To reassemble your device, follow these instructions in reverse order.
To reassemble your device, follow these instructions in reverse order.


