crwdns2933423:0crwdne2933423:0

Hoover LiNX Power Button Replacement

crwdns2942213:0crwdne2942213:0

  1. Hoover LiNX Power Button Replacement, Hoover LiNX Handle Teardown: crwdns2935265:01crwdnd2935265:01crwdnd2935265:01crwdne2935265:0
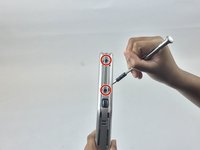
    • Remove the single 15mm Phillips #1 screw from the handle.

  2. Hoover LiNX Power Button Replacement: crwdns2935265:02crwdnd2935265:01crwdnd2935265:01crwdne2935265:0
    • Remove the handle by pulling it up.

  3. Hoover LiNX Power Button Replacement: crwdns2935265:03crwdnd2935265:01crwdnd2935265:01crwdne2935265:0
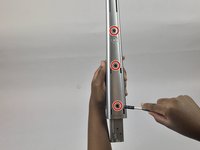
    • Remove two 15mm Phillips #1 screws from the handle.

  4. Hoover LiNX Power Button Replacement: crwdns2935265:04crwdnd2935265:01crwdnd2935265:02crwdne2935265:0 Hoover LiNX Power Button Replacement: crwdns2935265:04crwdnd2935265:02crwdnd2935265:02crwdne2935265:0
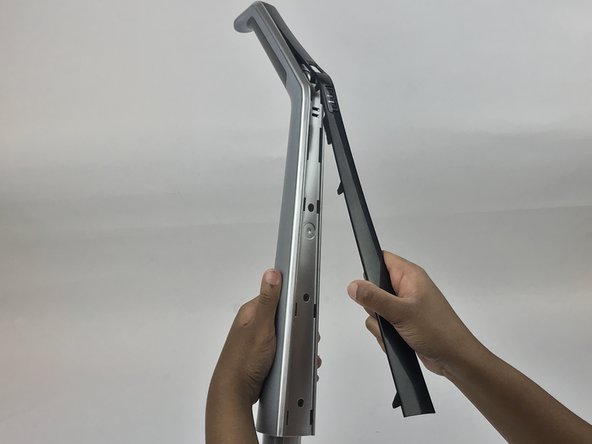
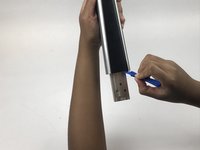
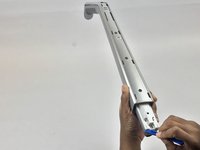
    • Use a plastic opening tool to carefully pry the black cover off of the handle.

  5. Hoover LiNX Power Button Replacement: crwdns2935265:05crwdnd2935265:01crwdnd2935265:02crwdne2935265:0 Hoover LiNX Power Button Replacement: crwdns2935265:05crwdnd2935265:02crwdnd2935265:02crwdne2935265:0
    • Remove five 15mm Phillips #1 black screws from the handle.

  6. Hoover LiNX Power Button Replacement: crwdns2935265:06crwdnd2935265:01crwdnd2935265:02crwdne2935265:0 Hoover LiNX Power Button Replacement: crwdns2935265:06crwdnd2935265:02crwdnd2935265:02crwdne2935265:0
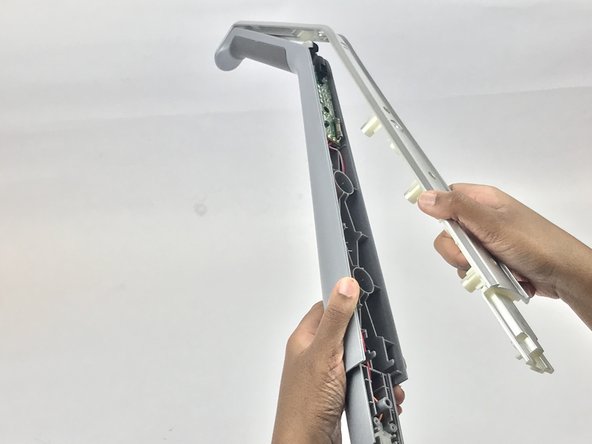
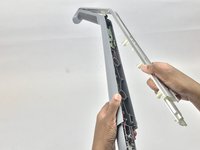
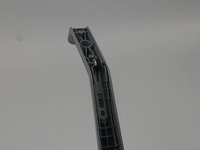
    • Remove the silver plastic cover using the plastic opening tool.

  7. Hoover LiNX Power Button Replacement, The Motherboard Inside The Handle: crwdns2935265:07crwdnd2935265:01crwdnd2935265:01crwdne2935265:0
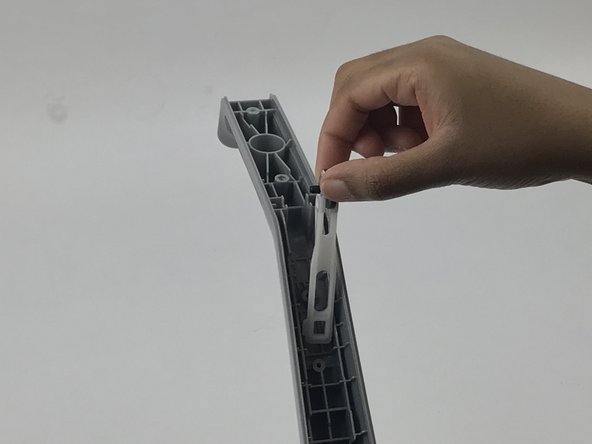
    • Remove the black rubber cover from the motherboard.

  8. Hoover LiNX Power Button Replacement: crwdns2935265:08crwdnd2935265:01crwdnd2935265:01crwdne2935265:0
    • Remove two 8mm Phillips #1 screws from the motherboard.

  9. Hoover LiNX Power Button Replacement: crwdns2935265:09crwdnd2935265:01crwdnd2935265:02crwdne2935265:0 Hoover LiNX Power Button Replacement: crwdns2935265:09crwdnd2935265:02crwdnd2935265:02crwdne2935265:0
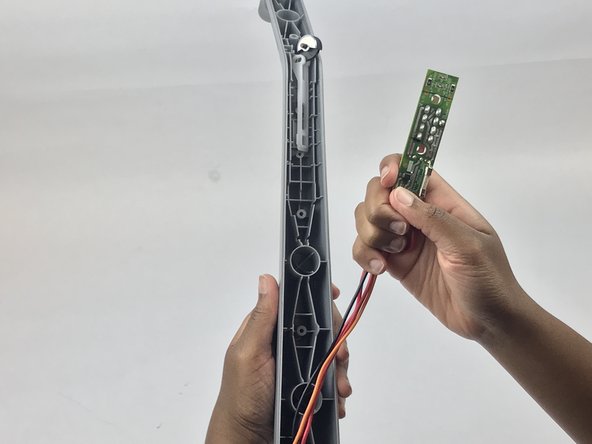
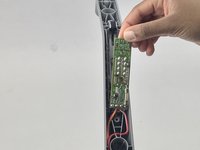
    • Carefully pull the motherboard out with its attached wires.

  10. Hoover LiNX Power Button Replacement, Power Button: crwdns2935265:010crwdnd2935265:01crwdnd2935265:02crwdne2935265:0 Hoover LiNX Power Button Replacement, Power Button: crwdns2935265:010crwdnd2935265:02crwdnd2935265:02crwdne2935265:0
    • Replace the power button.

crwdns2915888:0crwdne2915888:0

To reassemble your device, follow these instructions in reverse order.

crwdns2935229:02crwdne2935229:0

Mark Nelson

crwdns2935283:001/25/18crwdne2935283:0

452 crwdns2915208:0crwdne2915208:0

crwdns2935297:02crwdne2935297:0

crwdns2915084:0crwdne2915084:0

USF Tampa, Team S7-G4, Passmore Spring 2018 crwdns2935289:0USF Tampa, Team S7-G4, Passmore Spring 2018crwdne2935289:0

USFT-PASSMORE-S18S7G4

crwdns2931471:04crwdne2931471:0

crwdns2935297:012crwdne2935297:0

crwdns2944067:00crwdne2944067:0

crwdns2917038:0crwdne2917038:0

crwdns2936625:0crwdne2936625:0:

crwdns2936751:024crwdne2936751:0 1

crwdns2936753:07crwdne2936753:0 4

crwdns2936753:030crwdne2936753:0 17

crwdns2942667:0crwdne2942667:0 1,251