crwdns2915892:0crwdne2915892:0
This is a prerequisite guide! This guide is part of another procedure and is not meant to be used alone.
This guide contains intermediate disassembly steps, including removing the air filter housing and carburetor.
crwdns2942213:0crwdne2942213:0
-
-
Use a flathead screwdriver to pry up the blue wire harness from the under-cover.
-
-
-
Use a mallet and punch to tap out the front collar (closest to the electrical panel) securing the motor assembly to the under-cover.
-
-
-
Use a 10 mm socket to remove the two bolts securing the motor rear to the under-cover.
-
-
-
Lift the motor assembly off the under-cover and set it aside.
-
-
-
Use a 10 mm socket to remove the two bolts securing the left shroud.
-
-
-
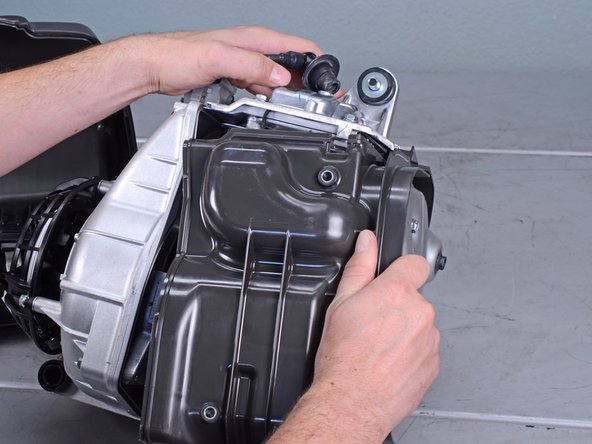
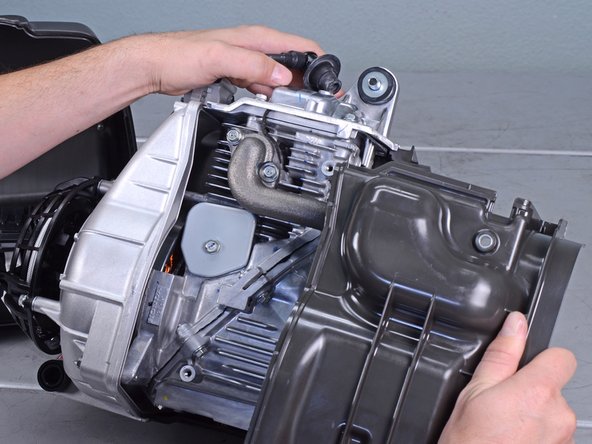
Begin separating the left shroud from the engine assembly by pulling it away from the assembly.
-
-
-
Pull along the edge of the shroud until you separate the shroud from the engine assembly.
-
Remove the shroud.
-
-
-
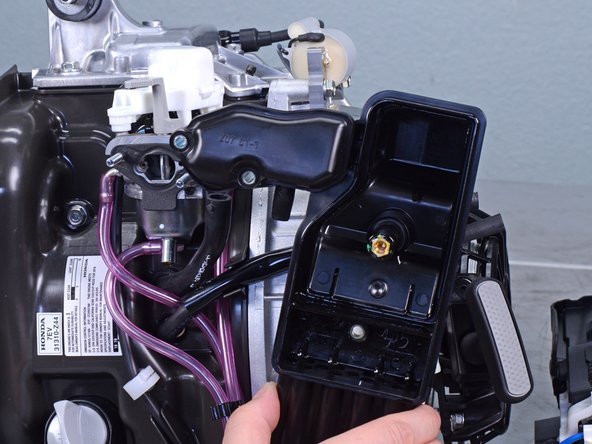
Remove the Phillips screw securing the filter cover.
-
Remove the filter cover.
-
-
-
Remove the air filters from the filter box.
-
Clean the filters in warm soapy water
-
Allow the filters to dry thoroughly
-
Dip the filters in clean engine oil, and squeeze out excess oil
-
-
-
-
Disconnect the breather tube from the air cleaner housing.
-
-
-
Remove the following fasteners securing the housing:
-
Two 8 mm nuts
-
One 8 mm bolt
-
-
-
Unclip the fuel and air hoses from the side of the motor assembly.
-
-
-
Pull the breather tube straight out of its port.
-
-
-
Use a flathead screwdriver to unclip the carburetor wires from the side of the motor assembly.
-
-
-
Slide the carburetor off its two bolt rails.
-
-
-
Use an 8 mm socket to remove the two bolts securing the carburetor insulator.
-
-
-
Remove the carburetor insulator along with the two bolt rails.
-
-
-
Use a 10 mm socket to remove the bolts securing the right shroud.
-
-
-
Begin separating the right shroud from the engine assembly by pulling it away from the assembly.
-
-
-
Pull the shroud away along the edge. Use a flathead screwdriver to pry it out of the engine assembly groove.
-
-
-
Remove the right shroud from the engine assembly.
-


To reassemble your device, follow these instructions in reverse order.
To reassemble your device, follow these instructions in reverse order.

