crwdns2915892:0crwdne2915892:0
This guide shows how to remove and replace the fuel tank for the Honda EU2200IT generator.
Drain the fuel from the fuel tank before you begin this procedure. Any fuel remaining in the tank will spill out. Be ready to contain any spillage.
crwdns2942213:0crwdne2942213:0
-
-
Lift and remove the spark plug cover.
-
-
-
Grab the plastic housing at the end of the spark plug wire.
-
Pull firmly to disconnect the wire from the spark plug.
-
-
-
Use a Phillips #2 screwdriver to loosen the screw holding the maintenance cover in place.
-
-
-
Swing the top of the maintenance cover out.
-
Remove the maintenance cover.
-
-
-
Remove the four Phillips screws securing the back cover.
-
-
-
Remove the four screws securing the front cover:
-
Two Phillips screws
-
Two Phillips screws (one on each side)
-
-
-
Swing the top edge of the front cover away from the generator.
-
Pull the front cover away slightly away.
-
-
-
-
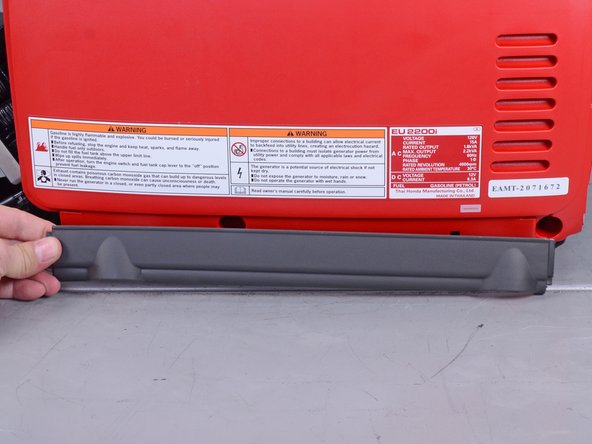
Remove the lower gray plates from both sides of the generator.
-
-
-
Remove the fasteners securing the left (non-access) cover:
-
Two Phillips screws
-
Two 10 mm bolts
-
-
-
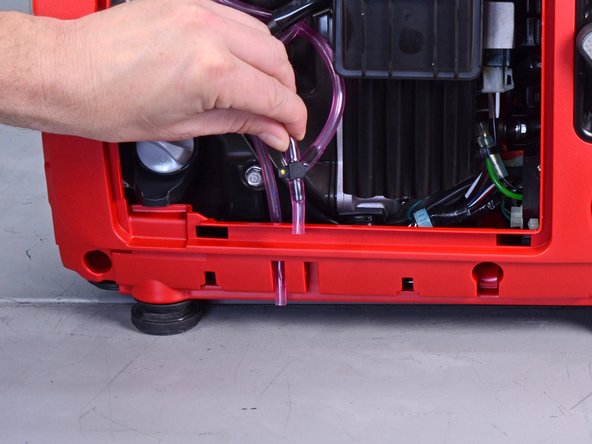
Slide the vent and drain tubes out of their cover ports along the bottom of the right cover.
-
-
-
Remove the Phillips screw securing the starter rope port.
-
-
-
Thread the starter rope handle through the port's cutout.
-
-
-
Remove the right (access-side) cover.
-
-
-
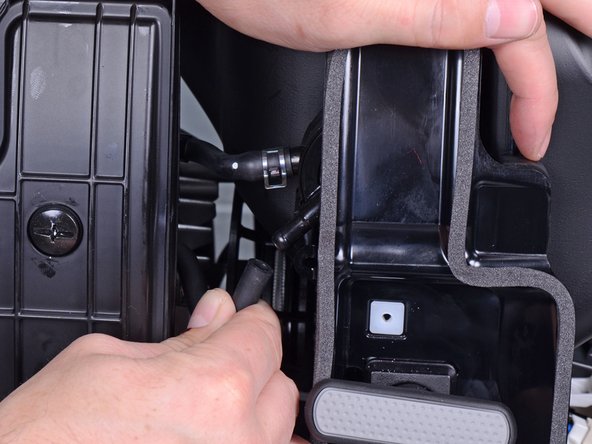
Use a screwdriver to pry and loosen the diaphragm tube from the fuel pump.
-
Disconnect the diaphragm tube from the fuel pump.
-
-
-
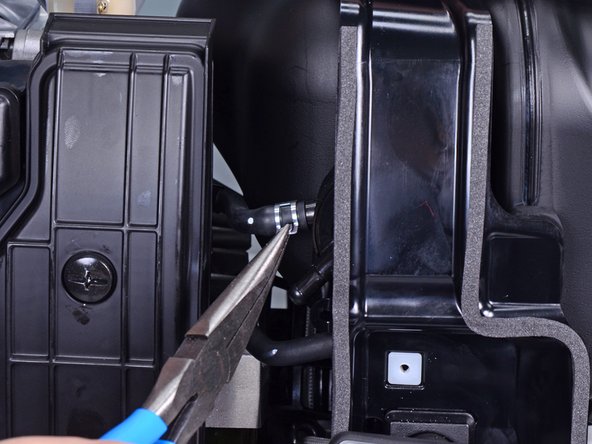
Use a pair of pliers to squeeze and slide the spring clip off the fuel pump port.
-
-
-
Disconnect the fuel hose from the fuel pump.
-
-
-
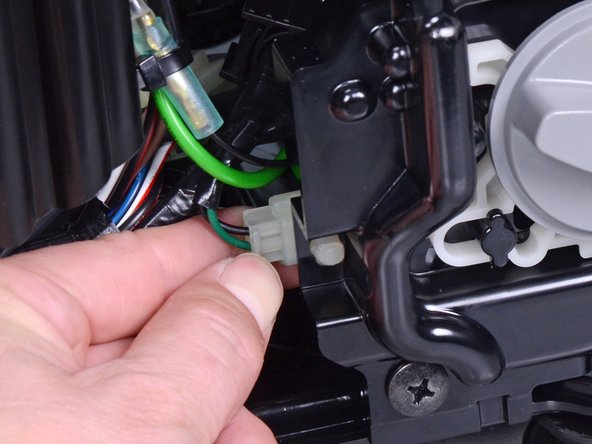
Pull and disconnect the engine stop switch connector from its socket.
-
-
-
Remove the Phillips screw securing the starter rope guide.
-
-
-
Feed the starter rope handle and guide through the panel cutout.
-
-
-
Use a pair of pliers to squeeze and slide the spring clip off the fuel tank port.
-
-
-
Disconnect the fuel line and filter from the fuel tank.
-
-
-
Remove the Phillips screw securing the left (non-access) frame assembly.
-
-
-
Remove the left (non-access) frame assembly.
-


To reassemble your device, follow these instructions in reverse order.
To reassemble your device, follow these instructions in reverse order.

