crwdns2933423:0crwdne2933423:0

Honda CRF250L Exhaust Replacement

crwdns2942213:0crwdne2942213:0

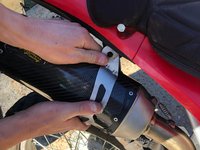
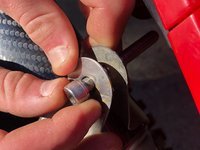
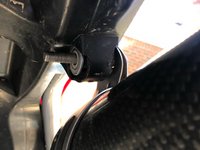
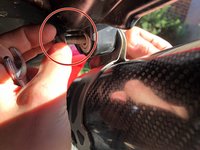
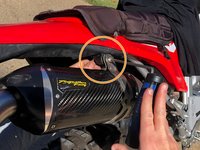
  1. Honda CRF250L Exhaust Replacement, Honda CRF250L Exhaust: crwdns2935265:01crwdnd2935265:01crwdnd2935265:03crwdne2935265:0 Honda CRF250L Exhaust Replacement, Honda CRF250L Exhaust: crwdns2935265:01crwdnd2935265:02crwdnd2935265:03crwdne2935265:0 Honda CRF250L Exhaust Replacement, Honda CRF250L Exhaust: crwdns2935265:01crwdnd2935265:03crwdnd2935265:03crwdne2935265:0
    • Take off the existing exhaust.

    • Remove the external hex bolt by the header with the 1/2" socket.

    • Then, remove the internal hex socket bolt by the exhaust with the 6mm Allen wrench.

    • When unscrewing the bolt by the exhaust, make sure to hold the nut stationary with the 1/2" open-ended wrench.

  2. Honda CRF250L Exhaust Replacement: crwdns2935265:02crwdnd2935265:01crwdnd2935265:01crwdne2935265:0
    • Slide the pipe into the the exhaust.

    • The pipe should curve downward.

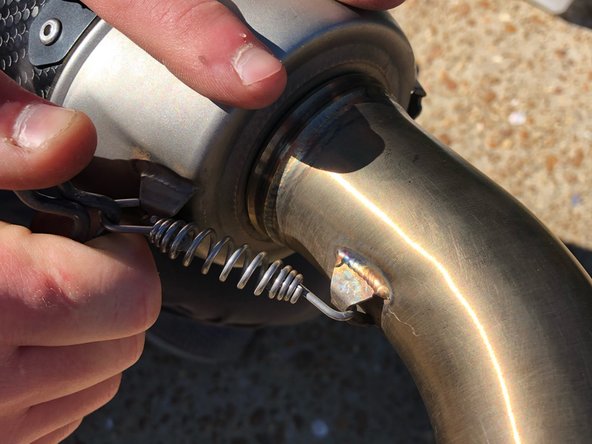
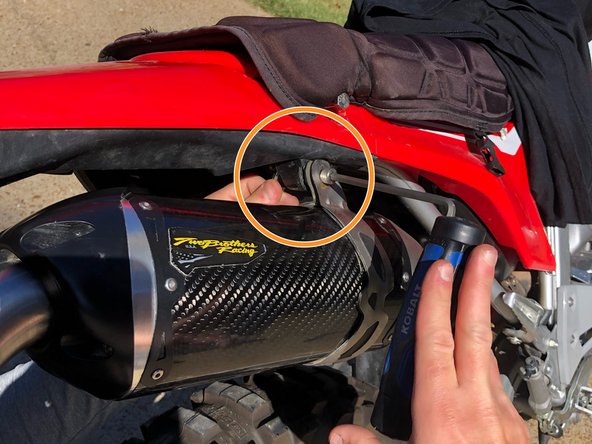
  3. Honda CRF250L Exhaust Replacement: crwdns2935265:03crwdnd2935265:01crwdnd2935265:02crwdne2935265:0 Honda CRF250L Exhaust Replacement: crwdns2935265:03crwdnd2935265:02crwdnd2935265:02crwdne2935265:0
    • Hook the spring on to one of the slots that is welded on the pipe and exhaust.

    • Then, expand the spring to hook around the opposing slot using the spring hook.

  4. Honda CRF250L Exhaust Replacement: crwdns2935265:04crwdnd2935265:01crwdnd2935265:01crwdne2935265:0
    • Slide the clamp over the end of the pipe.

    • Make sure the bolt is stationed on top to tighten later.

  5. Honda CRF250L Exhaust Replacement: crwdns2935265:05crwdnd2935265:01crwdnd2935265:01crwdne2935265:0
    • Slide the mount over the exhaust.

  6. Honda CRF250L Exhaust Replacement: crwdns2935265:06crwdnd2935265:01crwdnd2935265:01crwdne2935265:0
    • Slide the new exhaust onto the header.

    • The exhaust should curve upward.

  7. Honda CRF250L Exhaust Replacement: crwdns2935265:07crwdnd2935265:01crwdnd2935265:02crwdne2935265:0 Honda CRF250L Exhaust Replacement: crwdns2935265:07crwdnd2935265:02crwdnd2935265:02crwdne2935265:0
    • Make sure that the mount is positioned to allow all holes to line up.

    • Insert the internal hex socket bolt.

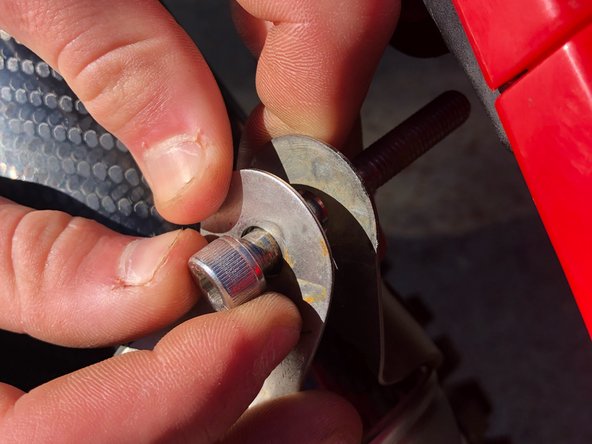
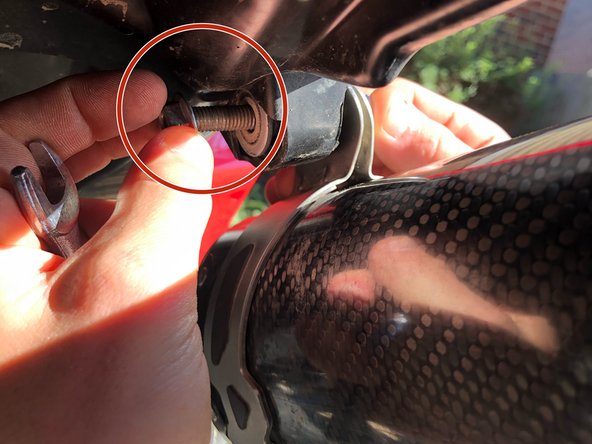
  8. Honda CRF250L Exhaust Replacement: crwdns2935265:08crwdnd2935265:01crwdnd2935265:03crwdne2935265:0 Honda CRF250L Exhaust Replacement: crwdns2935265:08crwdnd2935265:02crwdnd2935265:03crwdne2935265:0 Honda CRF250L Exhaust Replacement: crwdns2935265:08crwdnd2935265:03crwdnd2935265:03crwdne2935265:0
    • Insert the bolt attached to the mount.

    • Install the nut to the backside of the internal hex socket bolt.

    • Tighten the internal hex socket bolt using the 6mm Allen wrench.

    • Keep the nut stationary using the 1/2" open-ended wrench.

  9. Honda CRF250L Exhaust Replacement: crwdns2935265:09crwdnd2935265:01crwdnd2935265:01crwdne2935265:0
    • Tighten the clamp.

    • Tighten the internal hex socket bolt on the clamp using the 6mm Allen wrench.

crwdns2915888:0crwdne2915888:0

To reassemble your stock exhaust, follow these instructions in reverse order.

crwdns2935227:0crwdne2935227:0

Brennen Ashford

crwdns2935283:009/15/20crwdne2935283:0

196 crwdns2915208:0crwdne2915208:0

crwdns2935295:0crwdne2935295:0

crwdns2915084:0crwdne2915084:0

University of Memphis, Team S2-G8, Willis Fall 2020 crwdns2935289:0University of Memphis, Team S2-G8, Willis Fall 2020crwdne2935289:0

UM-WILLIS-F20S2G8

crwdns2934841:01crwdne2934841:0

crwdns2935303:01crwdne2935303:0

crwdns2944067:00crwdne2944067:0

crwdns2917038:0crwdne2917038:0

crwdns2936625:0crwdne2936625:0:

crwdns2936751:024crwdne2936751:0 5

crwdns2936753:07crwdne2936753:0 19

crwdns2936753:030crwdne2936753:0 75

crwdns2942667:0crwdne2942667:0 1,306