crwdns2915892:0crwdne2915892:0
This guide shows how to remove and replace the metal fan cover on the Honda EU3000IS1AWK 3000 watt generator. You must remove the fan cover in order to access the rotor and stator.
This is a prerequisite guide! This guide is part of another procedure and is not meant to be used alone.
crwdns2942213:0crwdne2942213:0
-
-
Use a 10 mm socket to remove the three bolts securing the recoil starter.
-
-
-
Remove the recoil starter and move it out of the way.
-
Be careful not to lose the metal collar in each of the recoil starter's bolt holes.
-
-
-
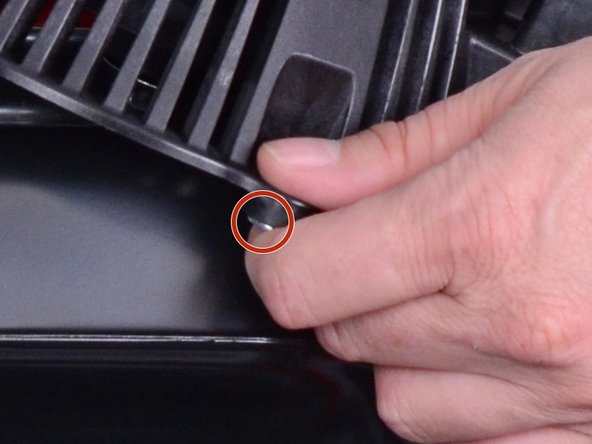
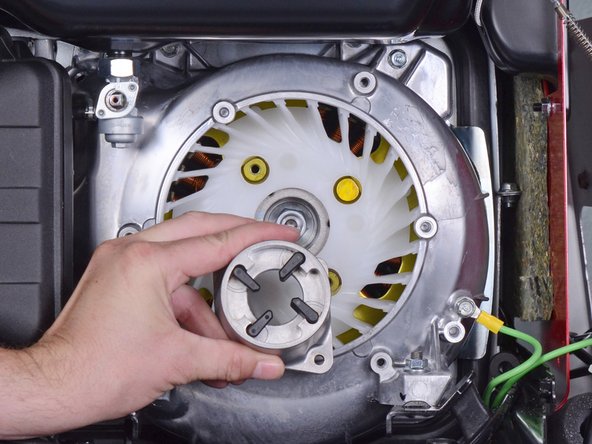
Use a 10 mm socket to remove the two bolts securing the starter pulley.
-
Remove the starter pulley.
-
-
-
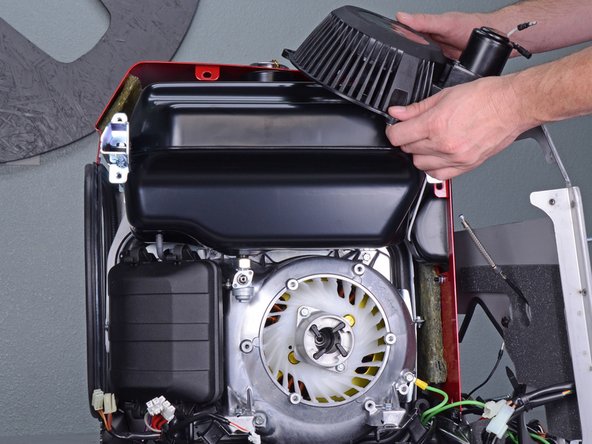
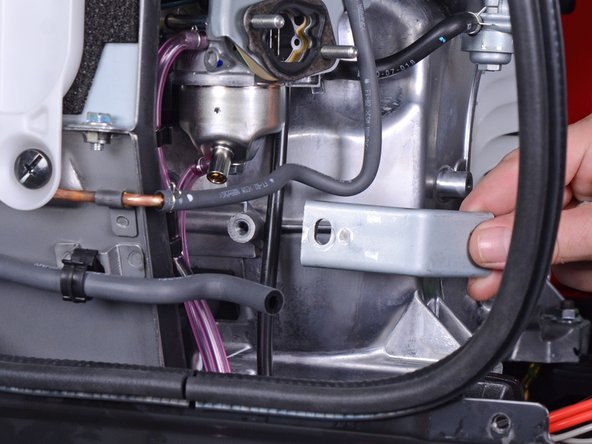
Use a 10 mm socket to remove the bolt securing the air cleaner housing bracket.
-
Remove the air cleaner housing bracket.
-
-
-
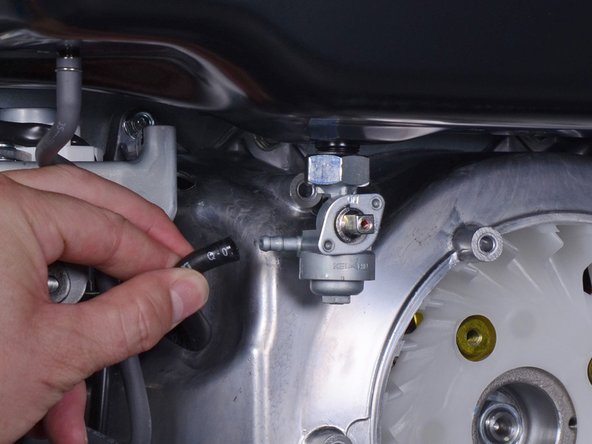
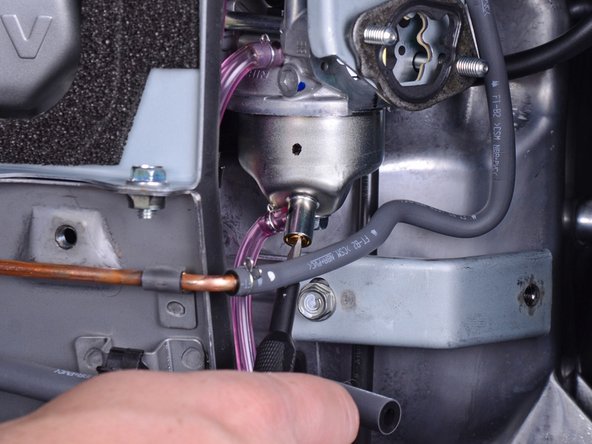
Use pliers to squeeze and loosen the hose clamp securing the carburetor fuel line.
-
Pull and disconnect the carburetor fuel line from the petcock assembly.
-
-
-
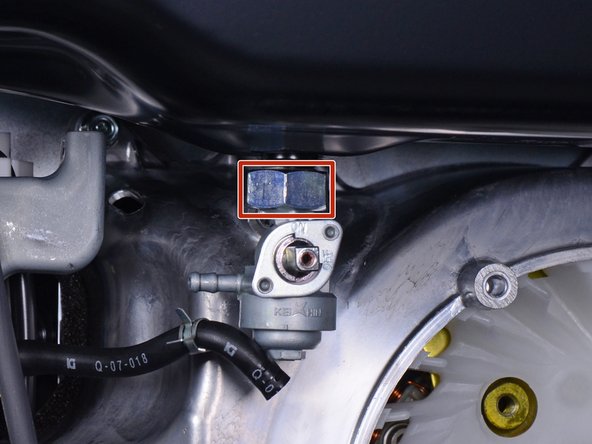
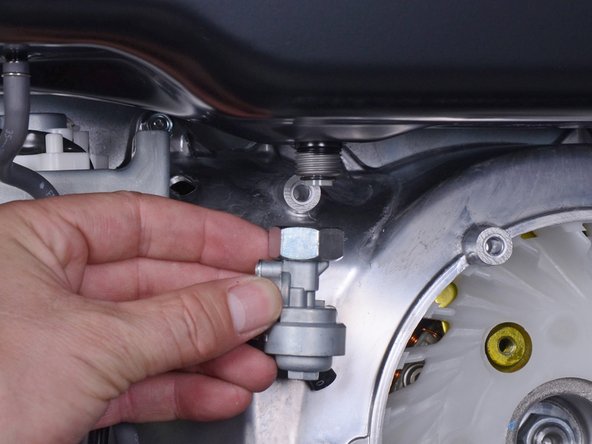
Use a large crescent wrench to loosen the petcock assembly from the fuel tank.
-
Remove the petcock assembly.
-
-
-
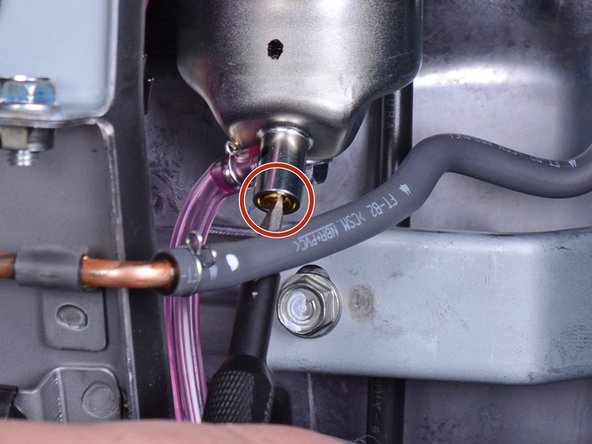
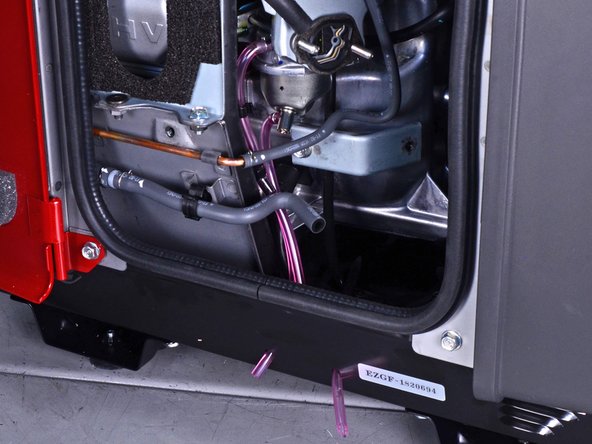
Place a container below the carburetor drain tube to catch the excess fuel.
-
The carburetor drain screw is located at the bottom of the carburetor.
-
Use a flathead screwdriver to loosen the brass fuel drain screw until fuel begins to drain out of the carburetor.
-
Once you drain the fuel bowl, re-tighten the fuel drain screw.
-
-
-
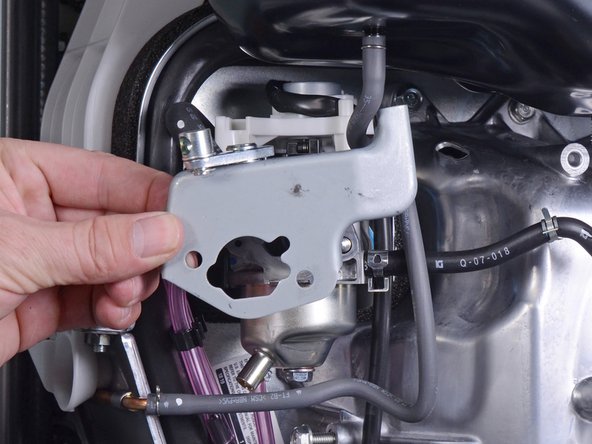
Remove the carburetor spacer gasket.
-
-
-
-
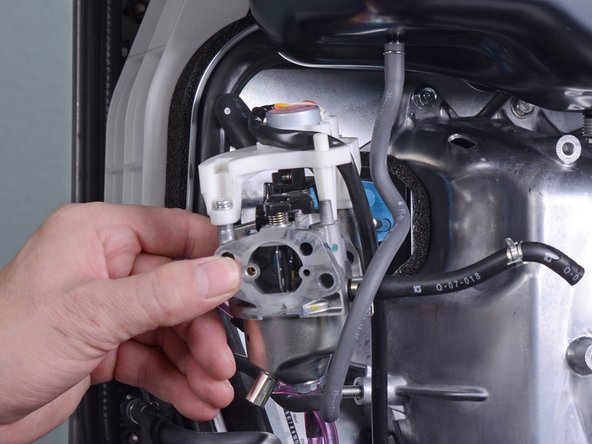
Slide the carburetor off the mounting bolts.
-
-
-
Disconnect the throttle control connector from the top of the carburetor.
-
Unwrap the throttle control wires from the carburetor.
-
-
-
If the carburetor insulator gasket is worn, remove and replace it.
-
-
-
Use a 10 mm socket to remove the seven bolts securing the fan cover:
-
Four bolts on top
-
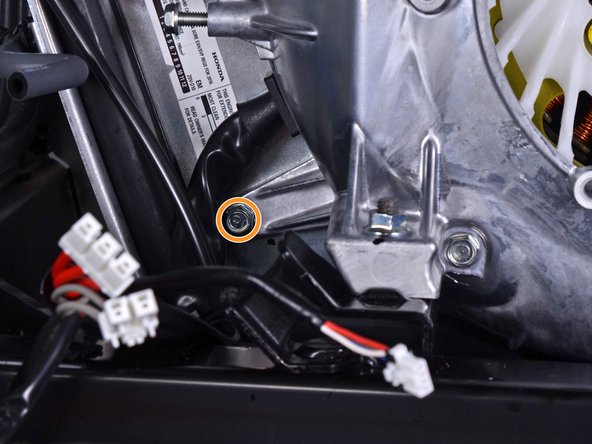
One recessed bolt in the bottom left corner
-
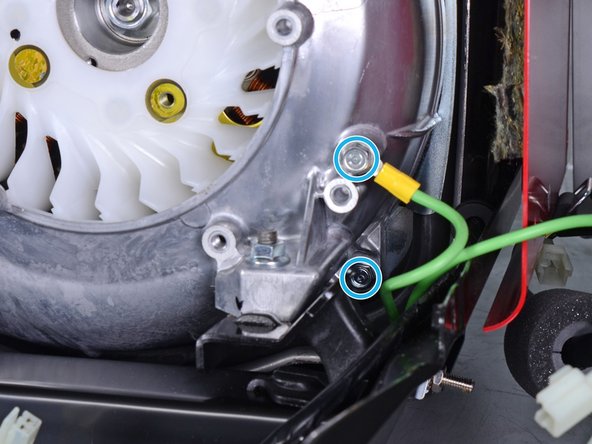
Two bolts in the bottom right corner
-
-
-
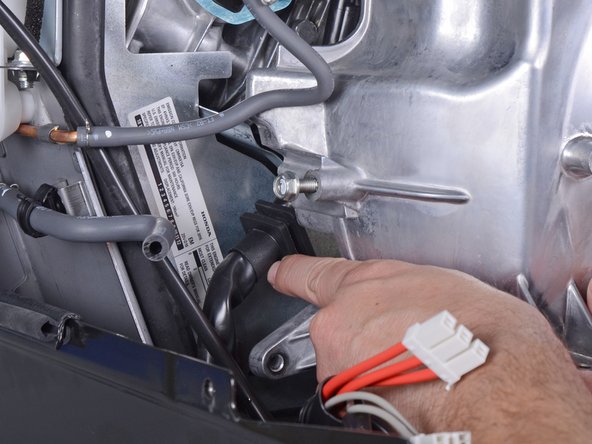
Use a 12 mm socket to remove the mounting nuts securing the front bushings.
-
-
-
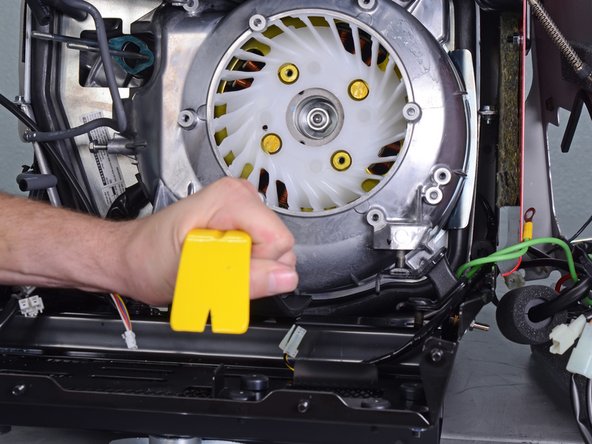
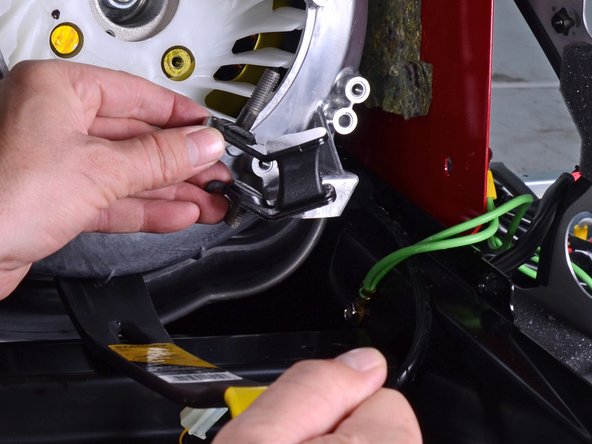
Insert a pry bar underneath the fan cover.
-
Pry upwards to lift the generator assembly slightly.
-
-
-
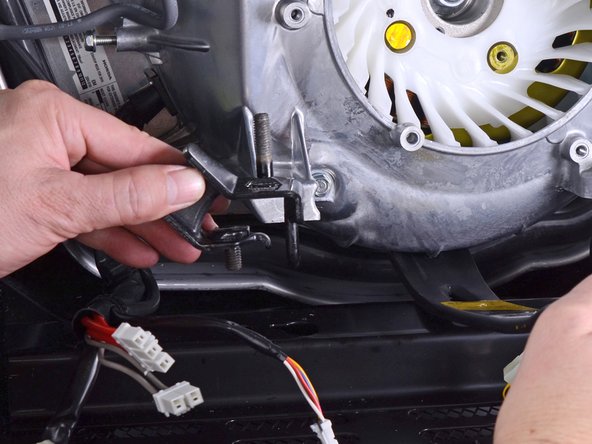
As you lift the generator assembly with the pry bar, maneuver and remove the two generator mounts from their recess.
-
-
-
Use a 10 mm socket to remove the long bolt from the fan cover.
-
-
-
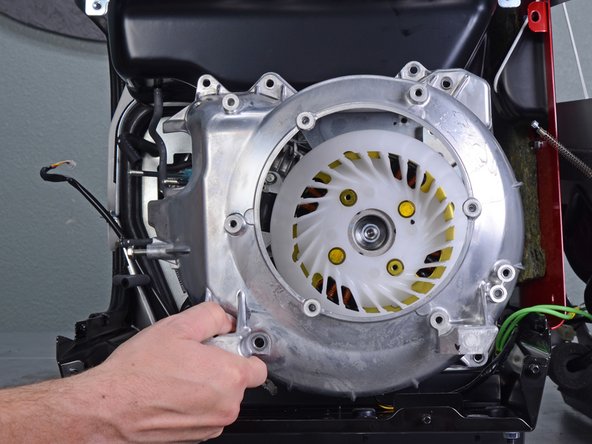
Carefully pull the fan cover away from the generator assembly.
-


To reassemble your device, follow these instructions in reverse order.
To reassemble your device, follow these instructions in reverse order.

