crwdns2933423:0crwdne2933423:0

Homelite UT44172 Operating Switch Replacement

crwdns2942213:0crwdne2942213:0

  1. Homelite UT44172 Operating Switch Replacement, Opening Device: crwdns2935265:01crwdnd2935265:01crwdnd2935265:01crwdne2935265:0
    • Use a Philips-head screwdriver to remove the six, 15 mm screws from the casing.

  2. Homelite UT44172 Operating Switch Replacement, Remove Faceplate: crwdns2935265:02crwdnd2935265:01crwdnd2935265:01crwdne2935265:0
    • Remove the faceplate from the main body of the device, lift it and expose the inner mechanisms.

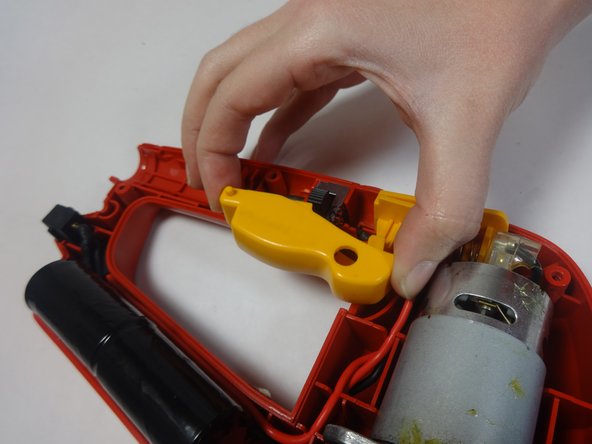
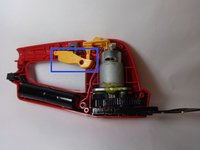
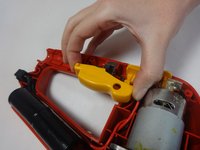
  3. Homelite UT44172 Operating Switch Replacement, Switch Removal: crwdns2935265:03crwdnd2935265:01crwdnd2935265:02crwdne2935265:0 Homelite UT44172 Operating Switch Replacement, Switch Removal: crwdns2935265:03crwdnd2935265:02crwdnd2935265:02crwdne2935265:0
    • Locate and remove the operating switch from the device.

  4. Homelite UT44172 Operating Switch Replacement, Spring Replacement: crwdns2935265:04crwdnd2935265:01crwdnd2935265:01crwdne2935265:0
    • Replace the spring if it is deformed or broken.

    • Be careful that the wires do not get caught in the spring when replacing it.

crwdns2915888:0crwdne2915888:0

To reassemble your device, follow these instructions in reverse order.

Adam soto

crwdns2935283:001/30/15crwdne2935283:0

301 crwdns2915208:0crwdne2915208:0

crwdns2935297:03crwdne2935297:0

crwdns2915084:0crwdne2915084:0

USF Tampa, Team 17-5, Watkins Winter 2015 crwdns2935289:0USF Tampa, Team 17-5, Watkins Winter 2015crwdne2935289:0

USFT-WATKINS-W15S17G5

crwdns2931471:03crwdne2931471:0

crwdns2935297:04crwdne2935297:0

crwdns2944067:00crwdne2944067:0

crwdns2917038:0crwdne2917038:0

crwdns2936625:0crwdne2936625:0:

crwdns2936751:024crwdne2936751:0 0

crwdns2936753:07crwdne2936753:0 6

crwdns2936753:030crwdne2936753:0 14

crwdns2942667:0crwdne2942667:0 263