crwdns2915892:0crwdne2915892:0
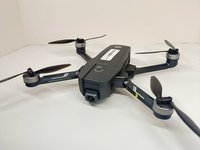
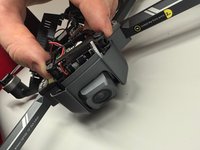
If the camera to your Holy Stone HS720E drone has stopped working, here is a guide on how to access the part from the top of the drone.
crwdns2942213:0crwdne2942213:0
-
-
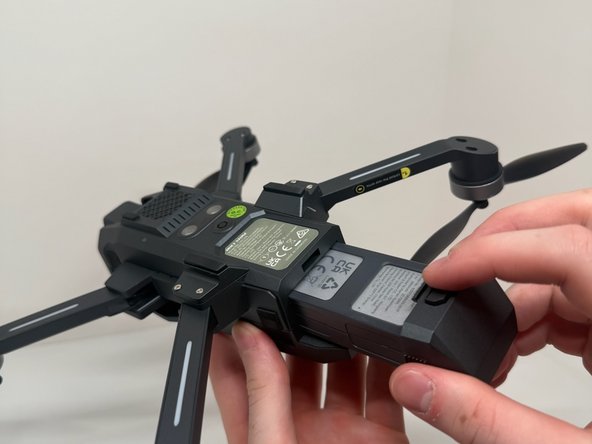
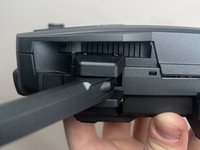
Press and hold the button on top of the battery.
-
-
-
While still holding the button down, slide the battery out towards yourself.
-
-
-
-
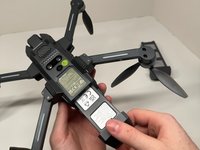
Remove the screws from both the left and right side of the drone using a Phillips #1 screwdriver.
-
-
-
Remove the two screws using a Phillips #1 screwdriver.
-
-
-
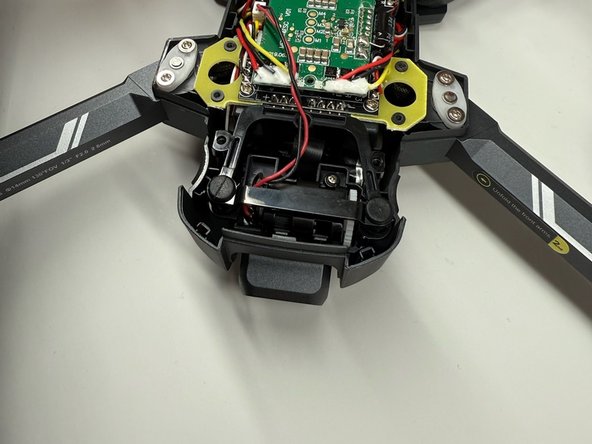
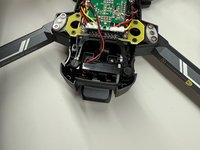
Using your hand, gently remove the top of the drone.
-
-
-
Remove the screws from the lower body of the drone using a Phillips #1 screwdriver.
-
-
-
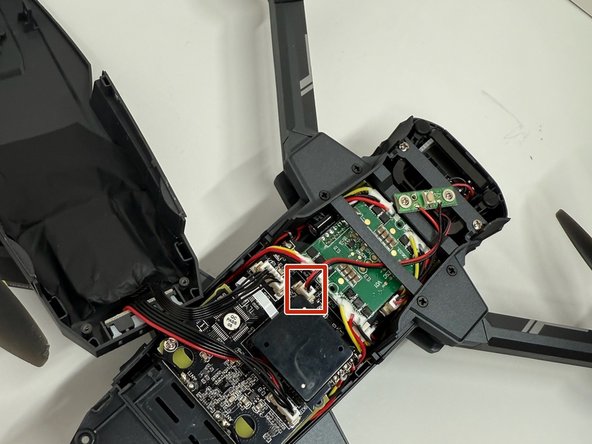
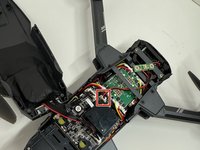
Unplug the wire connected to the motherboard and remove the camera.
-


To reassemble your device, follow these instructions in reverse order.
To reassemble your device, follow these instructions in reverse order.

crwdns2915084:0crwdne2915084:0

UMass Dartmouth, Team 2-3, Konn Fall 2024 crwdns2935289:0UMass Dartmouth, Team 2-3, Konn Fall 2024crwdne2935289:0
UMASSD-KONN-F24S2G3
crwdns2931471:04crwdne2931471:0
crwdns2935297:03crwdne2935297:0