crwdns2915892:0crwdne2915892:0
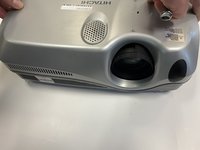
This guide will show you how to replace the power supply unit in the HITACHI CP-X440. All of the following necessary tools will be listed in the guide for your reference.
Before starting, make sure device is unplugged from power source. There are many wires involved in this replacement so there's a chance for getting hurt if the projector is turned on.
crwdns2942213:0crwdne2942213:0
-
-
Turn the projector upside down so the bottom is facing up.
-
Using a Phillips #1 screwdriver remove the six black 2 mm screws.
-
-
-
Flip the projector right-side up and navigate to the back panel.
-
Remove the three black 10 mm screws on the back panel with a Phillips #1 screwdriver.
-
Remove the two silver 10 mm screws on the power switch panel with a Phillips #1 screwdriver.
-
-
-
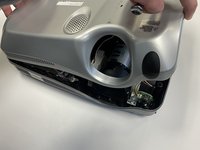
Now turn the projector so the front is facing you.
-
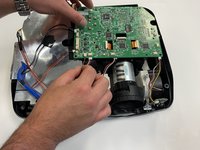
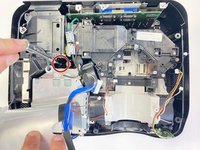
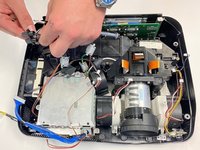
Gently remove the lid from the bottom of the projector so the green circuit board is exposed.
-
-
-
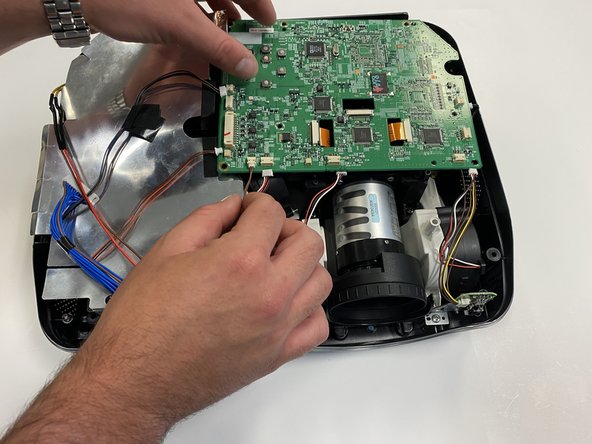
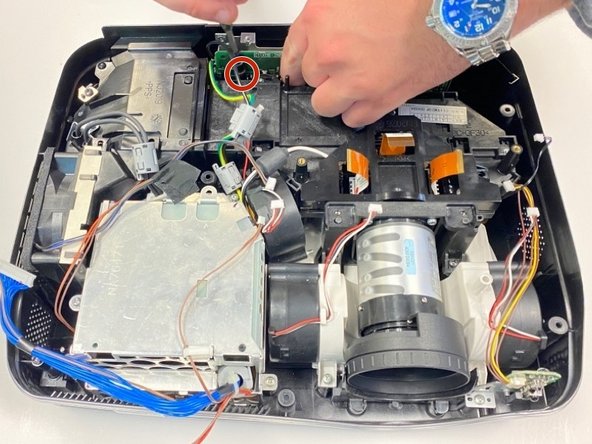
Gently remove the cables from their white connectors on the circuit board.
-
-
-
Gently pull out the three orange ribbons from their white connectors on the circuit board.
-
-
-
-
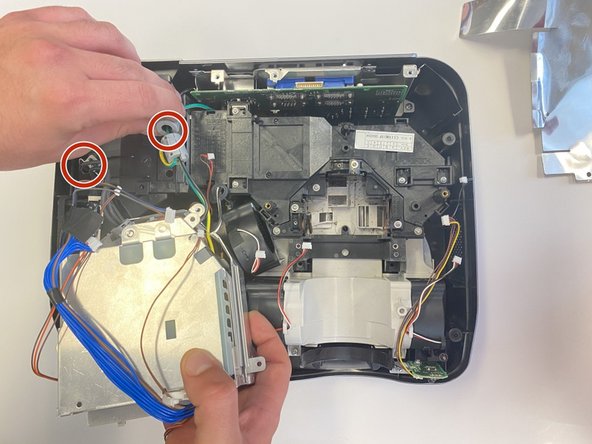
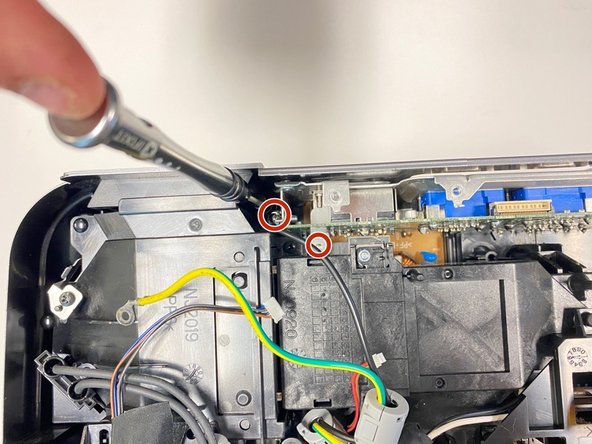
Remove the five silver 5 mm screws on the circuit board with a Phillips #2 screwdriver.
-
-
-
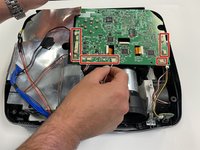
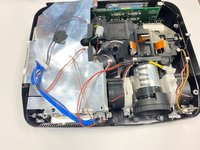
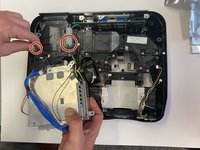
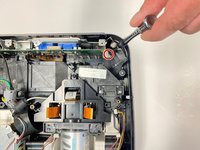
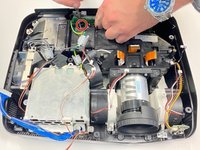
Remove the motherboard so the projector is exposed.
-
-
-
Remove the silver plastic protective piece from the top of the power supply unit.
-
Remove the black pin holder by using the spudger.
-
-
-
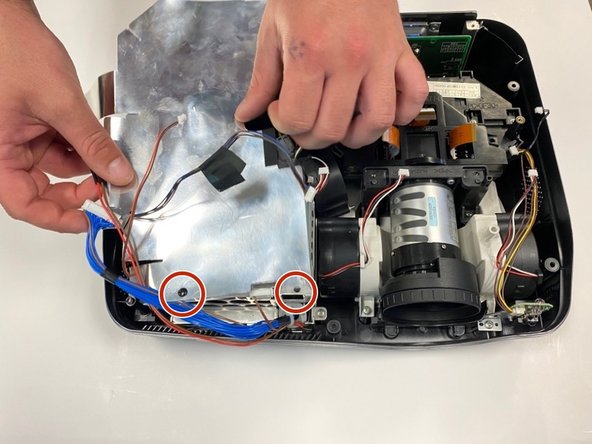
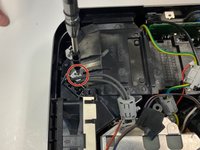
Remove the 10 mm screws that are holding the power supply unit to the projector.
-
-
-
Remove the wires that are attached to the projector from the power supply unit.
-
-
-
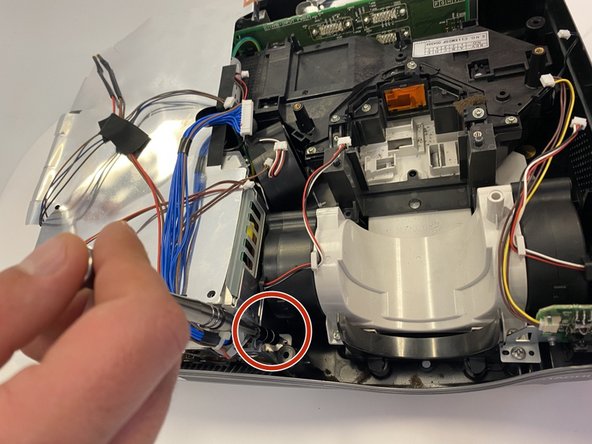
Remove the black wire by using the Phillips #2 screwdriver to remove the 10 mm screw.
-
Pull on the metal bracket which should come free, and then pull the wire up so it is released.
-
-
-
Remove the black wire by using the Phillips #2 screwdriver to remove the 10 mm silver screw.
-
Pull on the metal bracket which should come free. Then pull the wire up so it is released.
-
-
-
Remove the last 10 mm screw to the secondary motherboard using the Phillips #2 screwdriver and the power supply unit will lift free.
-


To reassemble your device, follow these instructions in reverse order.
crwdns2935287:0crwdne2935287:0

University of Alabama, Team 2-2, Bedsole Spring 2022 crwdns2935289:0University of Alabama, Team 2-2, Bedsole Spring 2022crwdne2935289:0
UA-BEDSOLE-S22S2G2
crwdns2931471:04crwdne2931471:0
crwdns2935297:06crwdne2935297:0