crwdns2915892:0crwdne2915892:0
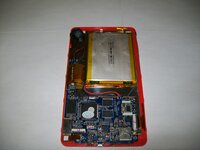
This motherboard replacement guide will walk you through the steps on how to remove necessary components in order to get to the motherboard. Replacing the motherboard is a moderate, four-step process using necessary tools, including a soldering iron.
crwdns2942213:0crwdne2942213:0
-
-
Use the plastic opening tools to pry the screen from the back of the device.
-
-
-
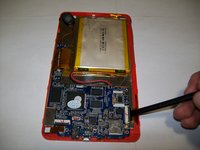
Use the spudger to remove the speaker from the back casing of the device.
-
-
crwdns2935267:0crwdne2935267:0Tweezers$4.99
-
Remove the black adhesive strips from the wires using the tweezers, and set the strips aside.
-
-
-
-
Use the spudger to release three (3) black clips connecting the components to the motherboard.
-
-
-
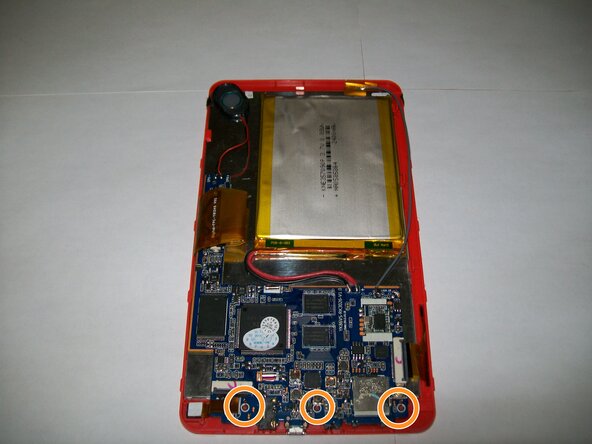
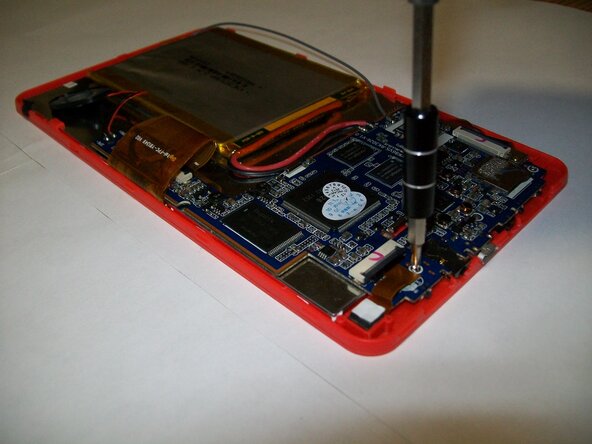
Unscrew the motherboard using a JIS #0 screwdriver.
-
-
-
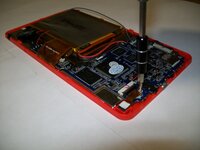
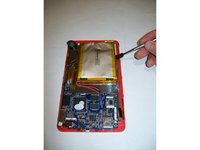
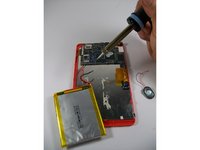
Use a nylon spudger to remove the battery from the back of the screen.
-
-
-
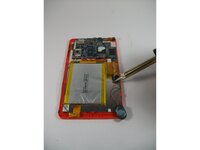
Use the soldering iron to heat the end of the wires connecting the speaker to the motherboard.
-
Apply heat until the wires are free.
-
-
-
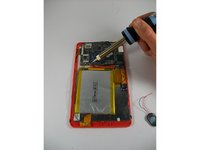
Using the soldering iron, apply heat to the end of the wires until they are free from the motherboard.
-
-
-
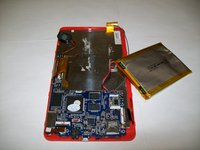
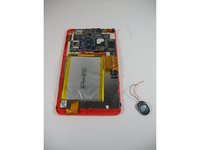
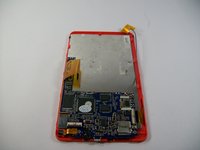
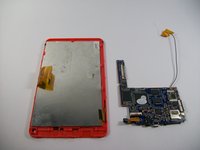
Now that the battery and speaker are removed, the black clips are undone, and the motherboard is unscrewed, remove the motherboard.
-


To reassemble your device, follow these instructions in reverse order.
crwdns2935221:0crwdne2935221:0
crwdns2935227:0crwdne2935227:0

crwdns2935287:0crwdne2935287:0

UMass Dartmouth, Team 1-1, Miles Fall 2015 crwdns2935289:0UMass Dartmouth, Team 1-1, Miles Fall 2015crwdne2935289:0
UMASSD-MILES-F15S1G1
crwdns2931471:03crwdne2931471:0
crwdns2935297:010crwdne2935297:0