crwdns2915892:0crwdne2915892:0
The headphone jack is located on the side of the laptop. This guide will take you through the procedure on how to remove the headphone jack from your laptop in case there is any audio issues such as sound/mic/line in not working and how to remove the headphone jack for replacement.
crwdns2942213:0crwdne2942213:0
-
-
Unplug laptop from adapter and all other devices.
-
-
-
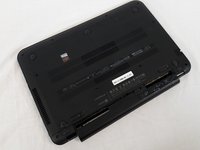
Flip the laptop over with battery facing you.
-
-
-
Slide the battery lock on the right side open.
-
Slide the Battery release latch on the left side.
-
-
-
Remove the two 6.5mm Phillips #1 keyboard screws from bottom of laptop.
-
-
-
-
Push screwdriver through screw hole top pop the keyboard.
-
-
-
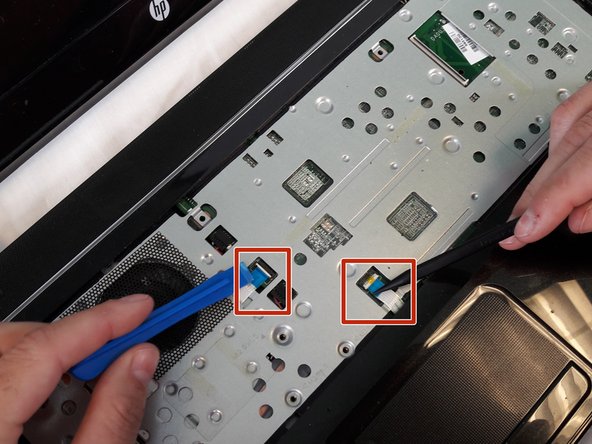
Remove keyboard wire by popping latch under blue plastic
-
-
-
Using the spudger to lift up on the white tabs
-
Pull horizontally on the blue ribbon to disconnect the cables
-
-
-
Remove the five 5.5mm Phillips #1 screws from the case
-
-
-
Remove eight 6.5mm Phillips #1 screws from the back cover
-
-
-
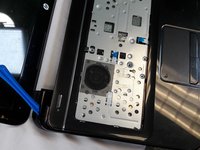
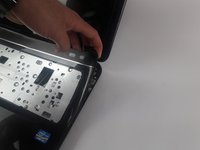
Starting at a top corner, use the pry tool to split the case.
-
Slowly work around the case, pulling up gently to release the clips.
-
-
-
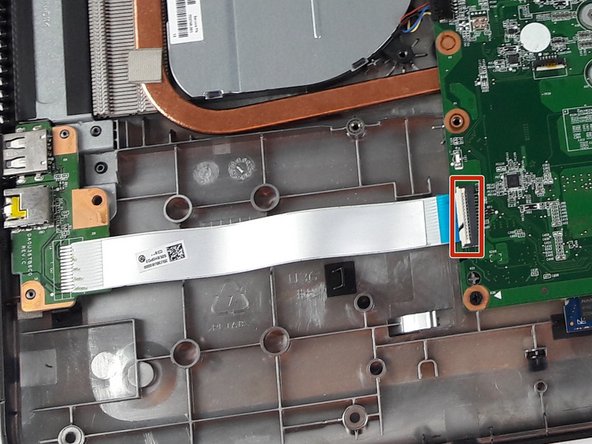
Use the spudger to lift the white tab
-
pull horizontally on the blue ribbon to disconnect the cable
-
-
-
Use plastic pry tool to lift up on headphone jack assembly
-


To reassemble your device, follow these instructions in reverse order.
To reassemble your device, follow these instructions in reverse order.
crwdns2915084:0crwdne2915084:0

USF Tampa, Team S11-G2, Cheng Spring 2018 crwdns2935289:0USF Tampa, Team S11-G2, Cheng Spring 2018crwdne2935289:0
USFT-CHENG-S18S11G2
crwdns2931471:04crwdne2931471:0
crwdns2935297:018crwdne2935297:0