crwdns2915892:0crwdne2915892:0
Before beginning this repair, you should be familiar with soldering a circuit board. The soldering skills needed aren't very in-depth, but you'll be working very close to some other components.
crwdns2942213:0crwdne2942213:0
-
-
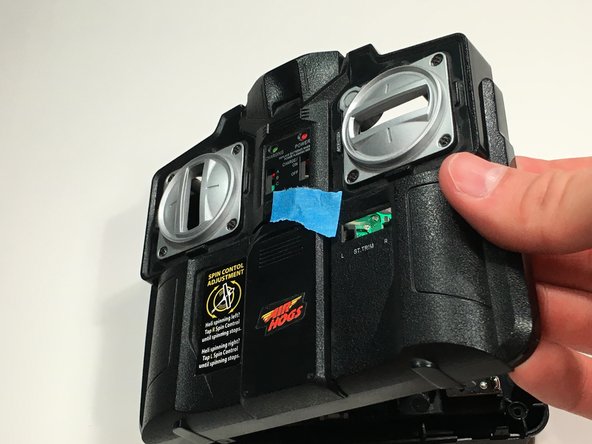
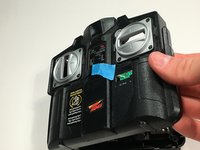
Place a small piece of tape over the Light button to prevent it from falling out in later steps.
-
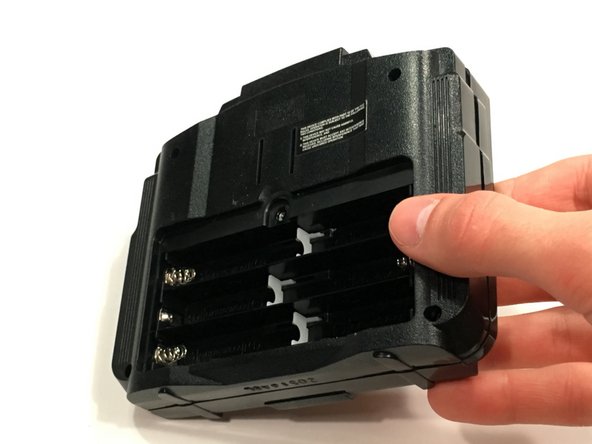
Flip the controller over so the back is facing up.
 crwdns2952109:0crwdne2952109:0
-
-
-
Remove the battery compartment screw with a small Phillips screw driver.
-
Lift off the battery cover.
-
Remove the six AA batteries from the compartment.
-
-
-
-
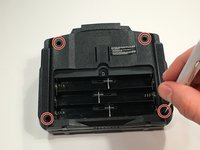
Remove the remaining four screws with a small Phillips screw driver.
-
Flip the device over so the front is facing up.
-
Remove the front cover and place it to the left side.
-
-
-
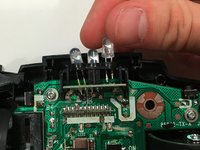
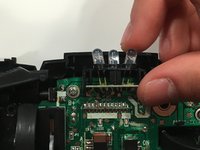
Lift up the red IR LED cover to remove it.
-
-
-
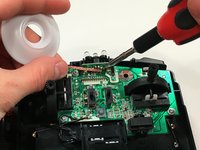
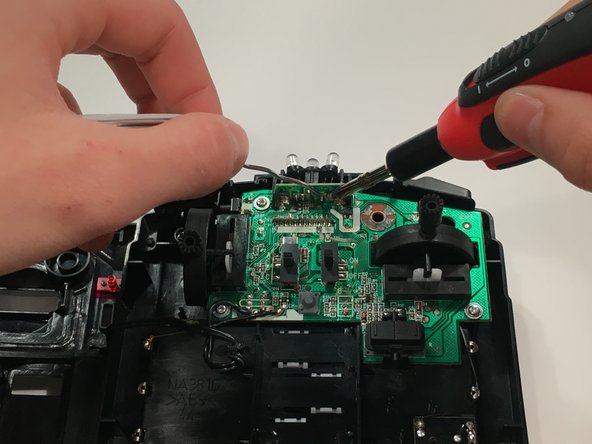
Use the soldering iron and solder wick to remove the solder from the IR LED you're replacing.
-
Pull the LED out through the top.
-
-
-
Insert the new LED into the slot.
-
Use the soldering iron and solder to connect the new LED.
-


To reassemble your device, follow these instructions in reverse order.
crwdns2935221:0crwdne2935221:0
crwdns2935227:0crwdne2935227:0
crwdns2935287:0crwdne2935287:0

Michigan Tech, Team 1-13, Lauer Fall 2016 crwdns2935289:0Michigan Tech, Team 1-13, Lauer Fall 2016crwdne2935289:0
MTU-LAUER-F16S1G13
crwdns2934841:01crwdne2934841:0
crwdns2935297:02crwdne2935297:0