crwdns2942213:0crwdne2942213:0
-
crwdns2935201:0crwdne2935201:0 crwdns2935203:0crwdne2935203:0
-
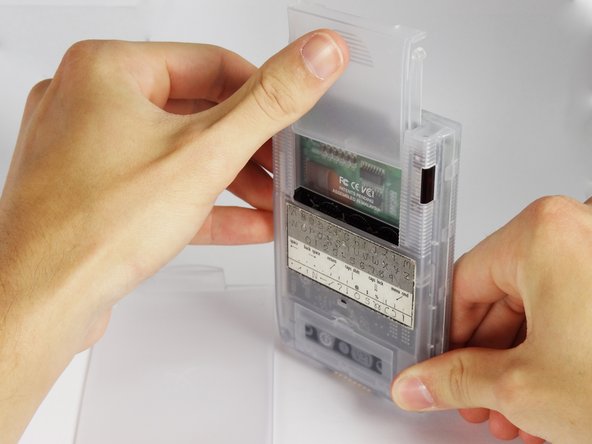
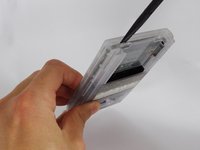
Remove the outer screen cover by releasing the top clip from the main body of the device.
-
-
crwdns2935201:0crwdne2935201:0 crwdns2935203:0crwdne2935203:0
-
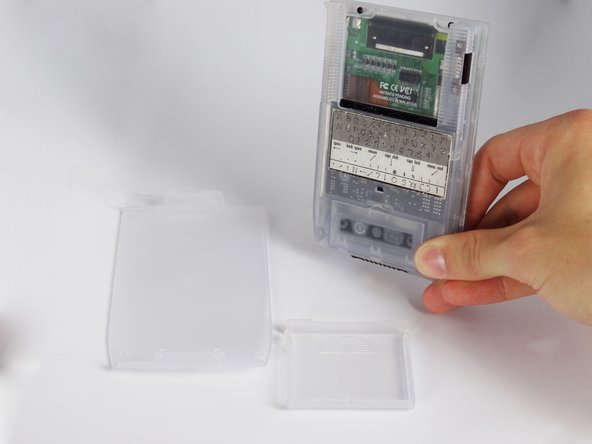
Pull out the stylus from the top right corner of the device.
-
-
crwdns2935201:0crwdne2935201:0 crwdns2935203:0crwdne2935203:0
-
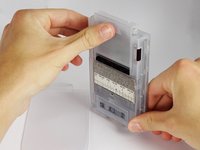
Slide the memory cartridge cover up and off the device.
-
-
-
crwdns2935201:0crwdne2935201:0 crwdns2935203:0crwdne2935203:0
-
Remove the battery cover by releasing the clip from the main body of the device.
-
-
crwdns2935201:0crwdne2935201:0 crwdns2935203:0crwdne2935203:0
-
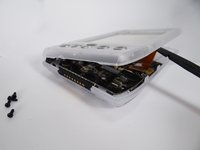
Unscrew the four 2.94mm screws with a #00 Phillips screwdriver.
-
-
crwdns2935201:0crwdne2935201:0 crwdns2935203:0crwdne2935203:0
-
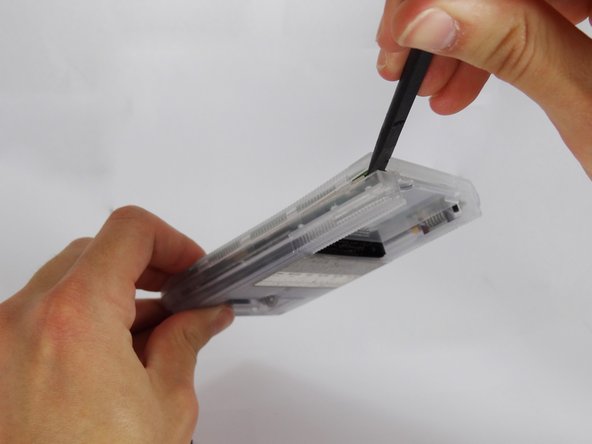
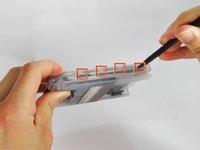
Use the spudger to pry open the casing by applying pressure at 4 clips on both sides of the device.
-
-
crwdns2935201:0crwdne2935201:0 crwdns2935203:0crwdne2935203:0
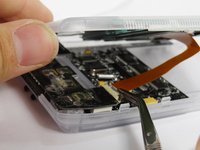
crwdns2935267:0crwdne2935267:0Tweezers$4.99-
Disconnect the flex strip from the motherboard with tweezers.
-


crwdns2935221:0crwdne2935221:0
crwdns2935227:0crwdne2935227:0
crwdns2915084:0crwdne2915084:0

Cal Poly, Team 1-2, Regan SU 2012 crwdns2935289:0Cal Poly, Team 1-2, Regan SU 2012crwdne2935289:0
CPSU-REGAN-SU12S1G2
crwdns2931471:04crwdne2931471:0
crwdns2935297:09crwdne2935297:0