
HTC Wizard 200 Keypad Replacement

crwdns2959932:0crwdnd2959932:0Kyle Champcrwdnd2959932:0crwdnd2959932:0crwdnd2959932:06crwdnd2959932:0crwdne2959932:0
crwdns2959936:0Sun 16, 2026crwdne2959936:0
crwdns2869540:0crwdne2869540:0: 1.2K
crwdns2959988:0crwdne2959988:0
- crwdns2959990:0crwdne2959990:0
- 1
- crwdns2959992:0crwdne2959992:0
- 21
- crwdns2959994:0crwdne2959994:0
- 98
- crwdns2959996:0crwdne2959996:0
- 1,187
crwdns2955950:0crwdne2955950:0: 0
crwdns2959998:0crwdne2959998:0
crwdns2960000:0crwdne2960000:0crwdns2959984:0crwdne2959984:0: 0 1
crwdns2959956:0crwdne2959956:0
crwdns2959968:01crwdne2959968:0
crwdns2959986:0crwdne2959986:0: 1 2
crwdns2959980:01crwdne2959980:0
crwdns2959978:02crwdne2959978:0
crwdns2862599:0crwdne2862599:0
crwdns2862600:0crwdne2862600:0
crwdns2862633:0crwdne2862633:0
crwdns2862634:0crwdne2862634:0
crwdns2862635:0crwdne2862635:0
crwdns2862636:0crwdne2862636:0
crwdns2915892:0crwdne2915892:0
crwdns2959928:0crwdne2959928:0 ↓This guide will explain how to install / remove the keypad from the HTC Wizard 200.
crwdns2959930:0crwdne2959930:0
crwdns2943215:0crwdne2943215:0
-
Spudger4.9


-
-
-
To expose the battery, remove the outer case with your fingernail.
-
Remove the battery by pulling the black tab.
 crwdns2952109:0crwdne2952109:0
-
-
-
-
crwdns2935267:0crwdne2935267:0Spudger$3.99
-
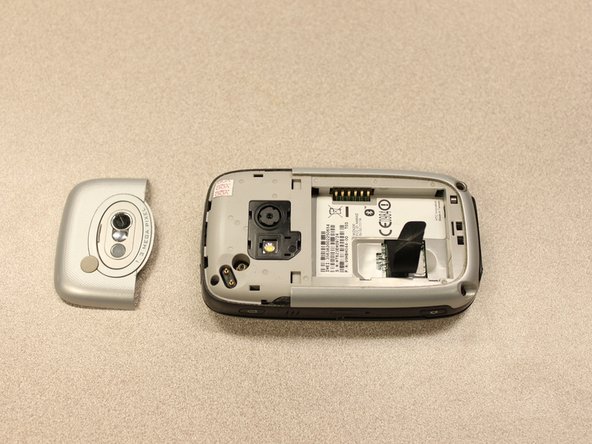
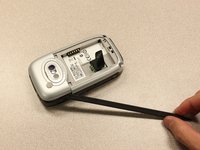
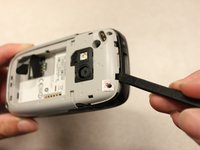
Insert the flat end of the spudger into the two notches on the back of the camera cover and pry them up.
-
-
crwdns2935267:0crwdne2935267:0Spudger$3.99
-
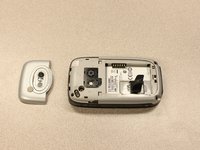
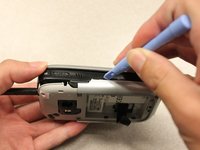
Work the spudger around the edges of the camera cover until it comes off.
-
-
crwdns2935267:0crwdne2935267:0T5 Torx Screwdriver$5.49
-
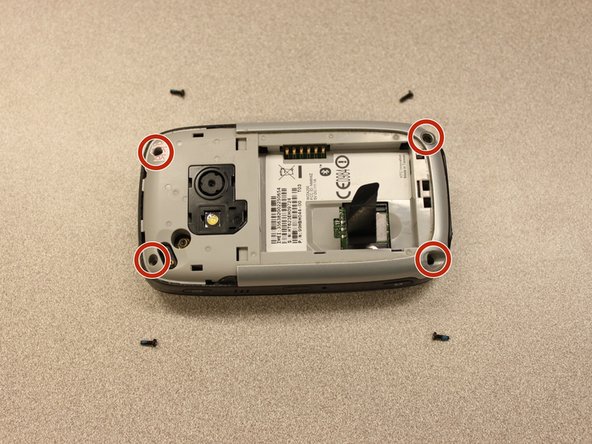
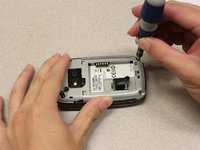
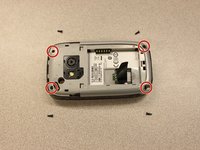
Remove the four 6 mm screws with the T5 Torx screwdriver.
-
-
-
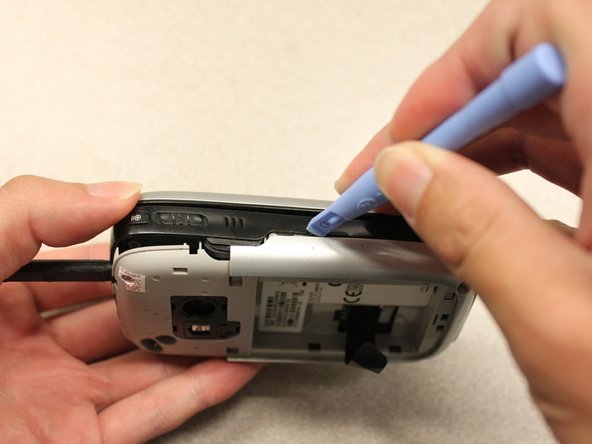
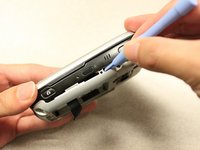
Insert the flat end of an iFixit opening tool between the side and inner covers to create a gap.
-
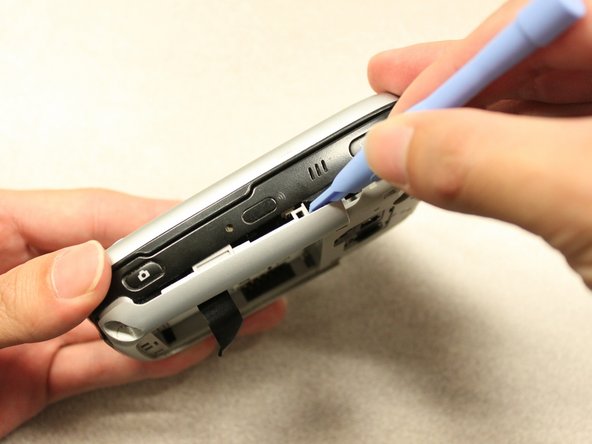
Work the tool around the edges until all the clips release.
-
-
-
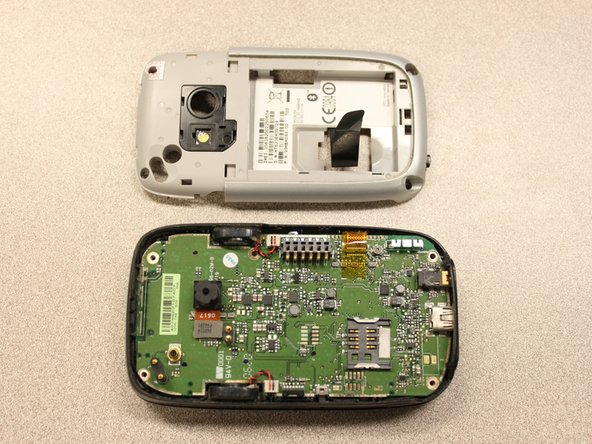
Once all the clips are open, remove the inner panel from the phone.
-
-
-
-
crwdns2935267:0crwdne2935267:0Spudger$3.99
-
Use the spudger to pry the camera off.
-
-
crwdns2935267:0crwdne2935267:0Tweezers$4.99
-
Using tweezers, flip the connector latch away from the motherboard.
-
Detach the flexible connection from under the connector latch.
-
-
-
Slide the keyboard into the open position.
-
-
crwdns2935267:0crwdne2935267:0Spudger$3.99
-
Lift the motherboard out of the case using the spudger.
-
Expose the underside of the motherboard using your hands.
-
-
-
-
Remove the flexible connection from the motherboard.
-
-
-
-
crwdns2935267:0crwdne2935267:0T5 Torx Screwdriver$5.49
-
Remove the four 5mm screws with the T5 Torx screwdriver.
-
Remove the keyboard slider from the main body.
-
-
-
-
-
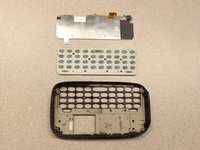
Use a screwdriver to remove eight 2mm Phillips screws that secure the keypad to the keyboard slider.
-
-
-
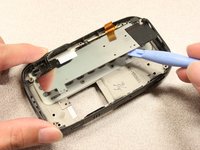
Use the plastic opening tool to gently lift up the keypad.
-
-





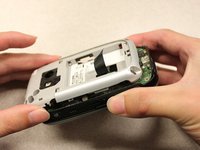
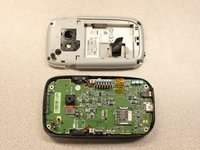


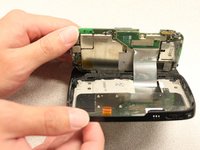


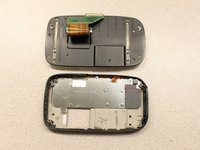

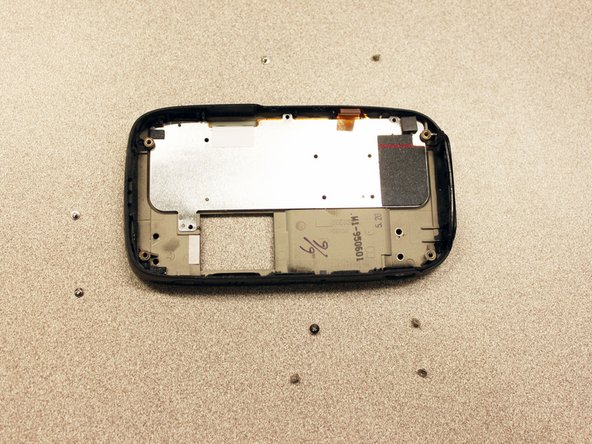
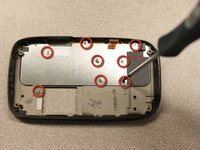
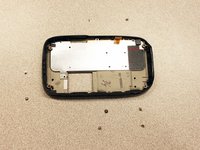

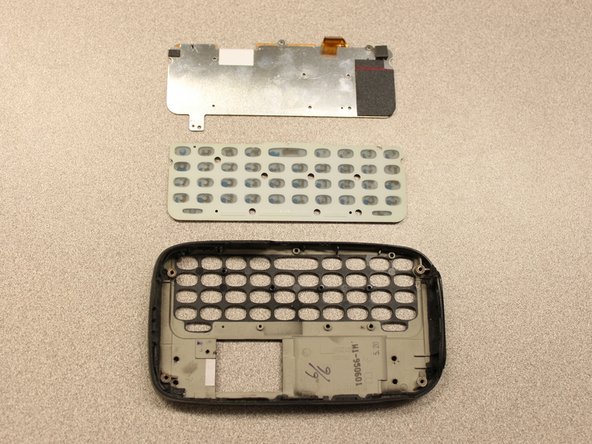
To reassemble your device, follow these instructions in reverse order.

crwdns2935287:0crwdne2935287:0

Cal Poly, Team 20-27, Maness Fall 2011 crwdns2935289:0Cal Poly, Team 20-27, Maness Fall 2011crwdne2935289:0
CPSU-MANESS-F11S20G27
crwdns2931471:04crwdne2931471:0
crwdns2935297:0144crwdne2935297:0
