crwdns2915892:0crwdne2915892:0
Use this guide to replace the outer shell on your HTC Vive Pro 2 headset.
Some photos in this guide are from a different model and may contain slight visual discrepancies, but they won't affect the procedure.
Power off and unplug your headset before you begin your repair.
crwdns2942213:0crwdne2942213:0
-
-
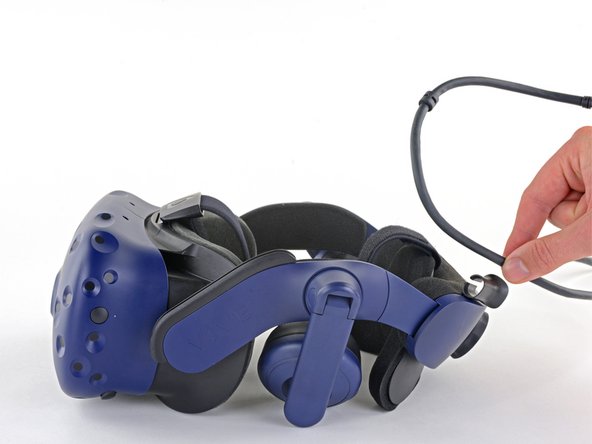
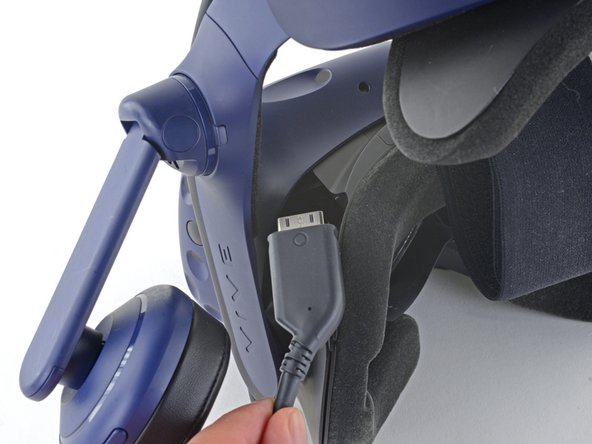
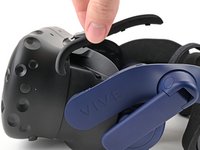
Unplug the All-In-One Cable from your headset.
-
-
-
Remove the All-In-One Cable from the cable guides along the left side of the head strap.
-
-
-
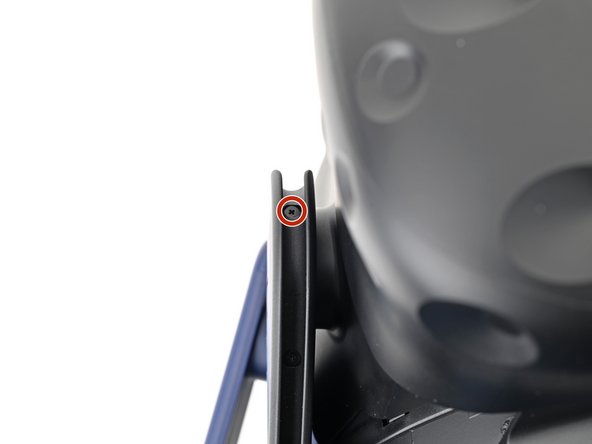
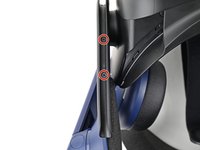
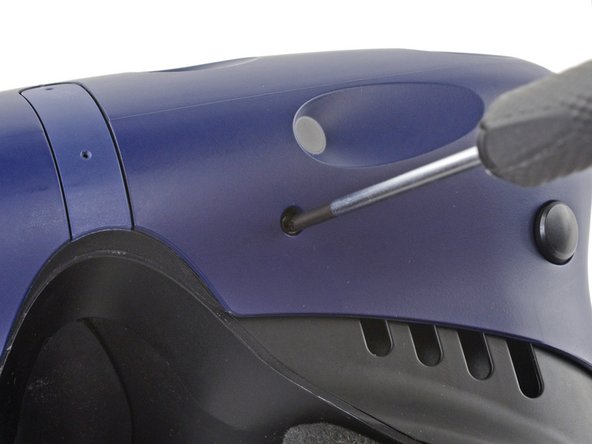
Use a Phillips screwdriver to remove the three 2.4 mm‑long screws securing the All-in-One cable bracket.
-
-
-
-
Lift the All-in-One cable bracket straight off the headset and remove it.
-
-
-
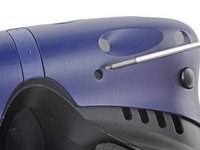
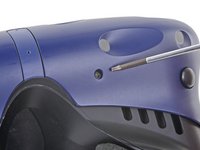
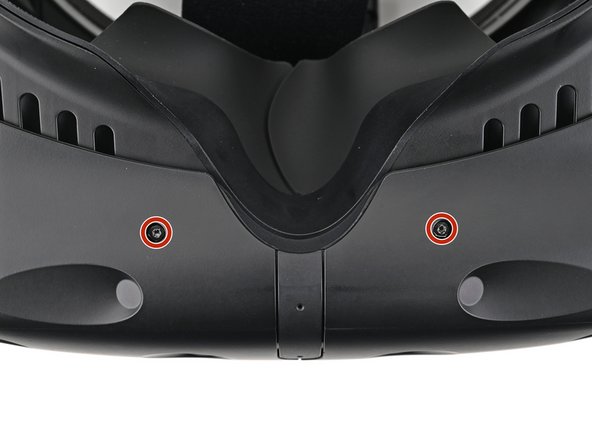
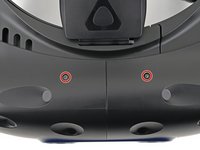
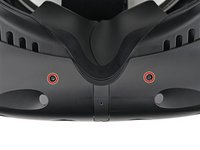
Use a T6 Torx screwdriver to remove the four 3.9 mm screws (two on top, two on bottom) securing the outer shell to the headset.
-
-
-
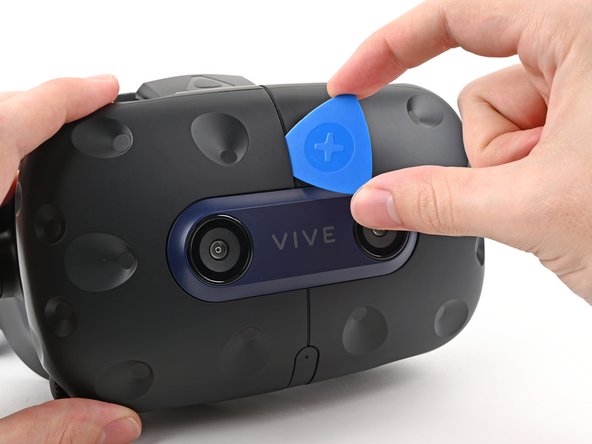
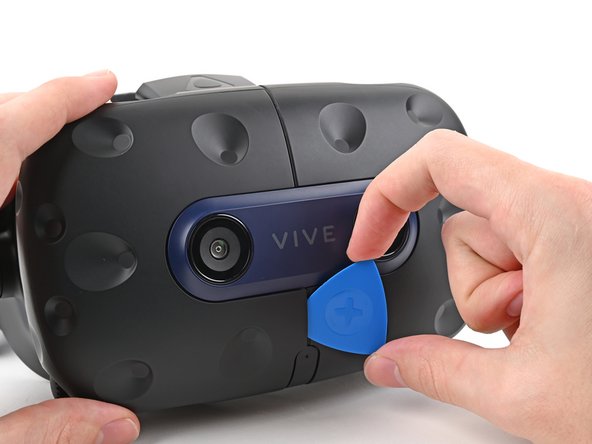
Insert an opening pick into the seam between the two halves of the outer shell.
-
Slide the opening pick through the seam to dislodge the clips securing it to the headset.
-
-
-
Continue sliding the opening pick through each seam until all clips have been dislodged.
-
-
-
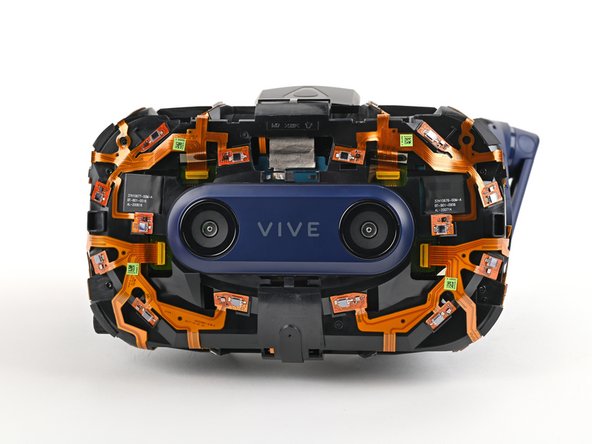
Carefully slide each half of the outer shell off of the sensor array.
-


To reassemble your device, follow the above steps in reverse order.
Repair didn’t go as planned? Try some basic troubleshooting, or ask our Answers community for help.
To reassemble your device, follow the above steps in reverse order.
Repair didn’t go as planned? Try some basic troubleshooting, or ask our Answers community for help.

