crwdns2915892:0crwdne2915892:0
Building upon basic teardown guides, this guide will allow you to replace the camera inside your phone in about 20 minutes.
crwdns2942213:0crwdne2942213:0
-
-
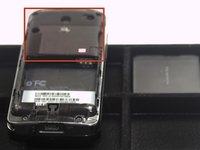
Remove the back cover (not pictured) to your phone.
-
-
-
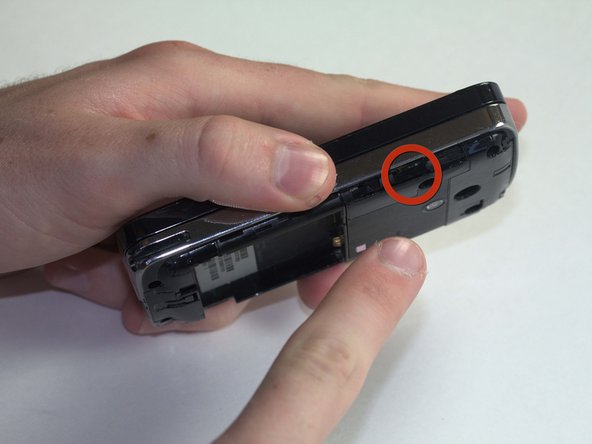
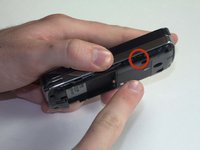
To remove the battery, place your thumb beneath the tab and begin to lift.
-
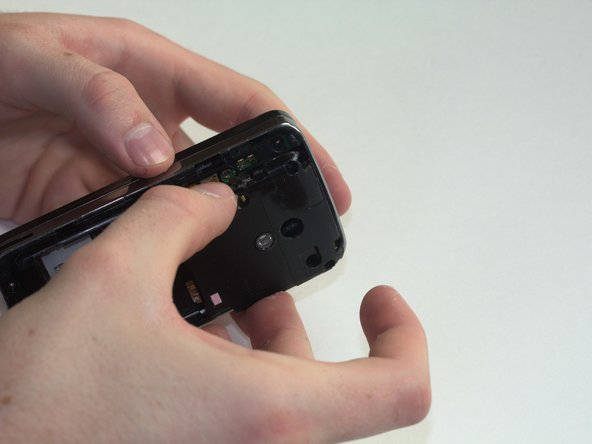
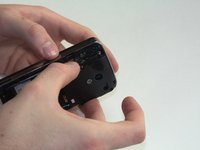
Pinching the battery, lift up at an angle from the bottom of the phone.
-
-
-
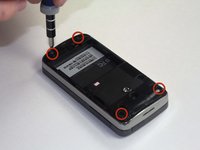
Use a T6 screwdriver to remove the four screws on the rear plate of the HTC Touch Pro.
-
-
-
-
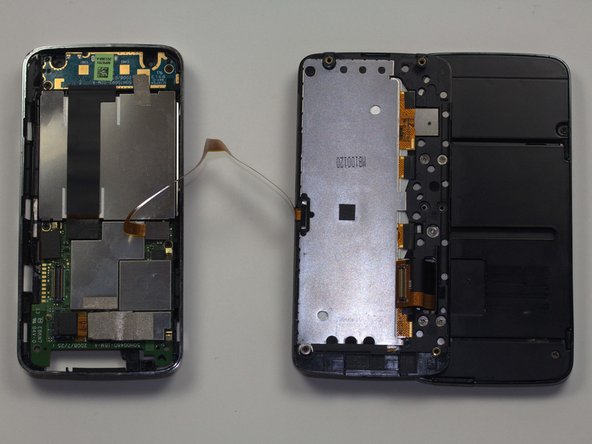
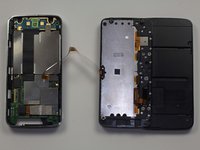
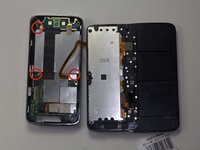
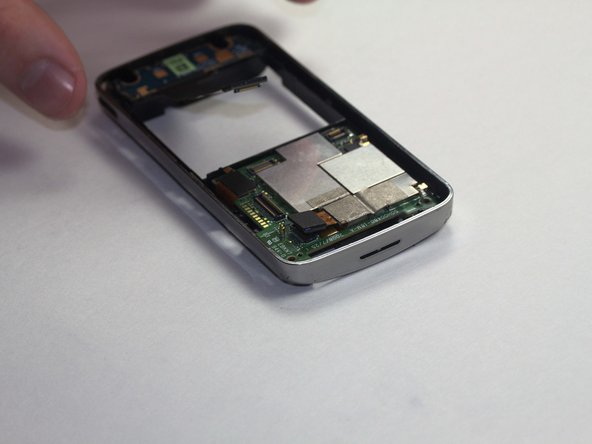
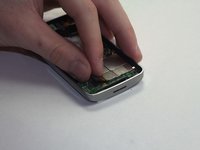
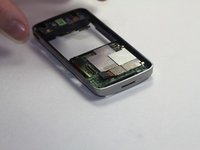
Next, remove the casing that covers the camera and motherboard.
-
-
-
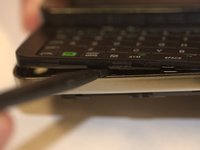
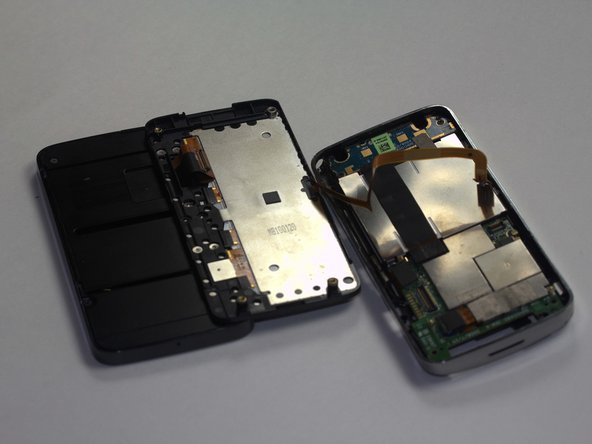
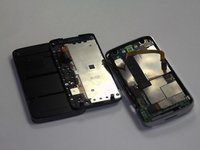
Insert your spudger along the slit between the keyboard and the external casing. Pry open as shown.
-
-
-
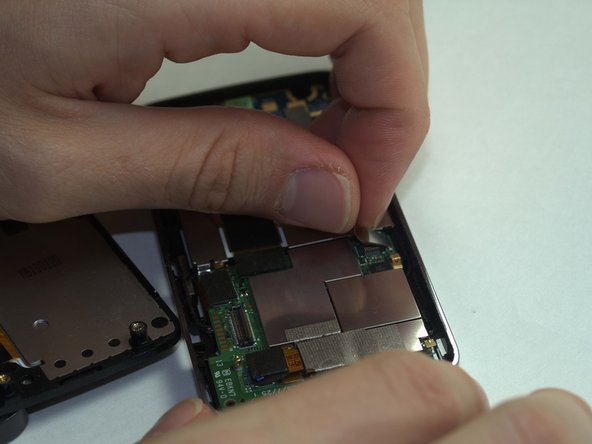
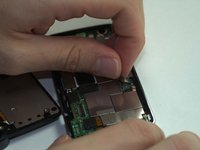
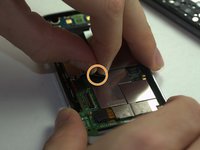
Remove the keyboard ribbon from the motherboard. To do this, simply grasp the ribbon at its base and pry it up at an angle. The ribbon has a metal end that is easily removed from the motherboard.
-
-
-
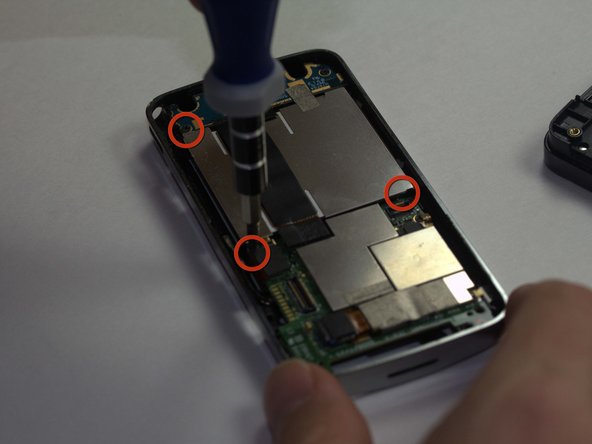
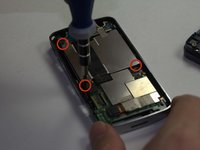
Using a Phillips Head size 0 screwdriver, remove the 3 screws holding in the battery compartment.
-
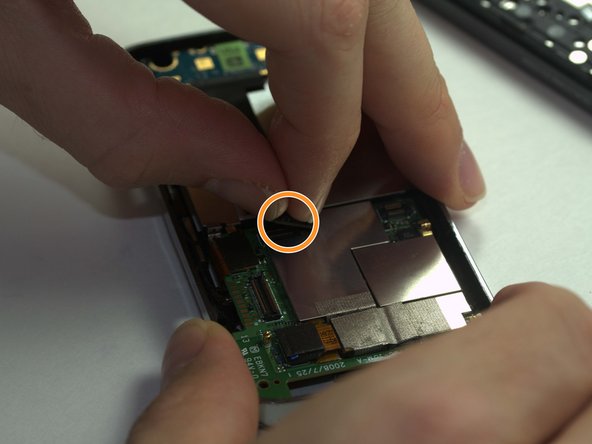
Remove the ribbon covering the battery compartment by pinching it at the base and lifting.
-
-
-
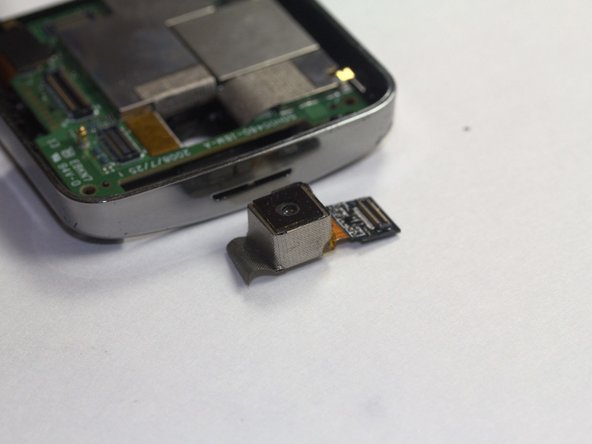
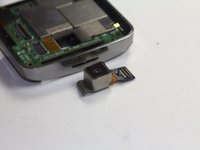
The camera is only held in by one connection to the motherboard and some tape.
-
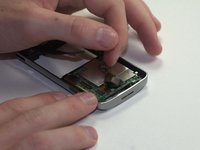
Remove its connection to motherboard in the same way that you've removed such connections in the past.
-
-
-
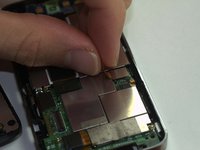
Peel the tape holding it in place.
-
After that it will be free to remove and replace as necessary.
-
To reassemble your device, follow these instructions in reverse order.


