crwdns2933423:0crwdne2933423:0
crwdns2947577:0crwdnd2947577:0crwdne2947577:0

HTC One X Plus Screen Replacement

crwdns2869540:0crwdne2869540:0: 2.5K

crwdns2959988:0crwdne2959988:0

crwdns2959990:0crwdne2959990:0
16
crwdns2959992:0crwdne2959992:0
34
crwdns2959994:0crwdne2959994:0
94
crwdns2959996:0crwdne2959996:0
2,478
crwdns2955950:0crwdne2955950:0: 1

crwdns2960006:01crwdne2960006:0

crwdns2960000:0crwdne2960000:0
crwdns2959984:0crwdne2959984:0: 0

crwdns2959956:0crwdne2959956:0

crwdns2959986:0crwdne2959986:0: 2

crwdns2959982:02crwdne2959982:0

crwdns2955944:0crwdne2955944:0: crwdns2931289:01crwdne2931289:0
crwdns2955970:0crwdne2955970:0: crwdns2937803:0crwdne2937803:0
crwdns2862615:0crwdne2862615:0

crwdns2862616:0crwdne2862616:0

HTC One X Plus Screen Replacement

crwdns2915892:0crwdne2915892:0

crwdns2959928:0crwdne2959928:0 ↓

You may need to replace your screen if it is broken or cracked.

crwdns2959930:0crwdne2959930:0

crwdns2943215:0crwdne2943215:0

    1. HTC One X Plus Screen Replacement, Screen: crwdns2935265:01crwdnd2935265:01crwdnd2935265:01crwdne2935265:0
      • Power off your device.

      • Insert a pin, paper clip, or very small piece of metal in the hole next to the micro sim card holder to remove it.

      • The sim card slot is located on the top edge of the device.

      crwdns2952109:0crwdne2952109:0

      crwdns2917038:0crwdne2917038:0

    2. HTC One X Plus Screen Replacement: crwdns2935265:02crwdnd2935265:01crwdnd2935265:03crwdne2935265:0 HTC One X Plus Screen Replacement: crwdns2935265:02crwdnd2935265:02crwdnd2935265:03crwdne2935265:0 HTC One X Plus Screen Replacement: crwdns2935265:02crwdnd2935265:03crwdnd2935265:03crwdne2935265:0
      • Using plastic opening tools, pry open the bottom of the device first.

      • You will hear clicking sounds as the sides of the device detach from the screen.

      • Once both sides are detached, use the suction cup tool to remove the screen completely from the black encasing.

      crwdns2952109:0crwdne2952109:0

      crwdns2917038:0crwdne2917038:0

    3. HTC One X Plus Screen Replacement: crwdns2935265:03crwdnd2935265:01crwdnd2935265:03crwdne2935265:0 HTC One X Plus Screen Replacement: crwdns2935265:03crwdnd2935265:02crwdnd2935265:03crwdne2935265:0 HTC One X Plus Screen Replacement: crwdns2935265:03crwdnd2935265:03crwdnd2935265:03crwdne2935265:0
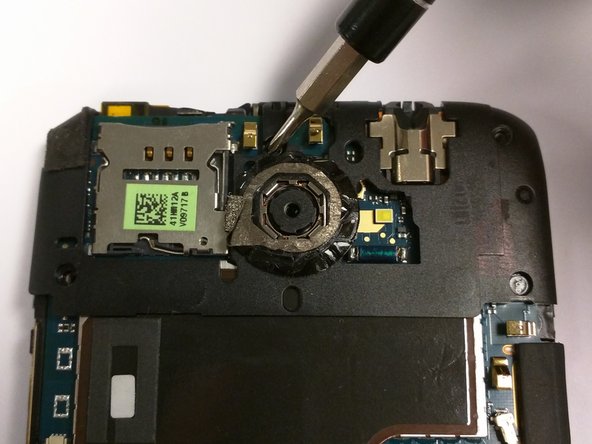
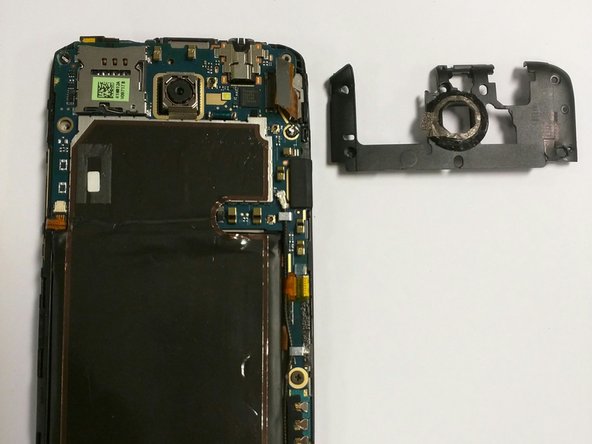
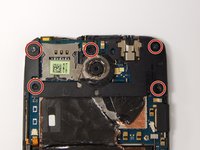
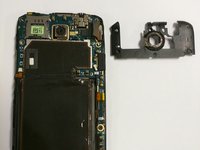
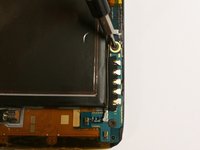
      • Remove the five 2.4 mm screws using a Phillips #000 screwdriver.

      • Remove the plastic cover.

      crwdns2952109:0crwdne2952109:0

      crwdns2917038:0crwdne2917038:0

    4. HTC One X Plus Screen Replacement: crwdns2935265:04crwdnd2935265:01crwdnd2935265:03crwdne2935265:0 HTC One X Plus Screen Replacement: crwdns2935265:04crwdnd2935265:02crwdnd2935265:03crwdne2935265:0 HTC One X Plus Screen Replacement: crwdns2935265:04crwdnd2935265:03crwdnd2935265:03crwdne2935265:0
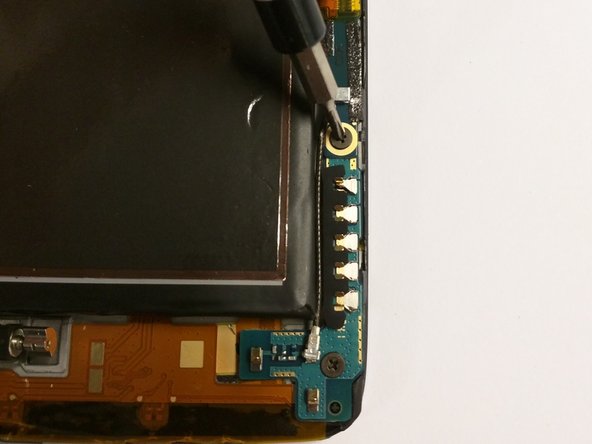
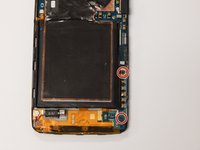
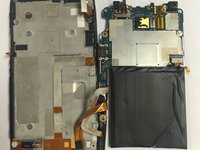
      • Use a Phillips #000 screwdriver to remove the two 3.4 mm screws.

      • Remove the PCB board and antenna.

      crwdns2952109:0crwdne2952109:0

      crwdns2917038:0crwdne2917038:0

    5. HTC One X Plus Screen Replacement: crwdns2935265:05crwdnd2935265:01crwdnd2935265:02crwdne2935265:0 HTC One X Plus Screen Replacement: crwdns2935265:05crwdnd2935265:02crwdnd2935265:02crwdne2935265:0
      crwdns2935267:0crwdne2935267:0
      Tweezers
      $4.99
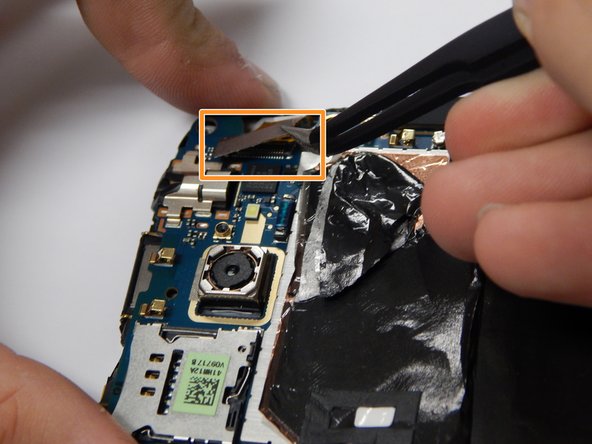
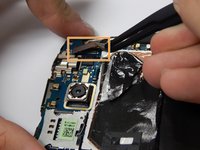
      • Use tweezers to disconnect the power button flex cable.

      crwdns2952109:0crwdne2952109:0

      crwdns2917038:0crwdne2917038:0

    6. HTC One X Plus Screen Replacement: crwdns2935265:06crwdnd2935265:01crwdnd2935265:03crwdne2935265:0 HTC One X Plus Screen Replacement: crwdns2935265:06crwdnd2935265:02crwdnd2935265:03crwdne2935265:0 HTC One X Plus Screen Replacement: crwdns2935265:06crwdnd2935265:03crwdnd2935265:03crwdne2935265:0
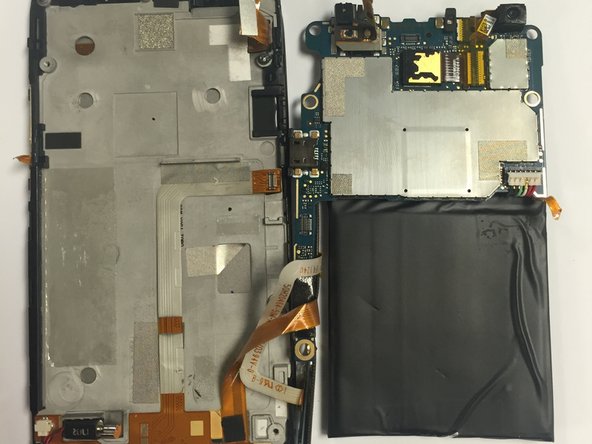
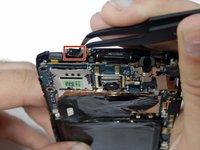
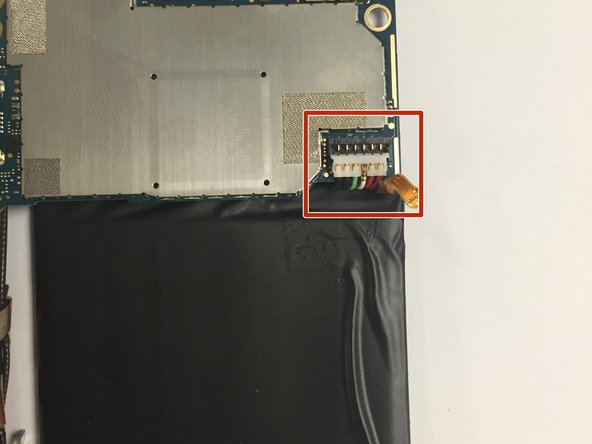
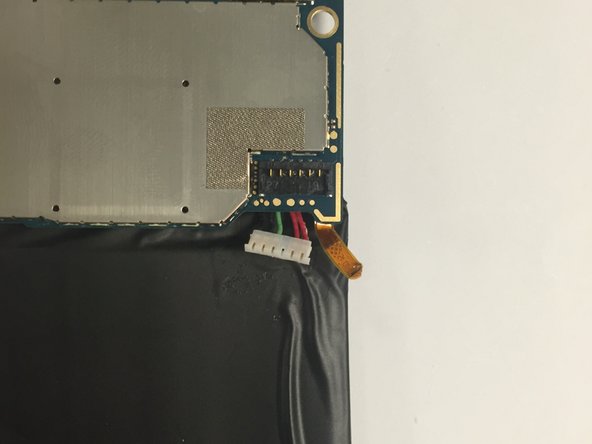
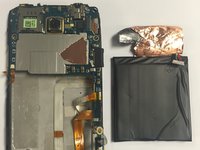
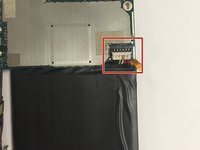
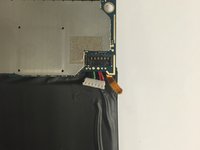
      • Disconnect the battery's six pin connector from the motherboard.

      • Remove the battery by pulling it upwards.

      crwdns2952109:0crwdne2952109:0

      crwdns2917038:0crwdne2917038:0

    7. HTC One X Plus Screen Replacement: crwdns2935265:07crwdnd2935265:01crwdnd2935265:01crwdne2935265:0
      • Disconnect the screen from the digitizer.

      • Use a plastic opening tool to gently disconnect the screen from the digitizer.

      • You may have to use heat to loosen adhesive securing the screen.

      crwdns2952109:0crwdne2952109:0

      crwdns2917038:0crwdne2917038:0

crwdns2915888:0crwdne2915888:0

To reassemble your device, follow these instructions in reverse order.

crwdns2935221:0crwdne2935221:0

crwdns2862417:0crwdne2862417:0

crwdns2935293:0crwdne2935293:0

Jason Melo

crwdns2935283:008/26/15crwdne2935283:0

483 crwdns2915208:0crwdne2915208:0

crwdns2935297:04crwdne2935297:0

crwdns2935287:0crwdne2935287:0

USF Tampa, Team 3-3, Eyestone Fall 2015 crwdns2935289:0USF Tampa, Team 3-3, Eyestone Fall 2015crwdne2935289:0

USFT-EYESTONE-F15S3G3

crwdns2931471:03crwdne2931471:0

crwdns2935297:060crwdne2935297:0

crwdns2947410:01crwdne2947410:0

Man, this did nothing but break my International One X+. There were so many instructions missing.

Garrett Reyman - crwdns2934203:0crwdne2934203:0 crwdns2950251:0crwdne2950251:0

crwdns2917038:0crwdne2917038:0

crwdns2936625:0crwdne2936625:0:

crwdns2936751:024crwdne2936751:0 16

crwdns2936753:07crwdne2936753:0 34

crwdns2936753:030crwdne2936753:0 94

crwdns2959996:0crwdne2959996:0 2,478