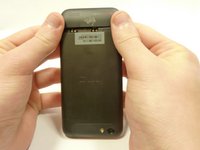
crwdns2915892:0crwdne2915892:0
If your phone will not hold a charge very long or even turn on, a faulty battery might be the problem. A new one can be installed using this guide.
crwdns2942213:0crwdne2942213:0
-
-
Power off your device.
-
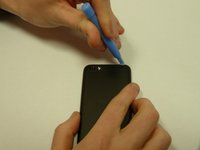
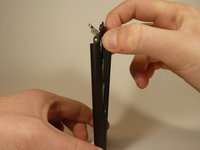
Remove the bottom cover by sliding it off.
-
-
-
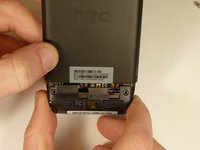
Remove the SIM card.
-
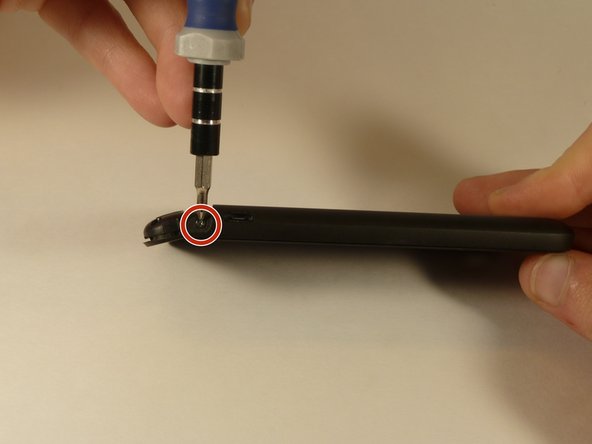
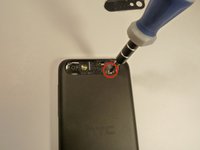
Remove the four screws securing the bottom casing.
-
Two 3.0 mm Phillips #0 screws in the top left and right corners.
-
Two 2.0 mm Phillips #0 screws in the bottom left and right corners.
-
-
-
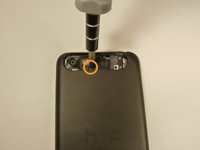
Remove the 2.0 mm Phillips #0 screws on either side of the phone.
-
-
-
-
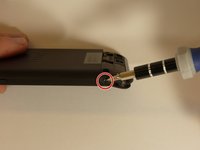
Use a plastic opening tool to pry open the bottom casing.
-
Remove the bottom casing by pulling it towards you.
-
-
-
Use the plastic opening tool to pry open the rear camera panel.
-
Remove both screws that are securing the back case.
-
One 4.0 mm Phillips #0 screw.
-
One 3.0 mm Phillips #0 screw.
-
-
-
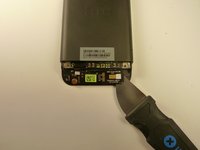
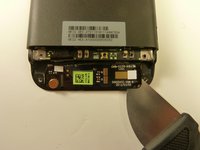
Use a Jimmy to pry up the OEM SIM and SD card reader contact.
-
-
-
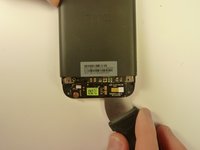
Using both thumbs, gently push on the two bottom rear corners of the motherboard.
-
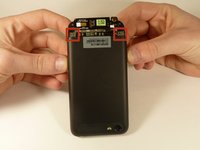
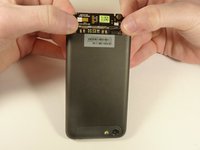
Gently and slowly pull the screen out from the front of the phone, while feeding the OEM reader contact through the opening.
-
-
-
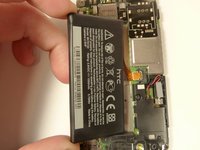
Pry up the battery with the flat end of the spudger.
-
-
-
Gently lift up the battery away from the edge of its housing.
-
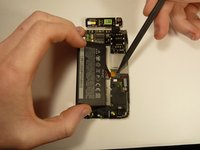
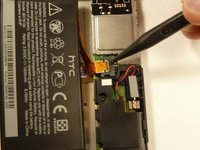
Use the point end of the spudger to push the connection out of its housing.
-


To reassemble your device, follow these instructions in reverse order.
To reassemble your device, follow these instructions in reverse order.
crwdns2935221:0crwdne2935221:0
crwdns2935229:09crwdne2935229:0
crwdns2915084:0crwdne2915084:0

USF Tampa, Team 1-3, Blackwell Winter 2015 crwdns2935289:0USF Tampa, Team 1-3, Blackwell Winter 2015crwdne2935289:0
USFT-BLACKWELL-W15S1G3
crwdns2931471:04crwdne2931471:0
crwdns2935297:016crwdne2935297:0
crwdns2947412:05crwdne2947412:0
Good guide! At step 6 it was easier for me to start pry from felt to right. I'm not sure, but it seems there is 2 ribbons not one, and it maybe I accidentally teared the one on the right. I really not sure, because my speaker still working. Take care! A closer image from the ribbon(s) would help!
Thank you, my phone is working again!
Step 6 was difficult because the card reader contact was stuck down with some kind of adhesive
In Step 4, a small rubber block fell out and it took a while to work out where it belongs. You can just make out where it should be in the bottom left of the second photo in Step 4.
Overall, great instructions, and thank you!
Good guide! Actually I skipped step 6 which I felt not required. As sticking it back in position would be problem, so I just tilted the two separated sides & changed the battery.
Thank you , my phone started working again !
Very well -understood process! Excellent!