crwdns2915892:0crwdne2915892:0
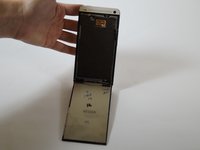
If you have a front panel problem as stated in our troubleshooting page (HTC One M7 Troubleshooting) then this guide is for you. Also, this covers everything within the phone because it is the first and last step of tear down.
crwdns2942213:0crwdne2942213:0
-
-
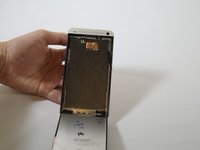
Use the plastic opening tool to scrape and loosen the adhesive from the crease surrounding the screen.
 crwdns2952109:0crwdne2952109:0
-
-
-
Wedge the plastic opening tool into the crack around the screen on the top, left and right sides.
-
-
-
Once the screen has been loosened on the top, left and right edges, lift the screen.
-
-
-
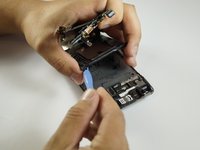
Gently remove the volume button. Using the plastic opening tool, loosen the back panel of the phone. Begin in the space where the battery was and work around the phone, following the crease of the back panel.
-
-
-
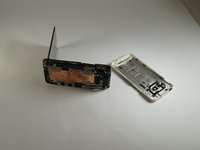
Pry the back open once loose and lift. The back panel will come off with time.
-
-
-
-
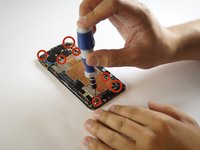
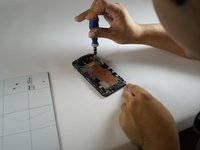
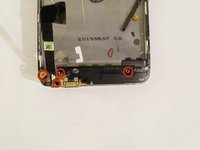
Remove all the #000 screws with a #000 Phillips screw driver
-
-
crwdns2935267:0crwdne2935267:0Tweezers$4.99
-
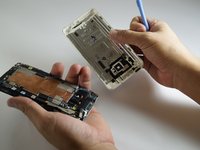
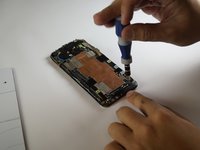
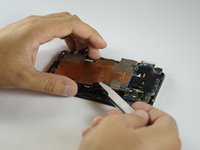
Use the tweezers to get underneath the mother board to lift.
-
-
-
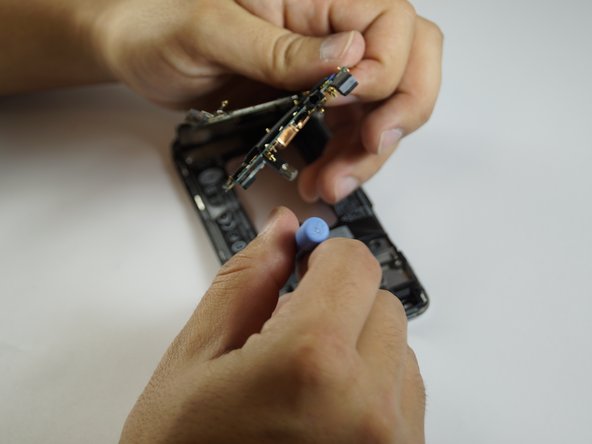
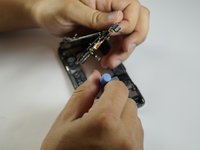
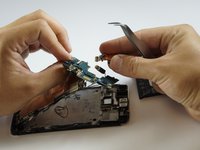
Remove the Camera by detaching the box from the frame (you will have to rotate the metal piece on the box to remove it).
-
Lift the camera out of the motherboard.
-
-
-
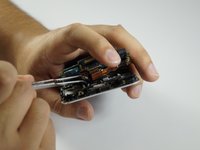
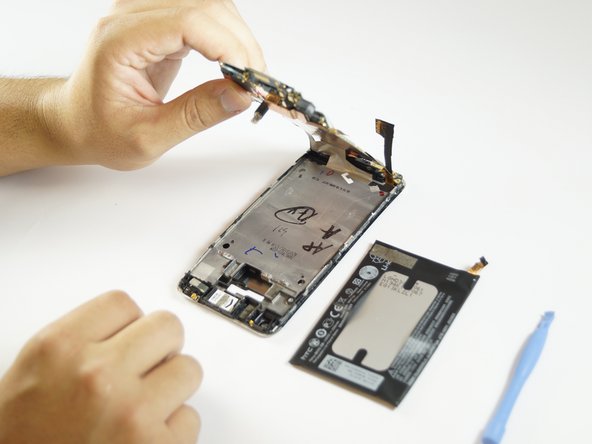
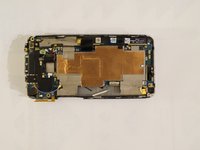
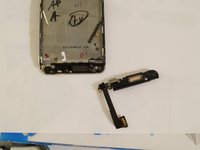
Lift the motherboard completely out of the phone. (may stay attached at the bottom by tape)
-
-
-
Use the blue opening tool to pry up the battery from the frame.
-
-
-
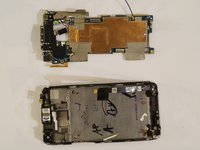
Remove the motherboard entirely if not done on step 9.
-
-
-
Remove the screws in the speaker at the bottom of the frame.
-
Lift the speaker out of the frame.
-
-
-
Lift the screen out of its hinge.
-
Replace the screen.
-


To reassemble your device, follow these instructions in reverse order.
crwdns2935221:0crwdne2935221:0
crwdns2935229:017crwdne2935229:0

crwdns2935287:0crwdne2935287:0

USF Tampa, Team 12-1, Blackwell Fall 2014 crwdns2935289:0USF Tampa, Team 12-1, Blackwell Fall 2014crwdne2935289:0
USFT-BLACKWELL-F14S12G1
crwdns2931471:04crwdne2931471:0
crwdns2935297:07crwdne2935297:0
crwdns2947410:01crwdne2947410:0
Thanks for the tutorial. Not the most repair friendly device,! It took me 2,5 hours, so it's surely possible to do it faster than 10 hours ;)
Albert Zweistein - crwdns2934203:0crwdne2934203:0 crwdns2950251:0crwdne2950251:0