crwdns2933423:0crwdne2933423:0
crwdns2947577:0crwdnd2947577:0crwdne2947577:0

HTC Hero Motherboard Replacement

crwdns2942213:0crwdne2942213:0

    1. HTC Hero Motherboard Replacement, Back Case: crwdns2935265:01crwdnd2935265:01crwdnd2935265:01crwdne2935265:0
      • Remove the back of the phone by pushing firmly with your thumbs up towards the camera.

      • Remove both the battery and the SD card (Press SD card in to release)

      • Locate and remove the four Torx screws highlighted in the photo, with the phone laying face down on your work space.

      crwdns2952109:0crwdne2952109:0

      crwdns2917038:0crwdne2917038:0

    2. HTC Hero Motherboard Replacement: crwdns2935265:02crwdnd2935265:01crwdnd2935265:01crwdne2935265:0
      • Carefully pry the inside back cover from the device using an appropriate size plastic opening tool or small flathead screwdriver.

      • Insert the flat end between the back and front enclosure, working your way around the rim.

      crwdns2952109:0crwdne2952109:0

      crwdns2917038:0crwdne2917038:0

    3. HTC Hero Motherboard Replacement: crwdns2935265:03crwdnd2935265:01crwdnd2935265:01crwdne2935265:0
      • Gently depress and release the small plastic tabs around the rim in the front enclosure, highlighted here.

      • It is best to start with the tab found on the top center of the phone, as it is easiest to locate.

      crwdns2952109:0crwdne2952109:0

      crwdns2917038:0crwdne2917038:0

    4. HTC Hero Motherboard Replacement: crwdns2935265:04crwdnd2935265:01crwdnd2935265:02crwdne2935265:0 HTC Hero Motherboard Replacement: crwdns2935265:04crwdnd2935265:02crwdnd2935265:02crwdne2935265:0
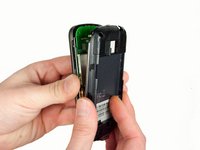
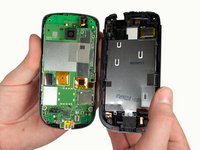
      • Carefully separate the front and back enclosures once all of the clips have been disengaged.

      • Be sure to not separate too quickly or you risk breaking an attached tab.

      crwdns2952109:0crwdne2952109:0

      crwdns2917038:0crwdne2917038:0

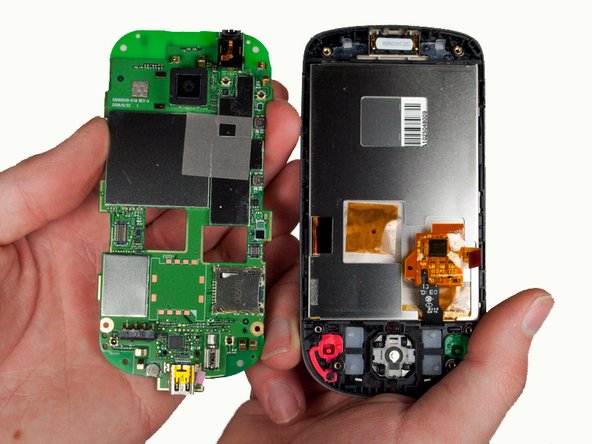
    1. HTC Hero Motherboard Replacement, Motherboard: crwdns2935265:05crwdnd2935265:01crwdnd2935265:02crwdne2935265:0 HTC Hero Motherboard Replacement, Motherboard: crwdns2935265:05crwdnd2935265:02crwdnd2935265:02crwdne2935265:0
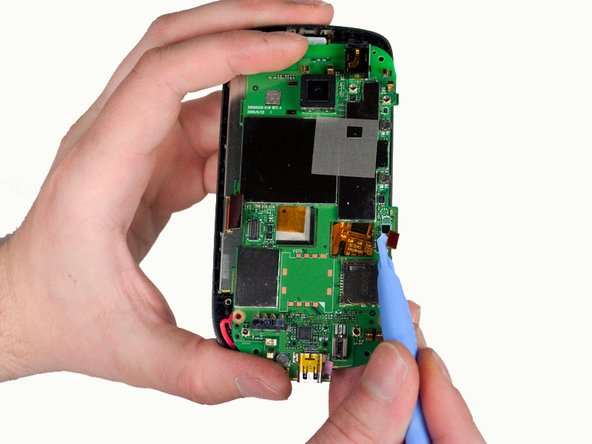
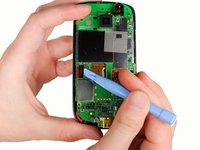
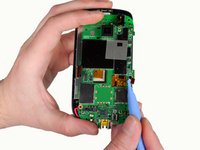
      • Release the two ribbon cables using a plastic opening tool.

      • Gently pry up the pop connectors used to attach the ribbon cables to the motherboard.

      crwdns2952109:0crwdne2952109:0

      crwdns2917038:0crwdne2917038:0

    2. HTC Hero Motherboard Replacement: crwdns2935265:06crwdnd2935265:01crwdnd2935265:02crwdne2935265:0 HTC Hero Motherboard Replacement: crwdns2935265:06crwdnd2935265:02crwdnd2935265:02crwdne2935265:0
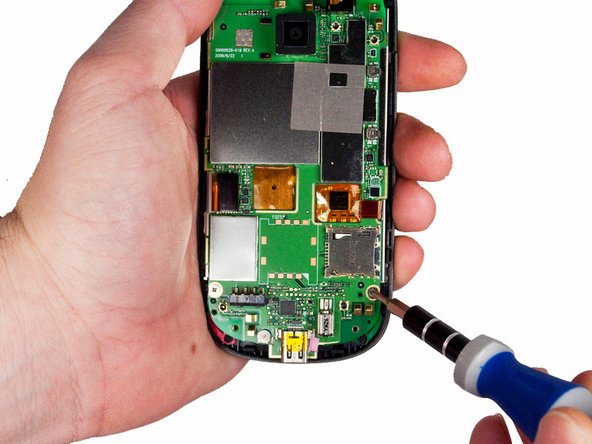
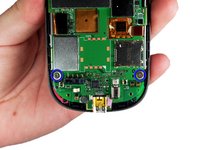
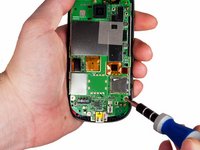
      • Remove the two screws located at the bottom left and right of the motherboard using a small Phillips screwdriver.

      crwdns2952109:0crwdne2952109:0

      crwdns2917038:0crwdne2917038:0

    3. HTC Hero Motherboard Replacement: crwdns2935265:07crwdnd2935265:01crwdnd2935265:02crwdne2935265:0 HTC Hero Motherboard Replacement: crwdns2935265:07crwdnd2935265:02crwdnd2935265:02crwdne2935265:0
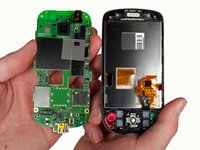
      • Gently lift the motherboard out of the front enclosure once the screws are removed.

      crwdns2952109:0crwdne2952109:0

      crwdns2917038:0crwdne2917038:0

crwdns2915888:0crwdne2915888:0

To reassemble your device, follow these instructions in reverse order.

crwdns2935221:0crwdne2935221:0

Rosalind Villalvazo

crwdns2935283:001/23/12crwdne2935283:0

100 crwdns2915208:0crwdne2915208:0

crwdns2935297:02crwdne2935297:0

crwdns2935287:0crwdne2935287:0

Cal Poly, Team 3-26, Amido Winter 2012 crwdns2935289:0Cal Poly, Team 3-26, Amido Winter 2012crwdne2935289:0

CPSU-AMIDO-W12S3G26

crwdns2931471:05crwdne2931471:0

crwdns2935297:072crwdne2935297:0

crwdns2947412:00crwdne2947412:0

crwdns2917038:0crwdne2917038:0

crwdns2936625:0crwdne2936625:0:

crwdns2936751:024crwdne2936751:0 0

crwdns2936753:07crwdne2936753:0 3

crwdns2936753:030crwdne2936753:0 24

crwdns2942667:0crwdne2942667:0 1,910