crwdns2942213:0crwdne2942213:0
-
-
Find a seam in the back of the device.
-
Insert the plastic spudger into the seam and pry off the back panel.
-
-
crwdns2935267:0crwdne2935267:0Tweezers$4.99
-
Remove the 4.0 mm screw above the battery with a T5 Torx screwdriver.
-
Remove the metal bracket with the tweezers.
-
-
-
Disconnect the battery cable from the motherboard with the tweezers.
-
-
-
Lift the battery with a plastic spudger and remove it from the device.
-
-
-
Use a T5 Torx screwdriver to remove the three 4.0 mm screws.
-
-
-
-
Use the spudger to lift the black plastic covering.
-
-
crwdns2935267:0crwdne2935267:0Tweezers$4.99
-
Use the spudger to lift the green board. The back camera is attached on the side as shown.
-
Use the tweezers to disconnect and remove the camera.
-
-
-
Remove the three 4.0 mm T5 Torx screws connected to the motherboard.
-
-
-
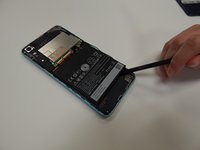
Disconnect the ribbon cable from the motherboard by flipping up the locking tab with a spudger and pulling out the cable with your fingers.
-
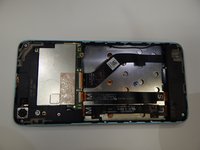
Lift the motherboard out of the frame, using a spudger to help pick up one of the edges.
-
-
-
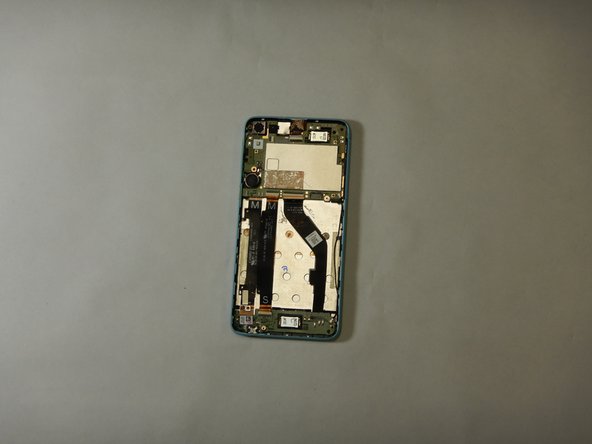
Use a T5 Torx screwdriver to remove the two 4.0 mm screws in the bottom corners of the device.
-
-
-
Use a T5 Torx screwdriver to remove one screw connected to the daughterboard.
-
-
-
Remove the interconnect ribbon cable by flipping up the black tab of the ZIF connector and pulling out the cable with your fingers.
-
Remove the daughterboard.
-
-
crwdns2935267:0crwdne2935267:0Tweezers$4.99
-
Use a pair of tweezers to unhook the locks on both sides of the speaker.
-
Grab the speaker with the tweezers and lift vertically to remove.
-


To reassemble your device, follow these instructions in reverse order.
To reassemble your device, follow these instructions in reverse order.
crwdns2915084:0crwdne2915084:0

The Citadel Military College of South Carolina, Team S3-G18, Eggleston Fall 2020 crwdns2935289:0The Citadel Military College of South Carolina, Team S3-G18, Eggleston Fall 2020crwdne2935289:0
CMCSC-EGGLESTON-F20S3G18
crwdns2931471:03crwdne2931471:0
crwdns2935297:06crwdne2935297:0