crwdns2933423:0crwdne2933423:0
crwdns2947577:0crwdnd2947577:0crwdne2947577:0

HP w2216h Control Buttons Replacement

crwdns2942213:0crwdne2942213:0

    1. HP w2216h Control Buttons Replacement, Control Buttons: crwdns2935265:01crwdnd2935265:01crwdnd2935265:01crwdne2935265:0
      • Make sure you are grounded, the power supply is not connected, and you are wearing safety goggles.

      • Remove the four 12 mm Phillips #000 screws on the back panel.

      crwdns2952109:0crwdne2952109:0

      crwdns2917038:0crwdne2917038:0

    2. HP w2216h Control Buttons Replacement: crwdns2935265:02crwdnd2935265:01crwdnd2935265:02crwdne2935265:0 HP w2216h Control Buttons Replacement: crwdns2935265:02crwdnd2935265:02crwdnd2935265:02crwdne2935265:0
      • Remove the two 12 mm Phillips #000 screws above stand mounting bracket.

      • Using a Phillips #1 with the 150 mm flexible extension remove 1 Phillips #1 screw under the stand mounting bracket.

      • Stand will easily pull off.

      crwdns2952109:0crwdne2952109:0

      crwdns2917038:0crwdne2917038:0

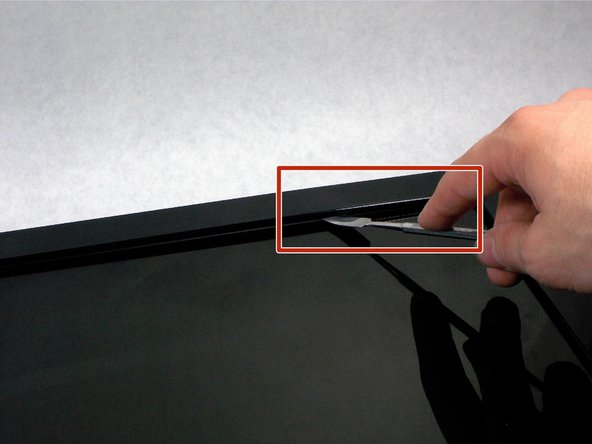
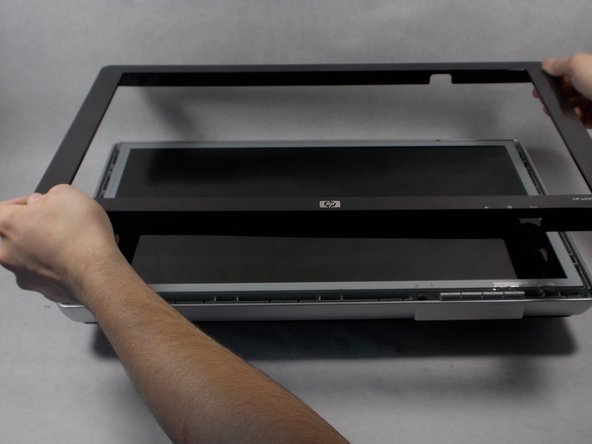
    3. HP w2216h Control Buttons Replacement: crwdns2935265:03crwdnd2935265:01crwdnd2935265:03crwdne2935265:0 HP w2216h Control Buttons Replacement: crwdns2935265:03crwdnd2935265:02crwdnd2935265:03crwdne2935265:0 HP w2216h Control Buttons Replacement: crwdns2935265:03crwdnd2935265:03crwdnd2935265:03crwdne2935265:0
      • Do not put the metal spudger between the metal and the glass. It needs to go under the bezel and above the metal.

      • Turn monitor so that the screen is facing you.

      • Pry the black bezel from above the metal by placing your metal spudger between the bezel and the metal and twisting the tool slightly.

      • The best places to pry are in the lower left and lower right corners of the black bezel.

      crwdns2952109:0crwdne2952109:0

      crwdns2917038:0crwdne2917038:0

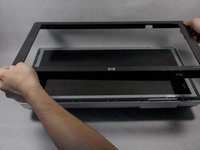
    4. HP w2216h Control Buttons Replacement: crwdns2935265:04crwdnd2935265:01crwdnd2935265:01crwdne2935265:0
      • Lift the screen assembly from the plastic housing from the corners.

      crwdns2952109:0crwdne2952109:0

      crwdns2917038:0crwdne2917038:0

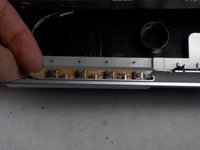
    5. HP w2216h Control Buttons Replacement: crwdns2935265:05crwdnd2935265:01crwdnd2935265:01crwdne2935265:0
      • Remove the plastic buttons from the contacts

      crwdns2952109:0crwdne2952109:0

      crwdns2917038:0crwdne2917038:0

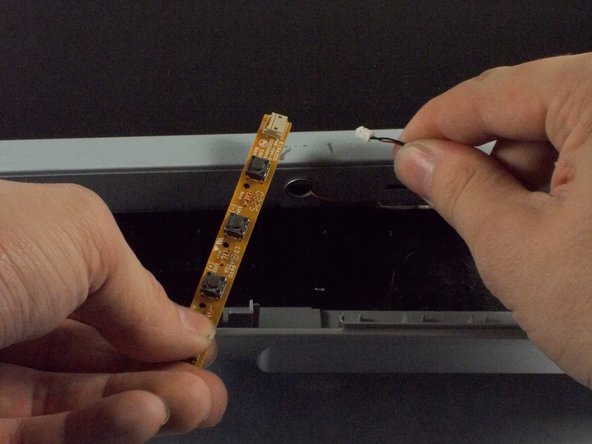
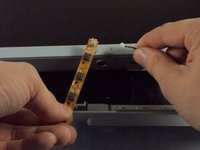
    6. HP w2216h Control Buttons Replacement: crwdns2935265:06crwdnd2935265:01crwdnd2935265:02crwdne2935265:0 HP w2216h Control Buttons Replacement: crwdns2935265:06crwdnd2935265:02crwdnd2935265:02crwdne2935265:0
      • Remove the wire connecting the contacts to the screen assembly.

      crwdns2952109:0crwdne2952109:0

      crwdns2917038:0crwdne2917038:0

crwdns2915888:0crwdne2915888:0

To reassemble your device, follow these instructions in reverse order.

crwdns2935221:0crwdne2935221:0

crwdns2935227:0crwdne2935227:0

Patrick Aucoin

crwdns2935283:003/25/16crwdne2935283:0

221 crwdns2915208:0crwdne2915208:0

crwdns2935297:02crwdne2935297:0

crwdns2935287:0crwdne2935287:0

UMass Dartmouth, Team 1-1, Miles Spring 2016 crwdns2935289:0UMass Dartmouth, Team 1-1, Miles Spring 2016crwdne2935289:0

UMASSD-MILES-S16S1G1

crwdns2931471:04crwdne2931471:0

crwdns2935297:072crwdne2935297:0

crwdns2947412:00crwdne2947412:0

crwdns2917038:0crwdne2917038:0

crwdns2936625:0crwdne2936625:0:

crwdns2936751:024crwdne2936751:0 2

crwdns2936753:07crwdne2936753:0 22

crwdns2936753:030crwdne2936753:0 103

crwdns2942667:0crwdne2942667:0 952