crwdns2915892:0crwdne2915892:0
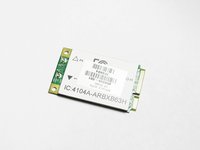
If your wifi isn't working, it might just be a loose connection to your wireless card. Follow this guide to replace your wireless card.
crwdns2942213:0crwdne2942213:0
-
-
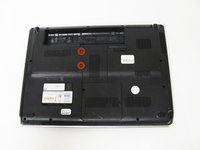
Slide the switch to the left until the release clicks.
-
-
-
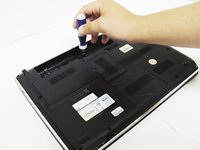
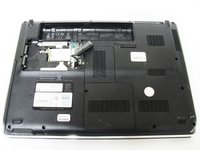
Remove the two 5mm Phillips screws on the hard drive cover using a Phillips #00 screwdriver.
-
-
-
-
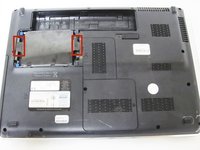
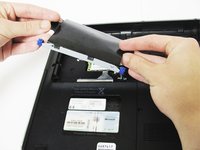
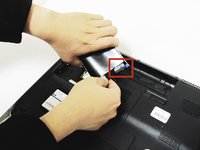
Pull up on the two plastic flaps on the hard drive enclosure to remove it.
-
-
-
Gently lift the ribbon cable away from the hard drive enclosure to free the drive.
-
-
-
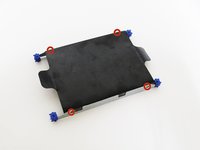
Locate four 2mm Phillips screws on the side of the enclosure and remove them using a Phillips #00 screwdriver.
-
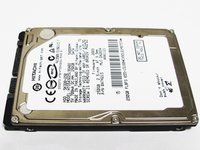
Slide the hard drive out of the enclosure to complete the removal process.
-
-
-
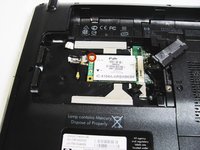
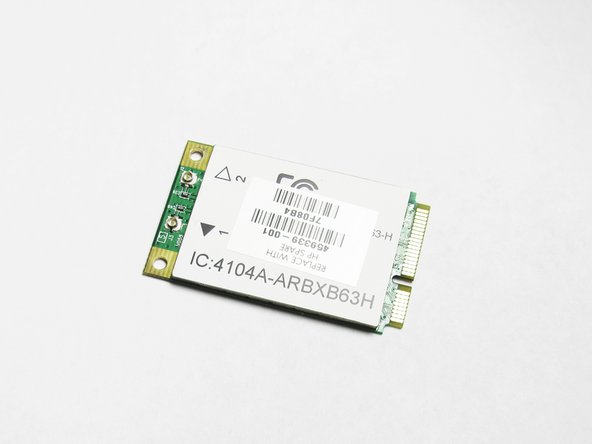
Locate the wireless card and the two wires attached to it.
-
Using a plastic spudger tool, carefully lift up on each wire connecting the card to unsnap the connectors.
-
-
-
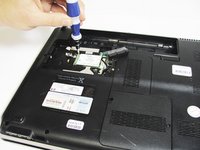
Locate the 2.5mm Phillips screw on the corner of the WLAN card and remove it using a Phillips #000 screwdriver.
-
-
-
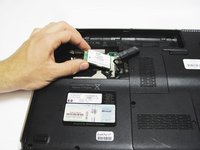
Upon removing the screw, the WLAN card will pop up. Keeping a natural angle, slide the card out of the slot.
-
The card is now free from your computer.
-
To reassemble your device, follow these instructions in reverse order.
To reassemble your device, follow these instructions in reverse order.
crwdns2935221:0crwdne2935221:0
crwdns2935227:0crwdne2935227:0


