
HP Z2 Mini G3 Motherboard Replacement

crwdns2959932:0crwdnd2959932:0Sympson Placidecrwdnd2959932:0crwdnd2959932:0crwdnd2959932:04crwdnd2959932:0crwdne2959932:0
crwdns2959936:0Dzi 24, 2020crwdne2959936:0
crwdns2869540:0crwdne2869540:0: 4.3천
crwdns2959988:0crwdne2959988:0
- crwdns2959990:0crwdne2959990:0
- 4
- crwdns2959992:0crwdne2959992:0
- 31
- crwdns2959994:0crwdne2959994:0
- 150
- crwdns2959996:0crwdne2959996:0
- 4,253
crwdns2955950:0crwdne2955950:0: 1
crwdns2960002:01crwdne2960002:0.
crwdns2959984:0crwdne2959984:0: 2 3
crwdns2959974:02crwdne2959974:0
crwdns2959970:03crwdne2959970:0
crwdns2959986:0crwdne2959986:0: 0 1
crwdns2959958:0crwdne2959958:0
crwdns2959976:01crwdne2959976:0
crwdns2915892:0crwdne2915892:0
crwdns2959928:0crwdne2959928:0 ↓The motherboard connects and powers HP Z2 Mini G3 (Model No. 1LE81UP#ABA) hardware components. Communications between the CPU processor and other hardware components is possible because of the motherboard acting as a printed circuit. If you need to replace your motherboard, follow this guide.
Be sure that the power is off and the A/C power cord has been disconnected before starting. Removing hardware while the power is on could damage the device.
Components of the device are subject to static damage. Work on a hard, grounded surface to prevent damage to the workstation.
crwdns2959930:0crwdne2959930:0
crwdns2943215:0crwdne2943215:0

-
-
-
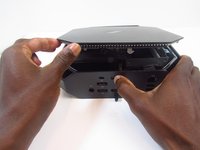
Turn the device so the back-side of the device is facing you.
 crwdns2952109:0crwdne2952109:0
-
-
-
Slide and hold the latch in the direction of the engraved arrow (to the right).
-
-
-
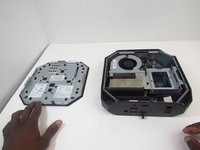
While holding the latch, lift the access panel upwards and towards yourself and set it aside upside-down.
-
-
-
-
-
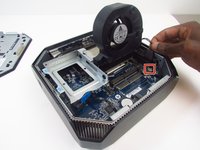
Rotate the device so the front side is facing you (the side with the power button) and locate the CPU fan.
-
-
-
Swing the fan upward, to a 90-degree angle.
-
-
-
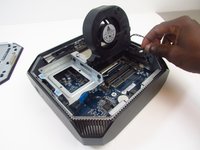
Carefully disconnect the CPU fan by pulling out the wires from the motherboard.
-
-
-
Swing the fan back down and carefully unhook the CPU fan notches by pulling each tab away from the heat sink holes.
-
-
-
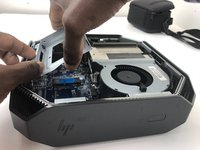
Swing the fan up again and pull it out.
-
-
-
-
-
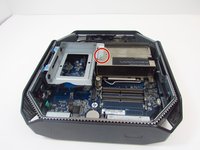
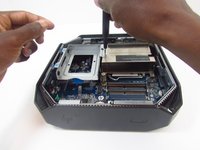
Remove the 9mm Torx screw with a T15 Torx screwdriver to release the SSD assembly.
-
Lift the assembly upwards to remove it.
-
-
-
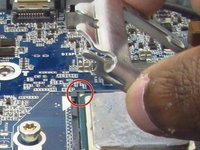
Pull the metal arm out from under the frame and lift it up. The frame should slide back from under the screw.
-
-
-
Lift the frame upward to gain access to the processor
-
-
-
Grip the processor on each side, carefully lifting it up.
-
-
-
-
-
-
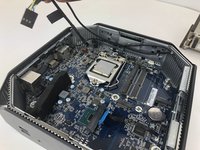
Remove the thermal sensor cable from the motherboard.
-
Grab and lift the cable from the chassis to finish removing the thermal sensor.
-
-
-
In this case, use a T15 Torx screwdriver to remove the 9mm Torx screw from the module and take the component out.
-
-
-
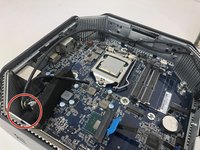
Unplug, then carefully detach the system speaker from the chassis by gripping the frame and pulling back.
-
-
-
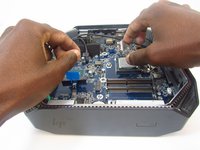
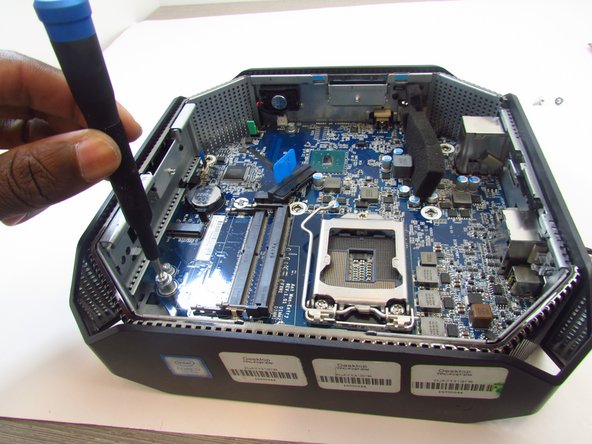
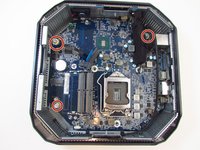
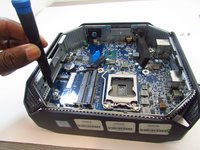
Use a T15 Torx screw driver to remove the 9mm and the two 16mm Torx head screws that secure the motherboard to the chassis.
-
-
-
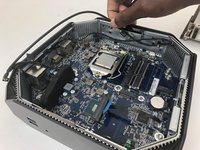
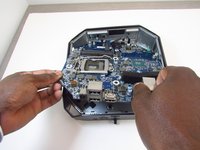
Slide the motherboard forward and to the left to clear it from chassis.
-
Carefully pull and lift the motherboard out by holding on to the ports.
-
-














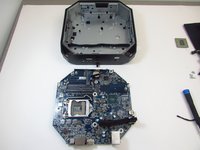
To reassemble your device, follow these instructions in reverse order.
crwdns2935221:0crwdne2935221:0
crwdns2935229:02crwdne2935229:0

crwdns2935287:0crwdne2935287:0

Embry-Riddle Aeronautical University, Team S16-G4, Branham Spring 2020 crwdns2935289:0Embry-Riddle Aeronautical University, Team S16-G4, Branham Spring 2020crwdne2935289:0
ERAU-BRANHAM-S20S16G4
crwdns2931471:03crwdne2931471:0
crwdns2935297:072crwdne2935297:0
