crwdns2915892:0crwdne2915892:0
The motherboard is the heart of any computer, including laptops, and it plays a crucial role in ensuring that all the components work together seamlessly. Over time, you might encounter issues with your laptop that point towards a faulty motherboard. Whether it's due to physical damage, component failure, or simply age, replacing the motherboard can breathe new life into your laptop.
In this guide, we'll walk you through the steps to safely and effectively replace the motherboard in your laptop. All you will need for this guide is a Phillips #1 screwdriver and plastic prying tools.
crwdns2942213:0crwdne2942213:0
-
-
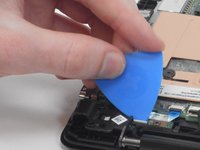
Use an opening pick to gently pry up the edge of the rubber foot.
-
Grab the lifted edge of the foot and gently pull it away.
-
Repeat for the other rubber foot.
-
-
-
Use a Phillips screwdriver to remove the eight 6.6 mm screws that secure the lower case.
-
-
-
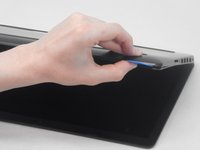
Insert an opening pick in the seam between the lower case and chassis.
-
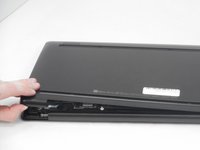
Slide the opening pick around the perimeter, prying every couple of centimeters as you go.
-
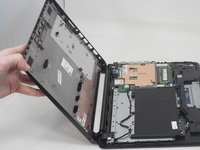
Continue prying around the entire perimeter until the lower case fully releases.
-
Lift off the lower case.
-
-
-
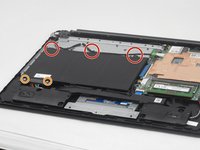
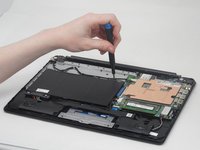
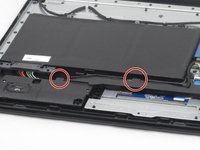
Remove the following Phillips screws that secure the battery:
-
Three 2.9 mm
-
Two 6.8 mm
-
-
-
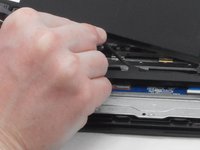
Use your fingers or the point of a spudger to slowly “wiggle” the battery connector directly out of its socket.
-
-
-
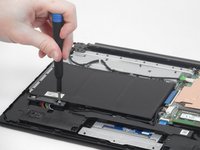
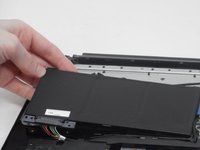
Gently unseat the battery connector wire out from under the two plastic tabs.
-
-
-
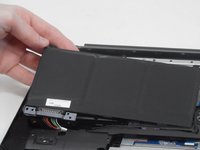
Lift the battery up and out of the laptop.
-
-
-
-
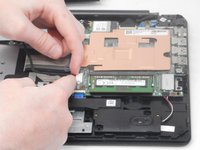
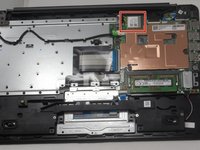
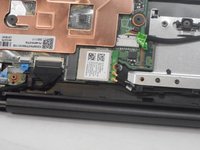
Locate the Wi-Fi card module near the top of the laptop.
-
-
-
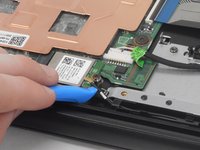
Use a plastic opening tool to gently lift and detach the two Wi-Fi card antenna cables.
-
-
-
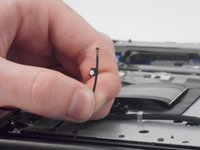
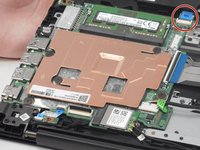
Remove the single screw that secures the Wi-Fi card using a Phillips screwdriver.
-
-
-
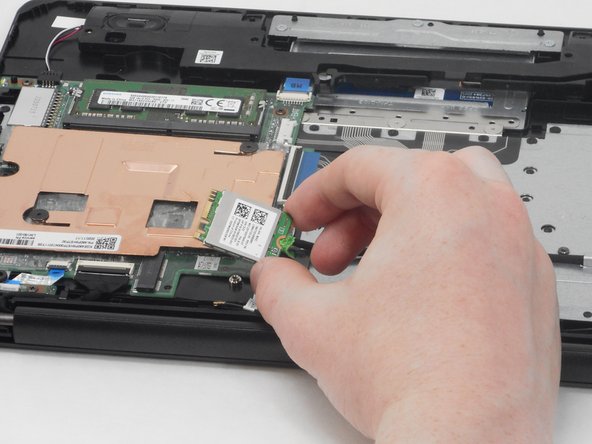
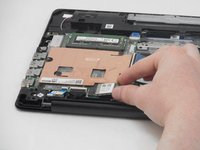
Pull the card directly out of its socket.
-
-
-
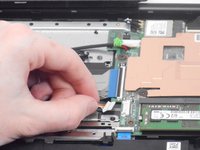
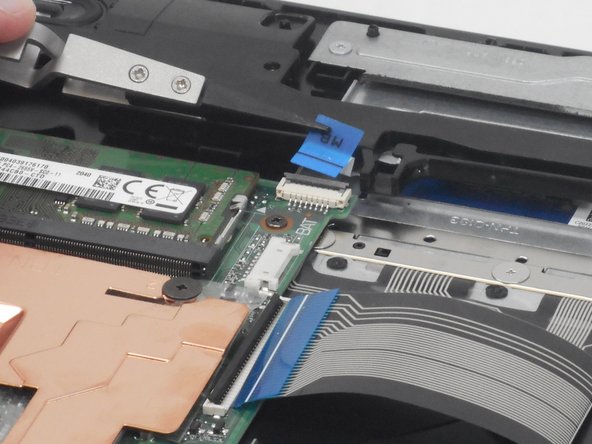
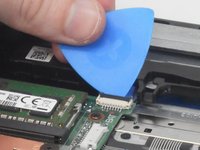
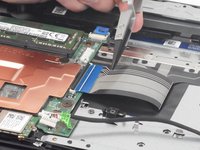
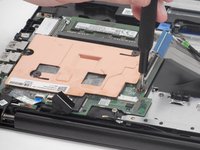
Use an opening tool or your fingernail to flip up the black ZIF connector locking flap next to the RAM.
-
Use tweezers to grip and pull the blue plastic tab on the ribbon cable.
-
Remove the ribbon cable.
-
-
-
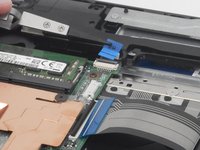
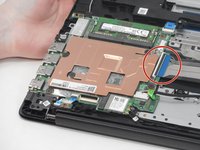
Use an opening tool or your fingernail to flip up the black ZIF connector locking flap on the right side of the motherboard.
-
Remove the ribbon cable.
-
-
-
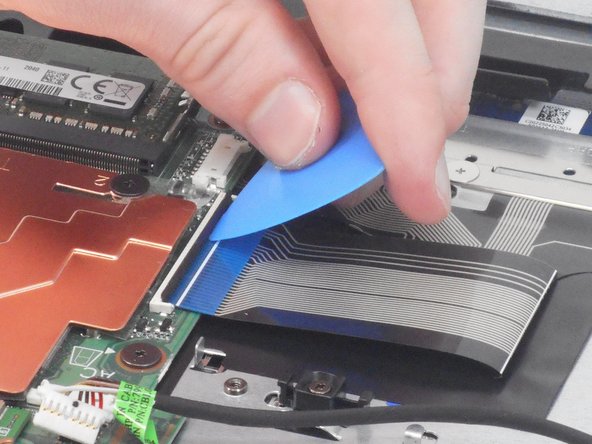
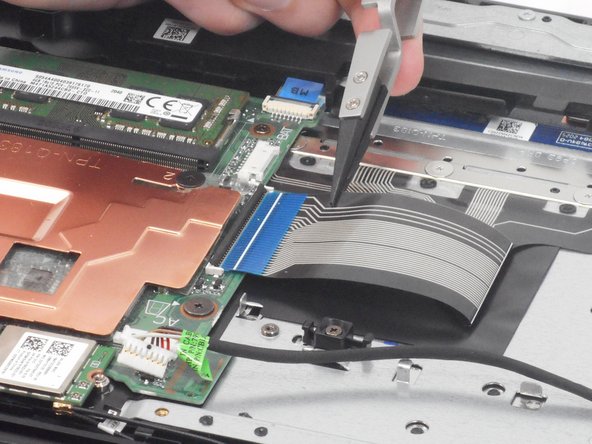
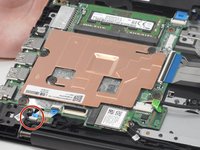
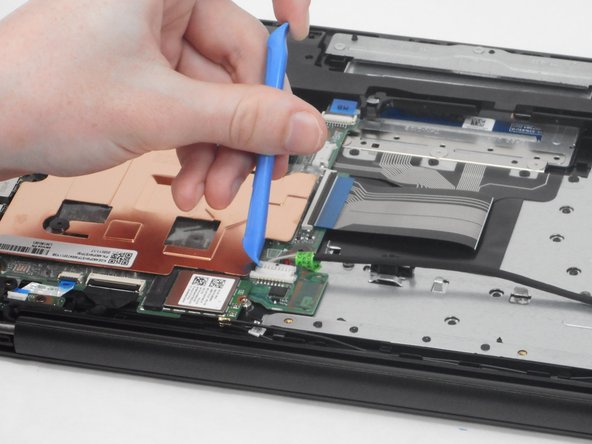
Use an opening tool or your fingernail to flip up the black ZIF connector locking flap on the lower-left side of the motherboard.
-
Remove the ribbon cable.
-
-
-
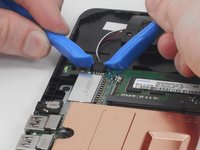
Flip up on the black locking flap that secures the display cable.
-
Remove the cable.
-
-
-
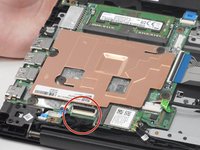
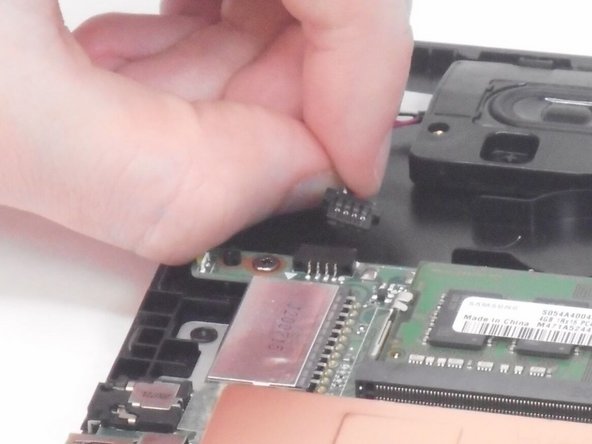
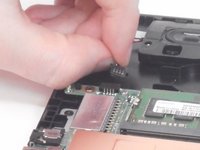
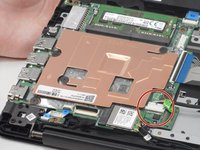
Use two plastic opening tools to gently "walk" the the speaker connector directly out of its motherboard port.
-
-
-
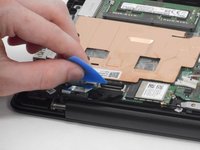
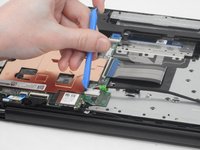
Use two plastic opening tools to "walk" the white sliding connector directly out of its port.
-
-
-
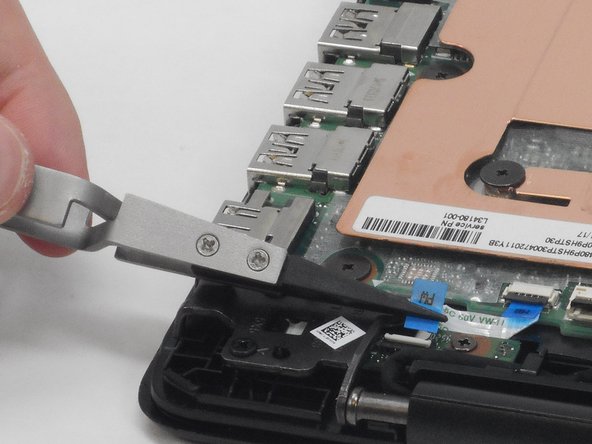
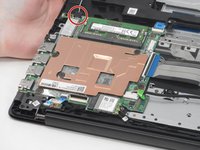
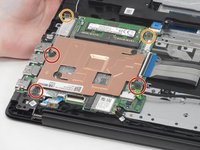
Use a Phillips screwdriver to remove the three wide-head screws from the motherboard.
-
Use a Phillips screwdriver to remove the two small-head screws from the motherboard.
-
-
-
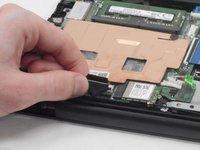
Lift the motherboard straight up and out of the laptop chassis.
-


To reassemble your device, follow these instructions in reverse order.
To reassemble your device, follow these instructions in reverse order.
crwdns2935221:0crwdne2935221:0
crwdns2935227:0crwdne2935227:0
crwdns2915084:0crwdne2915084:0

University of Memphis, Team 2-1, Sneed Spring 2024 crwdns2935289:0University of Memphis, Team 2-1, Sneed Spring 2024crwdne2935289:0
UM-SNEED-S24S2G1
crwdns2931471:04crwdne2931471:0
crwdns2935297:05crwdne2935297:0