crwdns2915892:0crwdne2915892:0
Do you think there is an issue with your HP Stream 11-y010nr webcam? Is the webcam image coming out fuzzy or simply not working? The first thing that you should do is look over our troubleshooting page and see if you can diagnose the potential problem. HP Stream 11-y010nr Troubleshooting
This guide will take you through the necessary steps to properly remove and replace the webcam. Prior to beginning, ensure the laptop is completely powered off such that it will not interfere with the steps in this guide.
crwdns2942213:0crwdne2942213:0
-
crwdns2935267:0crwdne2935267:0Tweezers$4.99
-
Gently peel back the two rubber strips that cover the screws on backside of the computer with the needle nose tweezers.
-
-
-
Unscrew the seven 0.4mm screws on the backside of the laptop with the Phillips #0 Screwdriver.
-
-
-
Take the opening picks and push them into the seam between the keyboard and the laptop casing.
-
Go all the way around the laptop.
-
-
-
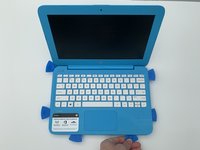
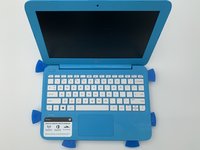
Once the cover is loose enough, lift the keyboard up to expose the wiring beneath.
-
-
-
-
Disconnect the three cables by lifting up on the locking tab of the ZIF connector and pulling the cables out with the needle nose tweezers.
-
Remove the keyboard.
-
-
-
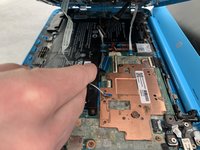
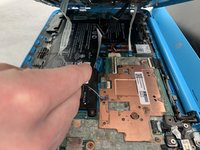
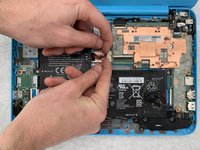
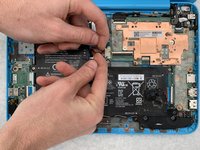
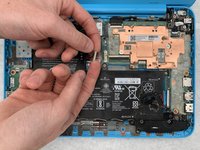
Use your fingers or a spudger to pull the battery cable out from its connector.
-
-
-
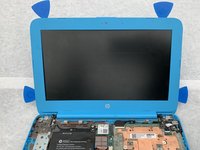
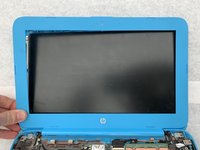
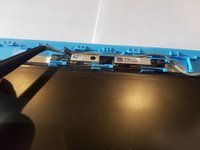
Insert iFixit opening picks into the edges of the screen to break seal between the screen and bezel.
-
-
-
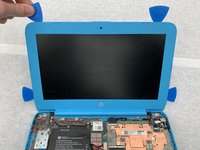
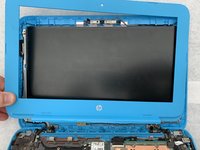
Peel the hinge up by sliding the iFixit opening picks left to right along the hinge.
-
-
-
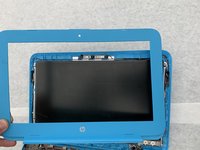
Remove the plastic bezel by pulling upwards on the bottom left corner.
-
-
crwdns2935267:0crwdne2935267:0Tweezers$4.99
-
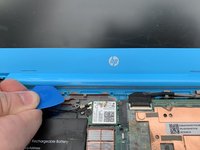
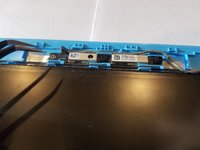
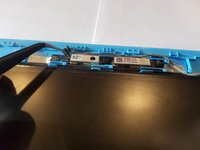
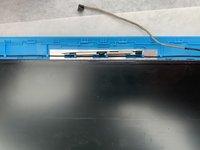
Take the tweezers and push up on the small connector to the left of the webcam.
-
-
-
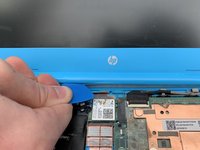
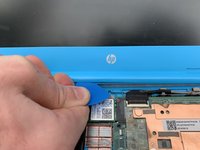
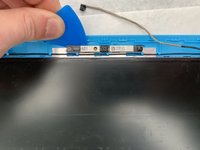
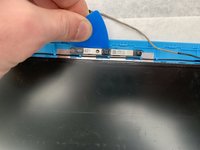
Take an iFixit opening pick and slowly remove the webcam by sliding it under the camera and prying the entire strip from the case.
-


To reassemble your device, follow these instructions in reverse order.
To reassemble your device, follow these instructions in reverse order.

crwdns2915084:0crwdne2915084:0

Embry-Riddle Aeronautical University, Team S5-G6, Watkins Spring 2020 crwdns2935289:0Embry-Riddle Aeronautical University, Team S5-G6, Watkins Spring 2020crwdne2935289:0
ERAU-WATKINS-S20S5G6
crwdns2931471:04crwdne2931471:0
crwdns2935297:06crwdne2935297:0