crwdns2915892:0crwdne2915892:0
If the webcam in you HP Stream 11-d010nr is showing signs of being faulty or damaged, such as not displaying video, it may need to be replaced. This guide will show you the steps necessary to do so.
crwdns2942213:0crwdne2942213:0
-
-
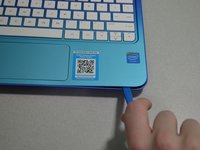
Using a spudger, gently pry off the two elliptical rubber inserts located in the top corners.
-
Carefully remove the two circular rubber inserts positioned beneath the removed elliptical inserts.
 crwdns2952109:0crwdne2952109:0
-
-
-
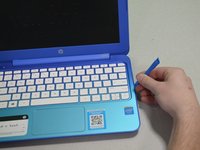
Using a Phillips #1 screwdriver, remove the eleven 5.6 mm screws securing the back cover.
-
-
-
Using an iFixit opening tool, carefully pry open the case to separate the keyboard from the main body. Work slowly to avoid damaging the edges.
-
-
-
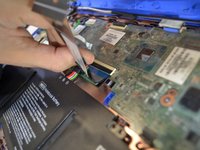
Carefully lift the keyboard and identify the three ribbon cables connecting the main body of the laptop to the keyboard.
-
-
-
Using a spudger, gently lift the flaps on the ZIF connectors to release the three ribbon cables securely attached to them.
-
Carefully disconnect the three ribbon cables.
-
-
-
-
Gently lift the keyboard out of the laptop to fully detach it from the device.
-
-
-
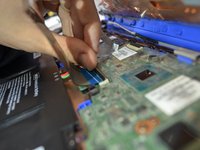
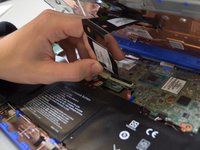
Remove any tape holding the battery connector in place.
-
Using your fingers, carefully unplug the battery.
-
-
-
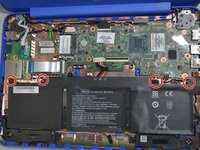
Remove the four 3mm #000 Phillips screws holding the battery in place.
-
Carefully lift the battery out of the laptop.
-
-
-
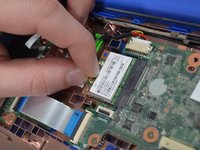
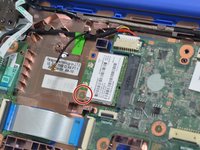
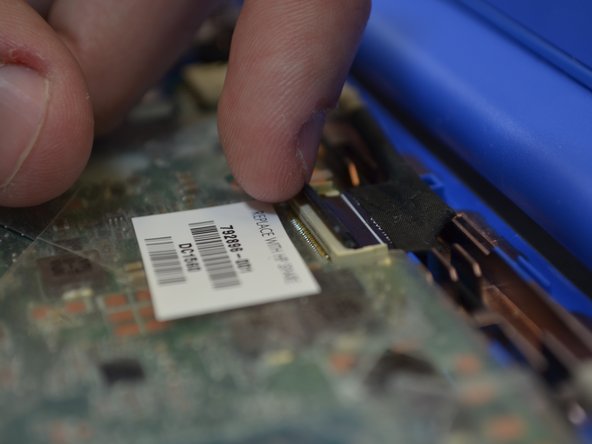
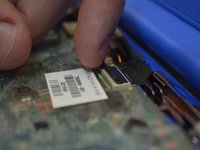
Unplug the black wire attached to the wireless chip.
-
-
-
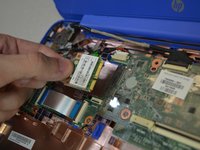
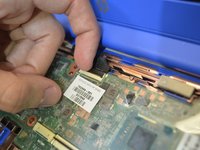
Remove the one 3mm Phillips #000 screw holding the wireless chip in place.
-
Lift the wireless chip up and out.
-
-
-
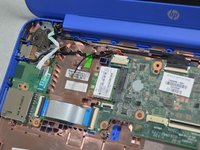
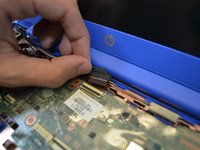
Flip up the flap and unplug the display cord from the motherboard.
-
-
-
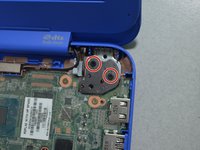
Using a JIS #1 screwdriver, remove the four 2.2 mm screws holding monitor to body.
-
-
crwdns2935267:0crwdne2935267:0Tweezers$4.99
-
Use tweezers to remove the screw covers from the lid.
-
Unscrew the two 2.2 mm #000 Phillips screws.
-
-
-
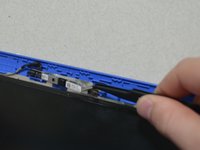
Open the upper lid with the iFixit opening tool.
-
-
-
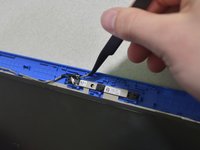
Disconnect the webcam cord using tweezers.
-
Remove the webcam using tweezers.
-


To reassemble your device, follow these instructions in reverse order.

crwdns2935287:0crwdne2935287:0

Cal Poly, Team S1-G3, White Winter 2019 crwdns2935289:0Cal Poly, Team S1-G3, White Winter 2019crwdne2935289:0
CPSU-WHITE-W19S1G3
crwdns2931471:04crwdne2931471:0
crwdns2935297:011crwdne2935297:0