crwdns2915892:0crwdne2915892:0
If the audio is distorted through an external speaker or another peripheral device, then the Audio port is defective. Use this guide to access, remove, and replace your Audio port.
crwdns2942213:0crwdne2942213:0
-
-
Carefully peel off the felt cover that is found beneath the display along the bottom of the device.
-
Use a spudger to gently scrape away the padding that hides the screws in each of the four locations.
-
Remove the four 4-mm Phillips #0 screws.
-
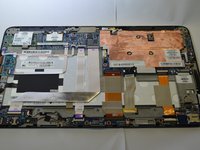
Run a spudger along the crease of the entire laptop and slowly pry off the back panel of the device, beginning with the bottom edge.
-
-
-
Remove the three 6-mm Phillips #0 screws.
-
Remove the four 4-mm Phillips #0 screws.
-
-
crwdns2935267:0crwdne2935267:0Tweezers$4.99
-
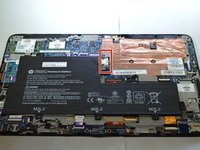
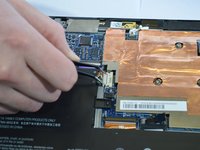
Remove the white connector clip from the connector port using a sturdy tweezers.
-
-
-
-
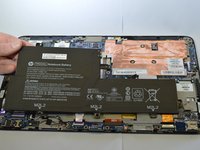
Lift the battery away from the device.
-
-
-
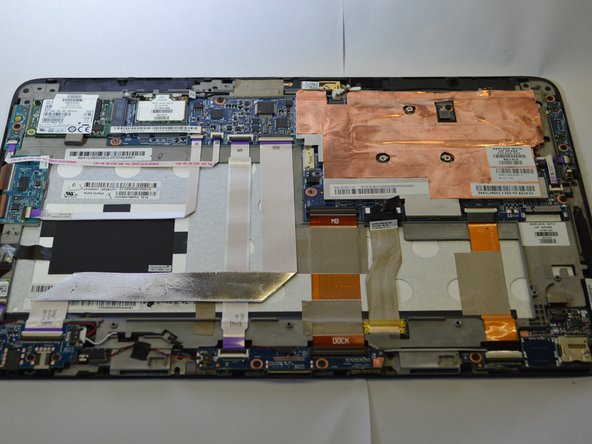
Remove the two 4-mm Phillips #0 screws.
-
-
crwdns2935267:0crwdne2935267:0Tweezers$4.99
-
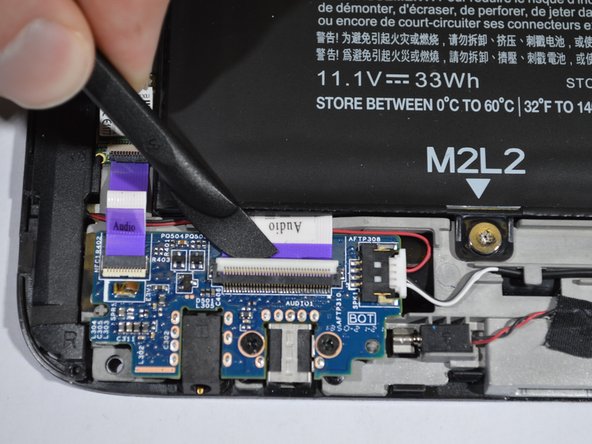
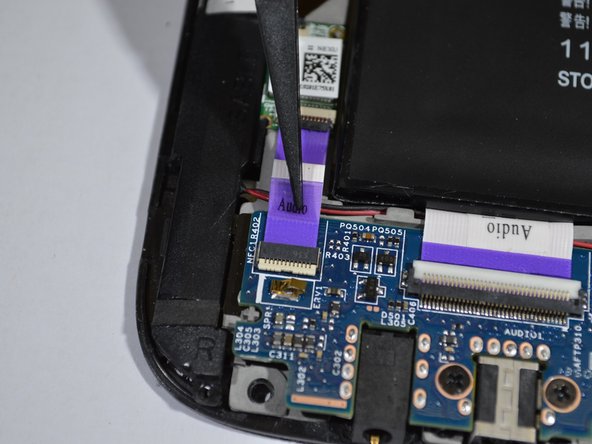
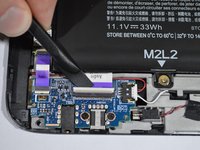
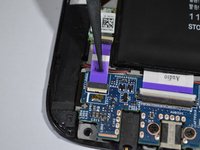
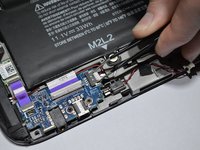
Remove the two purple ribbons labeled "Audio" at the top of the audio port board using tweezers or a sturdy plastic opening tool.
-
-
-
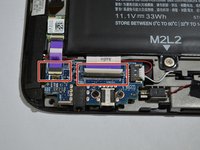
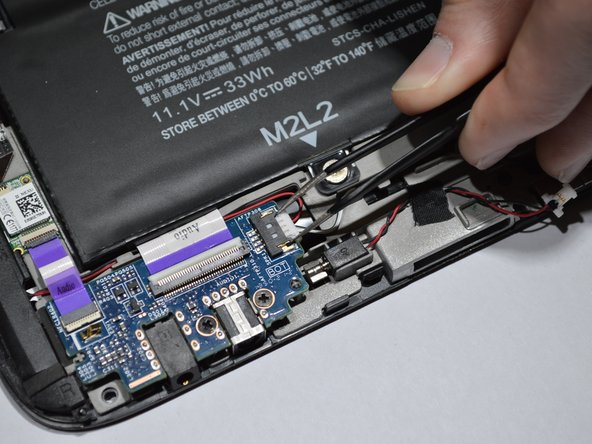
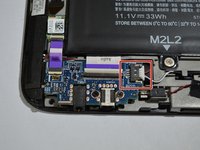
Remove the white clip at the top right corner of the audio port board using tweezers.
-
-
-
Lift the Audio port away from the device.
-


To reassemble your device, follow these instructions in reverse order.
To reassemble your device, follow these instructions in reverse order.
crwdns2915084:0crwdne2915084:0

Purdue University Northwest, Team S4-G1, Hingst Spring 2019 crwdns2935289:0Purdue University Northwest, Team S4-G1, Hingst Spring 2019crwdne2935289:0
PNW-HINGST-S19S4G1
crwdns2931471:04crwdne2931471:0
crwdns2935297:06crwdne2935297:0