crwdns2915892:0crwdne2915892:0
A broken screen or a unresponsive screen may need replacing. This guide shows how to remove the screen. This guide is also helpful for replacing any other component of the device since nothing can be accessed without removing the screen.
crwdns2942213:0crwdne2942213:0
-
-
Make sure the device is powered off and the kick stand is retracted.
-
The HP Spectre should be placed on a flat surface with the keyboard detached.
-
-
crwdns2935267:0crwdne2935267:0Tweezers$4.99
-
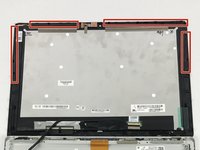
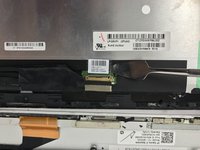
To remove the screen, there is an entire system of clips which need to be undone as well as 4 Phillips M1.5x2.7 screws.
-
The screws should be removed using a Phillips #000 screwdriver. There is a sticker where the laptop attaches to the keyboard.
-
Heat the sticker (if needed) and use fine point tweezers to grip the sticker and remove it.
-
-
-
-
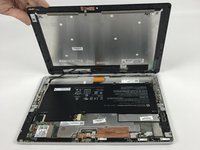
Use the plastic opening tools or insert a spudger to begin unclipping the system.
-
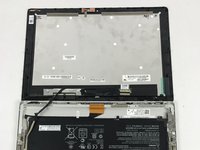
Pry the screen off once all the clips have been unclipped.
-
-
-
This screen will break. There is double tape underneath the frame, which is not listed in here.
-
-
-
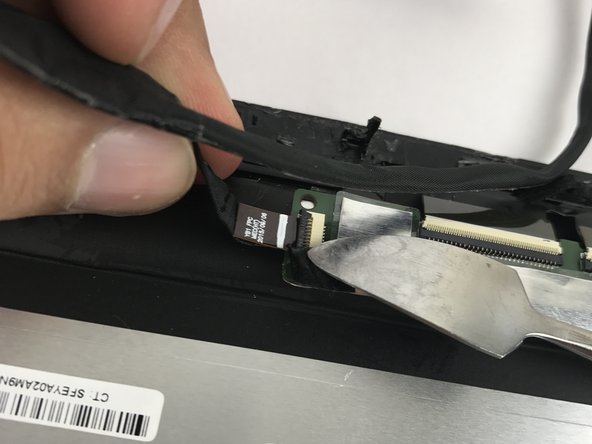
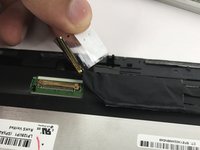
Remove the connecting cable of the screen and battery. Use a spudger to reveal the adhesive strip and carefully peel it off.
-
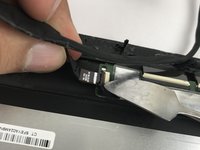
Insert a spudger to the other end and release the ZIF connectors. Detach the cable.
-


To reassemble your device, follow these instructions in reverse order.
To reassemble your device, follow these instructions in reverse order.
crwdns2935221:0crwdne2935221:0
crwdns2935229:05crwdne2935229:0

crwdns2915084:0crwdne2915084:0

USF Tampa, Team S10-G6, Thompson Fall 2017 crwdns2935289:0USF Tampa, Team S10-G6, Thompson Fall 2017crwdne2935289:0
USFT-THOMPSON-F17S10G6
crwdns2931471:04crwdne2931471:0
crwdns2935297:07crwdne2935297:0