crwdns2915892:0crwdne2915892:0
The keyboard is one of the most frequently used components on a HP ProBook 640 G5 laptop, and issues such as stuck keys, water damage, non-responsive sections, or complete failure are common reasons for replacement. This guide will walk you through the full replacement process, including safely disconnecting the battery, accessing the keyboard ribbon cables, removing the top cover, and installing the new keyboard. Before beginning this repair, power off the laptop and disconnect all power sources.
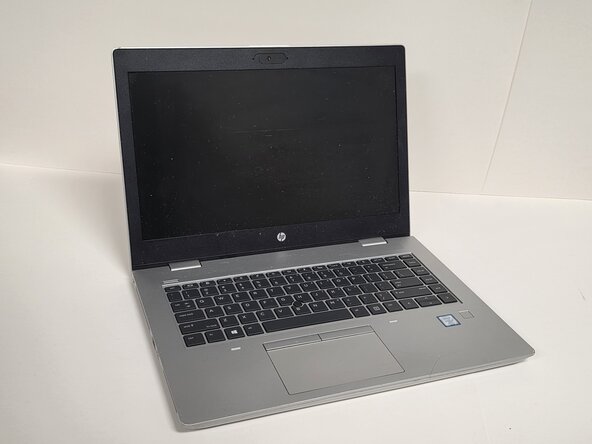
crwdns2942213:0crwdne2942213:0
-
-
Shut down the HP ProBook 640 G5 completely.
-
Disconnect the power adapter and all connected peripherals.
-
Press and hold the power button for 5 seconds to discharge remaining electricity.
 crwdns2952109:0crwdne2952109:0
-
-
-
Flip the laptop over so the bottom is facing up.
-
Loosen eight silver 6mm screws using a Phillips #0 screwdriver.
-
Remove two black 6mm screws using a TR7 Torx screwdriver.
-
Insert a plastic opening tool into the seam and gently pry around the edges.
-
Lift the bottom cover away from the laptop.
-
-
-
-
Loosen the two captive screws using a Phillips #1 screwdriver.
-
-
-
Turn the laptop on its side and open the display panel so the laptop sits upright.
-
While supporting the keyboard firmly, insert a keyboard release tool into the opening with the keyboard icon.
-
Carefully turn the laptop right side up.
-
-
-
Lift the rear edge of the keyboard up gently making sure not to rip or tug on the cable connectors.
-
Disconnect in order as pictured:
-
Disconnect the keyboard backlight ribbon cable from the system board.
-
Disconnect the point stick ribbon cable from the system board.
-
Disconnect the keyboard ribbon cable from the system board.
-


To reassemble your device, follow these instructions in reverse order.

crwdns2935287:0crwdne2935287:0

Austin Community College, Team 1-2, Anderson Spring 2026 crwdns2935289:0Austin Community College, Team 1-2, Anderson Spring 2026crwdne2935289:0
AUSTINCC-ANDERSON-S26S1G2
crwdns2931471:03crwdne2931471:0
crwdns2935297:06crwdne2935297:0