crwdns2942213:0crwdne2942213:0
-
-
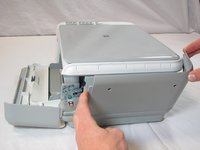
Rotate the printer 90 degrees counter clockwise so that the side panel next to control panel is facing you.
-
Remove the two T10 12mm Torx screws from the left side panel.
-
-
-
Firmly pull the the back of the side panel until it separates from the body of the printer.
-
Rotate the side panel upwards while pulling it towards yourself to remove the panel.
-
-
-
Rotate the printer 90 degrees clockwise.
-
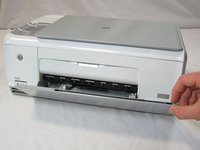
Grasp the paper tray and rotate it down.
-
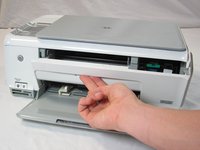
Insert your fingers into the slot in the printer door and pull to rotate the gate down.
-
-
-
Rotate the printer 90 degrees clockwise.
-
Remove the two T10 12 mm Torx screws.
-
Grasp both sides of the side panel and pull it forward to remove the panel.
-
-
-
-
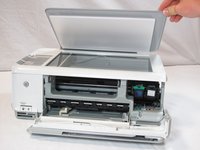
Rotate the printer 90 degrees counter clockwise.
-
Lift the scanner lid to expose the scanner glass.
-
-
-
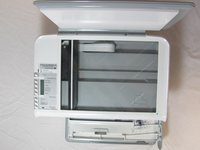
Remove the two T10 12 mm Torx screws.
-
-
-
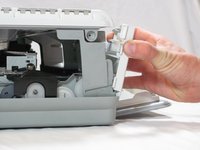
Rotate the printer 90 degrees counter clockwise.
-
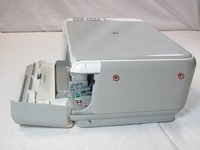
Inside the printer is a small white tab. Press it inward with a spudger until a pop is heard.
-
Remove the front panel by grasping its front and pulling away from the printer.
-
-
-
Rotate the printer 90 degrees clockwise.
-
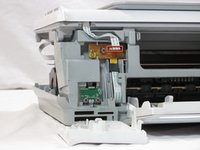
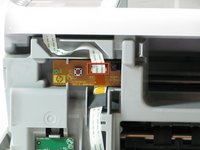
Remove the cable connecting the top panel of the printer to the power button assembly.
-
-
-
Carefully lift the top panel of the printer away from the printer body.
-
-
-
Set aside the printer body.
-
Remove the three T10 12 mm Torx screws from the back of control panel circuit board.
-
-
-
Using both hands, carefully lift the control panel circuit board from the top panel of the printer.
-


To reassemble your device, follow these instructions in reverse order.
crwdns2935221:0crwdne2935221:0
crwdns2935229:04crwdne2935229:0
crwdns2935287:0crwdne2935287:0

Cal Poly, Team 20-30, Maness Fall 2011 crwdns2935289:0Cal Poly, Team 20-30, Maness Fall 2011crwdne2935289:0
CPSU-MANESS-F11S20G30
crwdns2931471:04crwdne2931471:0
crwdns2935297:025crwdne2935297:0