crwdns2915892:0crwdne2915892:0
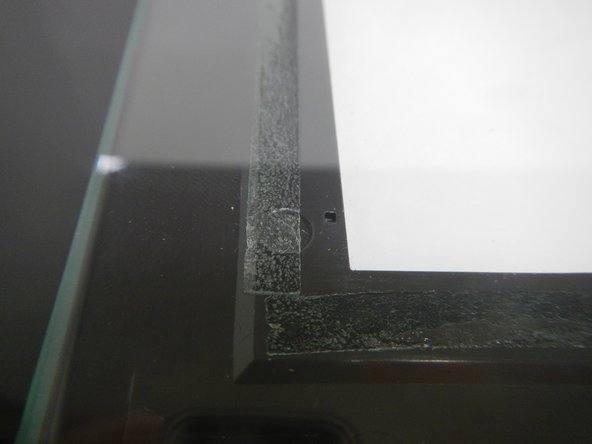
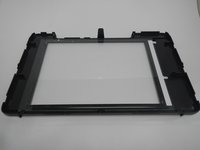
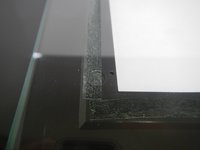
If the scanner glass cracks or breaks, it will need to be replaced in it's entirety. The glass is visible when you open the top of the printer so you will be able to tell if it needs replacement without taking the printer apart.
crwdns2942213:0crwdne2942213:0
-
-
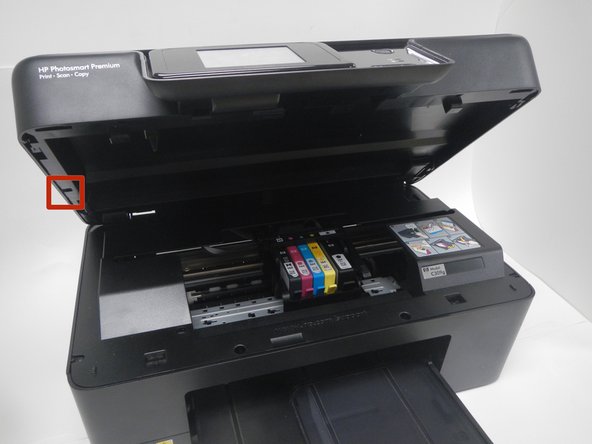
Open the top of the printer. The printer should appear as shown.
-
-
-
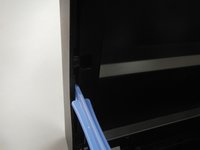
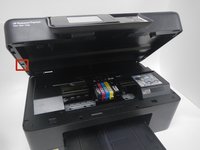
Use the blue plastic opening tool to pry the trim pieces all the way around the printer.
-
Loosen the pieces around the edges before pulling to remove from the printer.
-
Pull the (4) trim pieces off and set them aside.
-
-
-
Using the blue plastic opening tool, pull from the middle and then slide back to remove the side panels.
-
-
-
-
Using the T9 Torx Security screwdriver bit, unscrew the five 12mm screws shown.
-
-
-
The scanner flap is attached by a clip that can be dislodged by pulling it gently away from the printer.
-
Keeping the scanner flap upright, slide it toward the unattached clip in order to dislodge the second clip.
-
Both clips will come unattached and you can set the scanner flap aside.
-
-
-
Lift the scanner glass piece from the printer.
-
-
-
Pull off the glass and re-set new piece of glass.
-
To reassemble your device, follow these instructions in reverse order.
crwdns2935221:0crwdne2935221:0
crwdns2935227:0crwdne2935227:0
crwdns2947410:01crwdne2947410:0
Hi there,
I see these instructions was published some time ago and I hope someone still knows something about this printer. I have a question about step 2 and 3. It says you are to pry trim pieces and remove side panels. What is the difference between these two? When I lift the scanner module (or whatever it's called) I see only one type of panels. And wouldn't step 2 be easier if the scanner module is lifted first as in step 3? I don't understand why it's done as shown, but maybe there is a certain reason.
The front and the side panels have hooks that are attached to the underside of the module, so there seem to be no way to pull the panels outwards. Looks more like they should be pulled downwards, but seeing how the plastic frame around the scanner glass looks in the picture at step 6 I assume that's not possible. Could someone please explain step 2 and 3 for me?
/Jack


