crwdns2915892:0crwdne2915892:0
The purpose of this guide is to teach reader to install a new LCD screen. If the current LCD screen is broken or cracked, this guide will help the reader to replace it with a new one.
crwdns2942213:0crwdne2942213:0
-
-
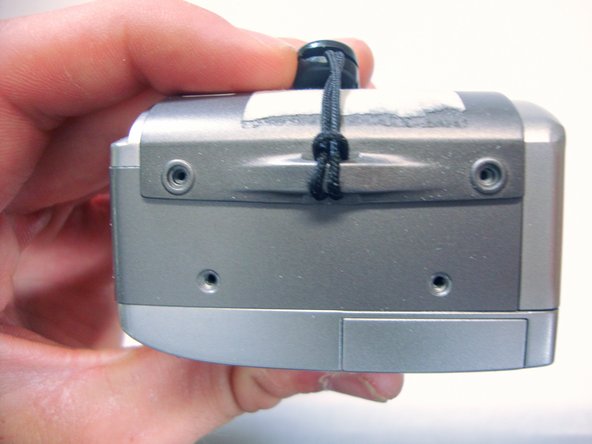
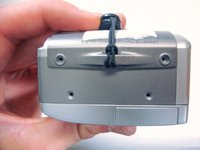
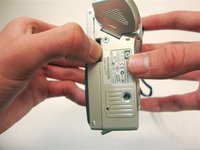
Flip the camera over so the bottom of the camera is facing you.
-
-
-
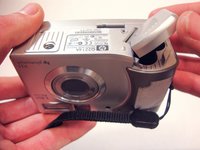
Turn the mode dial to the OFF position.
-
-
-
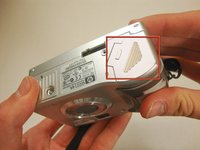
Slide the bottom cover in the direction of the arrow to open it.
-
-
-
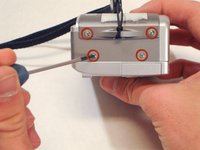
Use a Phillips #00 screwdriver to remove the two 4.7 mm screws in the bottom of the plastic casing.
-
-
-
Remove the four 4.7 mm screws on the left side of the camera.
-
-
-
-
Remove the four 4.7 mm screws on the opposite side of the camera.
-
-
-
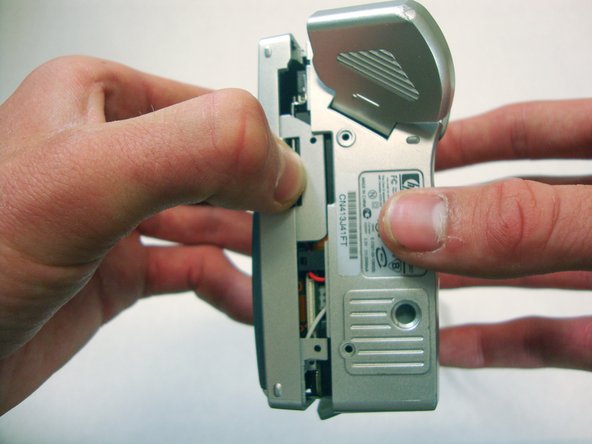
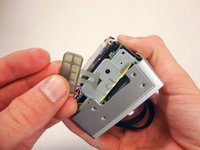
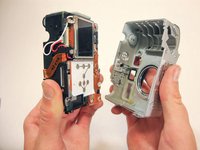
Use your thumbs to pry the case apart.
-
-
-
Pull the bottom half of the inner camera out of the case by half an inch. This may be difficult.
-
-
-
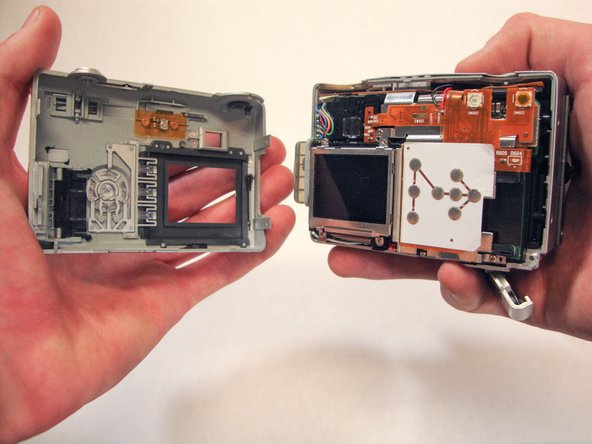
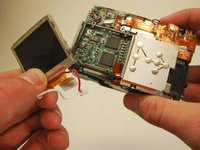
Once the bottom of the inner camera is pulled out, pull the device out completely.
-
-
-
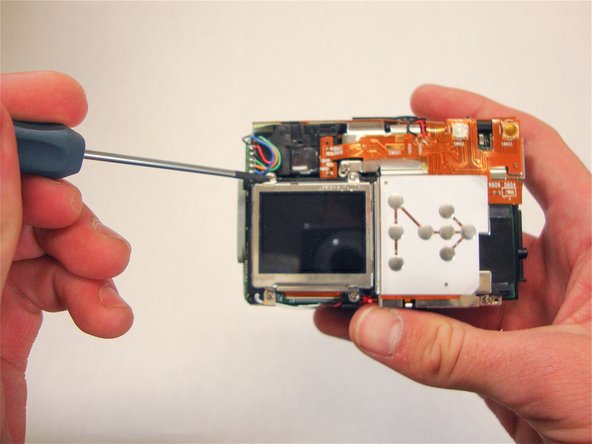
Orient the camera so that the LCD screen is facing you.
-
-
-
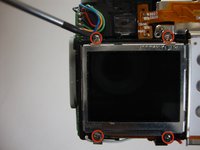
Using a Phillips #00 remove the four 4.40 mm screws that secure the LCD screen to the frame.
-
-
-
Allow the LCD screen to flip down. This will expose the electric strip that connects the screen to the camera.
-
-
-
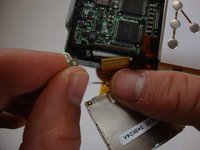
Push the grey bar away from the white base. This will release the yellow electric strip and free the LCD screen from the camera.
-
-
-
Unplug the connected red and white wires. They will come out with the small white casing.
-
-
-
Flip camera so that the lens is facing away from you. You should be looking at the LCD screen.
-
-
-
Remove the bottom left LCD mounting frame screw. The screen should come loose after the screw is removed.
-
Remove the LCD screen from the camera. Make sure that the electric strip comes out with screen.
-


To reassemble your device, follow these instructions in reverse order.
crwdns2935221:0crwdne2935221:0
crwdns2935229:03crwdne2935229:0
crwdns2935287:0crwdne2935287:0

Cal Poly, Team 15-13, Forte Spring 2012 crwdns2935289:0Cal Poly, Team 15-13, Forte Spring 2012crwdne2935289:0
CPSU-FORTE-S12S15G13
crwdns2931471:05crwdne2931471:0
crwdns2935297:010crwdne2935297:0
crwdns2947410:01crwdne2947410:0
Thank for this very good job, I own this this camera so it is will be quite easy to fix it following your guide.