crwdns2915892:0crwdne2915892:0
If the heat sink in your HP Pavilion x360 11m-ad013dx has stopped working or is in need of replacement, use this guide to replace it. For more information on a malfunctioning heat sink, see our troubleshooting page HP Pavilion x360 11m-ad013dx Troubleshooting. The heat sink performs the same actions as a cooling fan in a PC, but is sleeker and lighter in weight to improve the laptop’s design.
crwdns2942213:0crwdne2942213:0
-
-
Lay the HP Pavilion top-down with the front edge facing towards you.
-
-
-
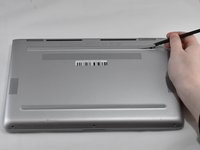
Remove the three 4.8mm Phillips #0 screws from the front side.
-
-
-
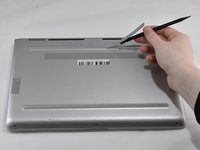
Using a plastic spudger, remove the grey silicon strip closest to the back-side.
-
-
-
Remove the three 5.7mm Phillips #1 screws.
-
-
-
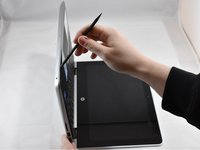
Open the HP Pavilion so that the screen is showing. Then tilt it down so that the screen is on its back, facing up.
-
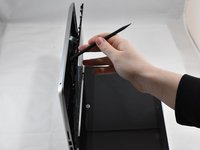
Using a spudger, pry off the black keyboard panel.
-
-
-
Using your fingernail, disconnect the zero insertion force (ZIF) keyboard connector cable by flipping up the small locking flap.
-
-
-
Using your fingernail, disconnect the zero insertion force (ZIF) connector for the touch pad cable by flipping up the small locking flap.
-
-
-
Remove the five 4.6mm Phillips #1 screws located around the battery.
-
-
-
-
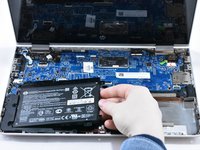
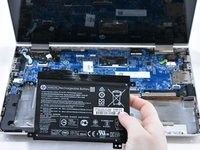
Using a spudger for assistance, lift up the right edge of the battery.
-
Remove the battery.
-
-
-
Using your fingernail, disconnect the ZIF (zero insertion force) hard drive cable by flipping up the small locking flap.
-
-
-
With your fingernails, disconnect the speaker cable from the motherboard by pulling back on the connector.
-
-
-
Lift the speaker cable from its retention chamber.
-
-
-
Remove the four 6.2mm Phillips #1 screws around the speakers.
-
-
-
Using your fingernail, disconnect the ZIF (zero insertion force) power button connector cable from the motherboard.
-
-
-
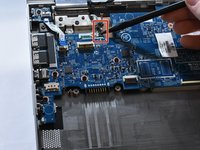
Using your fingernail, disconnect the ZIF display panel connector cable from the motherboard.
-
-
-
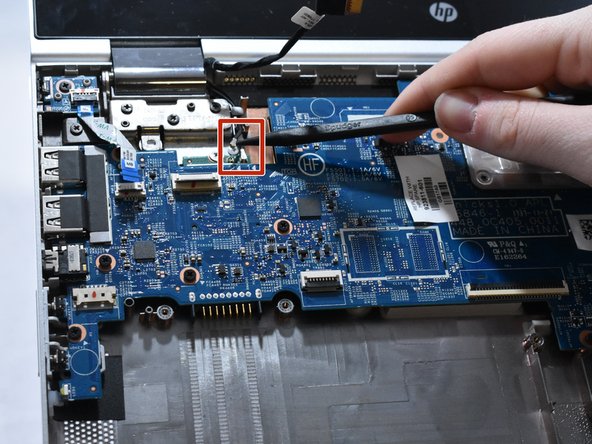
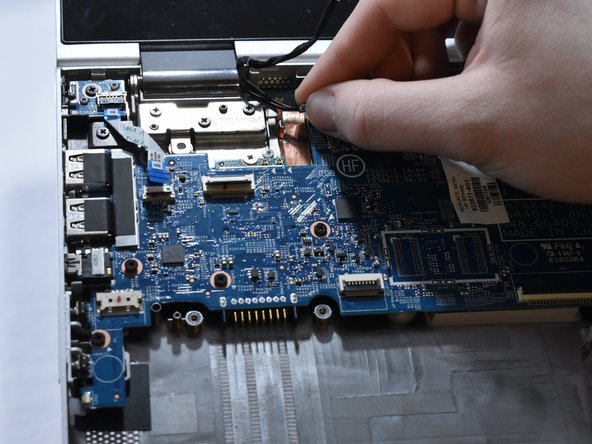
Disconnect the two WLAN antenna cables by sliding under the cable with a spudger, then lifting straight up.
-
-
-
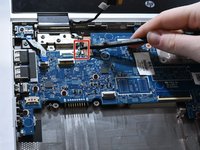
Using your fingernail, disconnect the ZIF display touch screen connector cable from the motherboard.
-
-
-
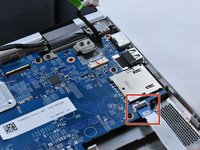
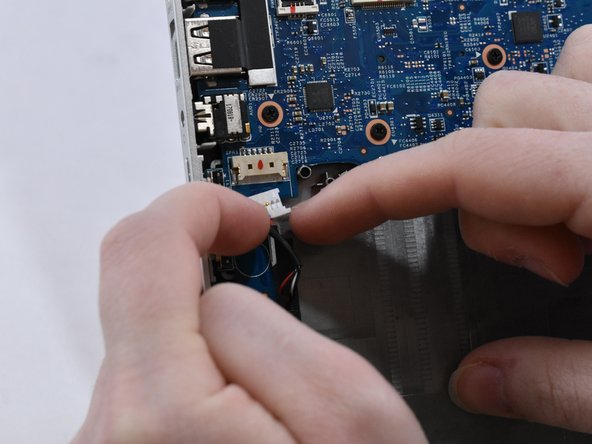
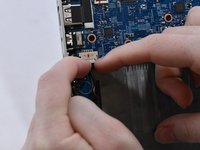
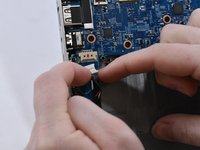
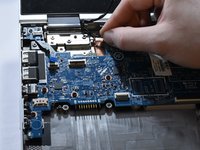
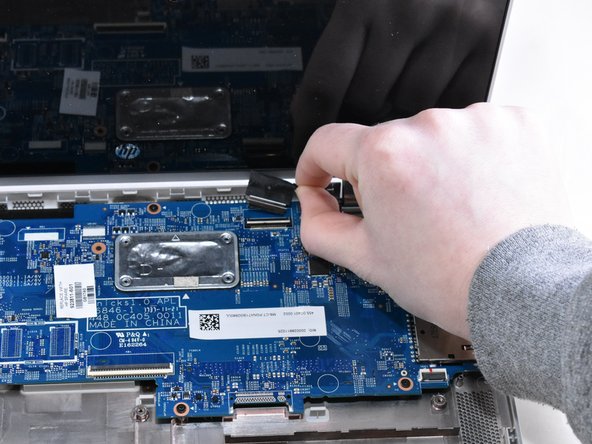
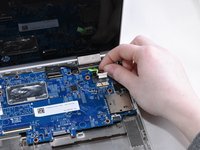
Using your fingernails, disconnect the power connector cable by pulling straight out.
-
-
-
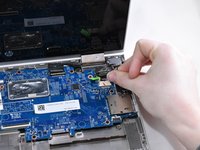
Remove the eleven 4.6 mm Phillips #1 screws from around the motherboard.
-
-
-
Remove the one 2.2 mm Phillips #1 broad head screw in the WLAN module.
-
-
-
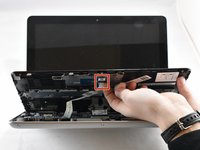
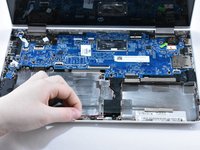
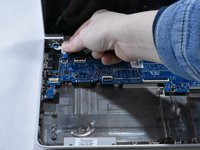
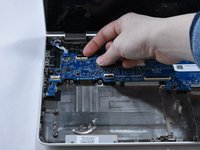
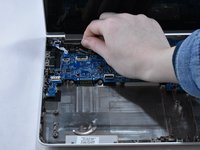
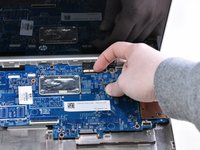
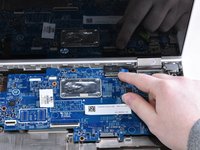
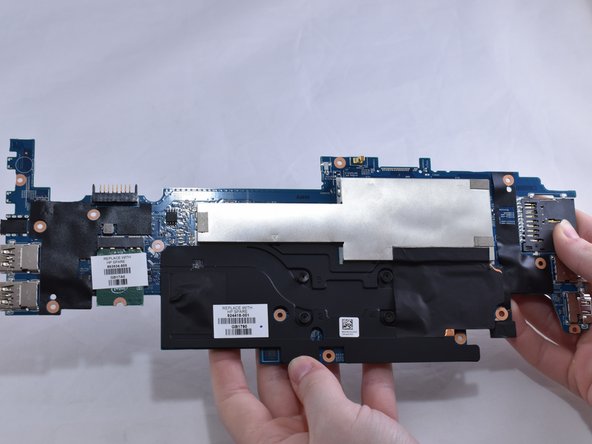
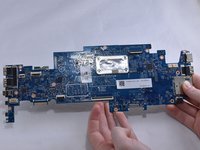
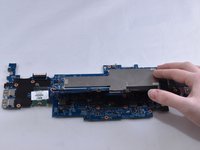
Lift the motherboard up on the right side. Then, gently pull the motherboard straight out to the right.
-
-
-
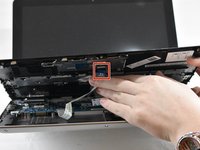
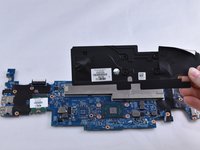
Flip the motherboard over towards you.
-
-
-
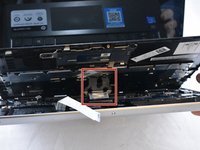
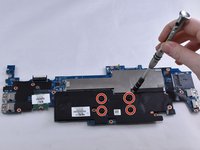
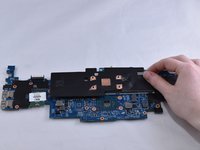
Loosen the four captive Phillips #1 screws.
-
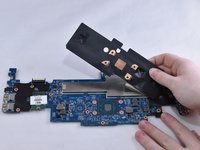
Flip the heat sink up.
-
-
-
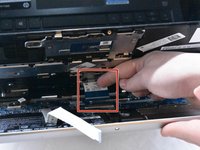
Using a tissue or paper towel, clean thermal paste off the heat sink and processor.
-
-
-
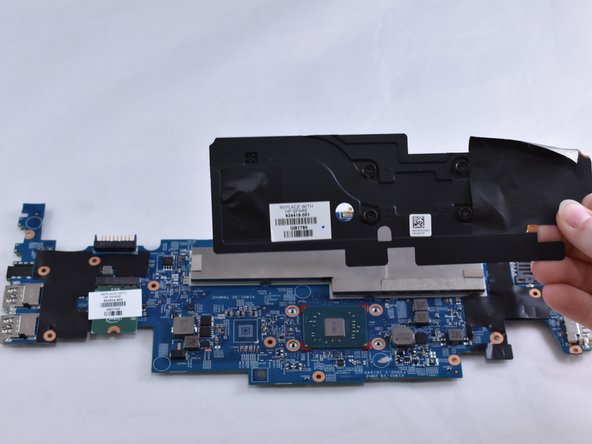
Remove the black electric tape attached to the shell of the memory module.
-


To reassemble your device, follow these instructions in reverse order.
To reassemble your device, follow these instructions in reverse order.

crwdns2915084:0crwdne2915084:0

Eastern Washington University, Team S1-G1, Carnegie Winter 2020 crwdns2935289:0Eastern Washington University, Team S1-G1, Carnegie Winter 2020crwdne2935289:0
EWU-CARNEGIE-W20S1G1
crwdns2931471:03crwdne2931471:0
crwdns2935297:05crwdne2935297:0