crwdns2915892:0crwdne2915892:0
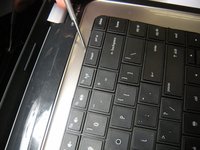
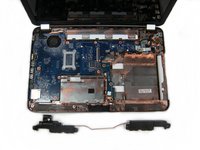
To remove the laptop's speakers, many components within the laptop need to be removed. This is a guide to do so.
crwdns2942213:0crwdne2942213:0
-
-
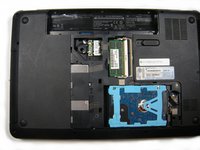
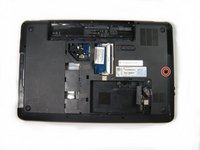
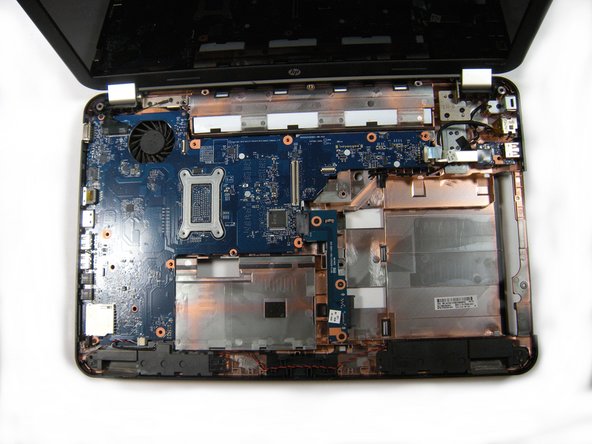
Flip the computer so the bottom is facing up with the battery away from you.
-
-
-
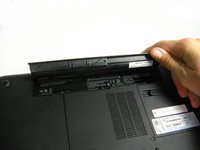
Slide the battery switch to the left until the battery unlatches from the base of the laptop.
-
-
-
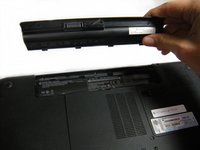
Lift the battery from its compartment away from the laptop.
-
-
-
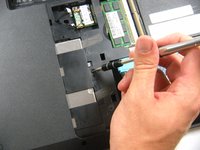
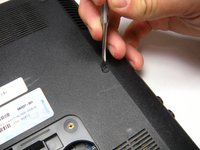
Loosen the two 5.7 mm screws on the bottom panel using a PH00 screwdriver.
-
-
-
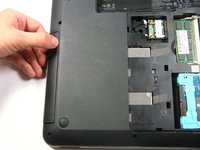
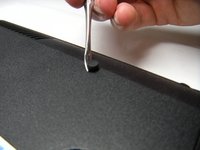
Use the metal spudger all around the panel to pop it up from the base.
-
-
-
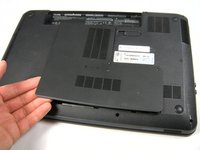
With your hands, lift the panel completely off the base of the laptop.
-
-
-
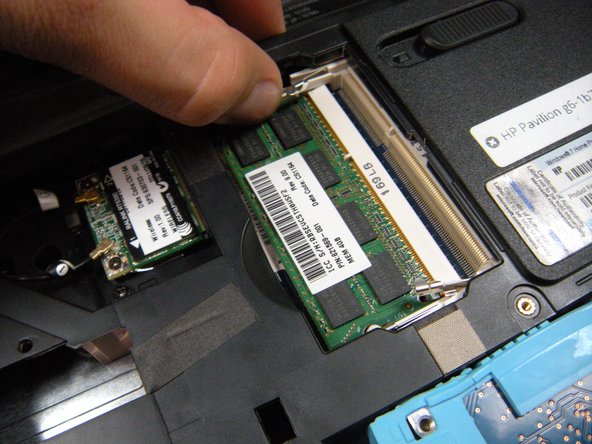
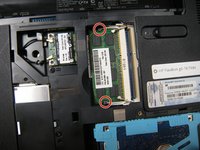
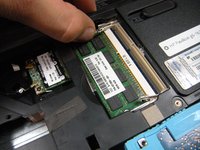
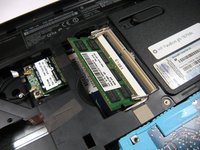
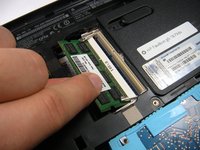
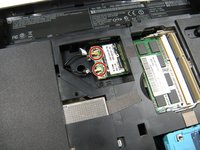
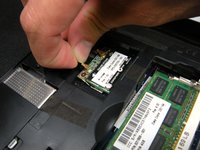
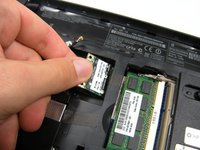
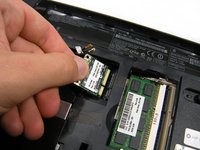
Slide the two latches away from the RAM to unhook it.
-
-
-
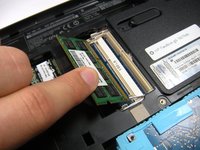
Gently slide the RAM out from the laptop.
-
-
-
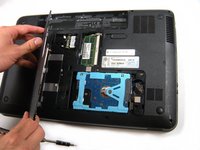
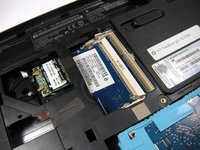
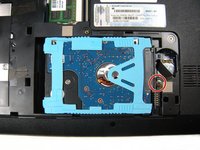
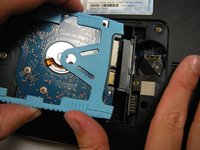
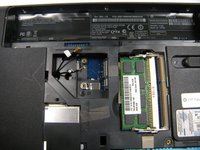
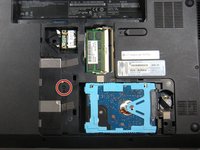
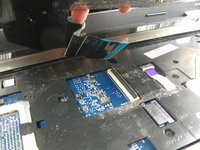
Use the PH 00 screwdriver to unscrew the 2.5 mm screw to the right of the hard drive.
-
-
-
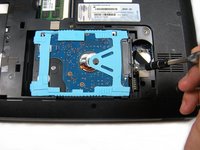
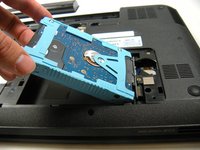
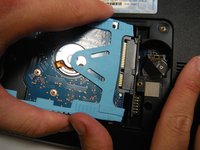
Pull the triangular blue tab to diconnect and remove the hard drive. You can see the word 'Pull' on the cover.
-
-
-
-
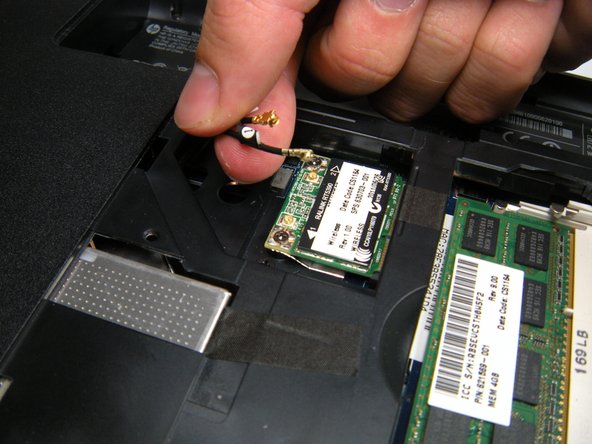
Unlatch the two antenna cable connectors from the wireless card.
-
-
-
Remove the two 2.5 mm screws in the wireless card with a PH00 screwdriver.
-
-
-
Gently disconnect the wireless card from the laptop.
-
-
-
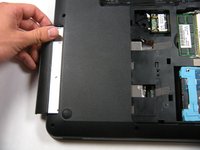
Using the PH 00 screwdriver, remove the screw left of the CD drive.
-
-
-
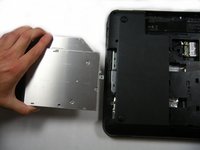
Slide the CD drive out from the exterior of the laptop.
-
-
-
Using a PH 00 screwdriver, remove the screw located next to the wireless card.
-
-
-
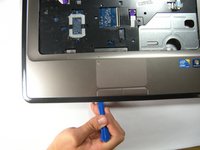
Insert a plastic spudger or similar pry tool, beneath the keyboard, near the "insert" key, and pop the keyboard up from the laptop.
-
Starting at the opening you just created, run your fingers around the outside of the keyboard separating it from the rest of the computer.
-
-
-
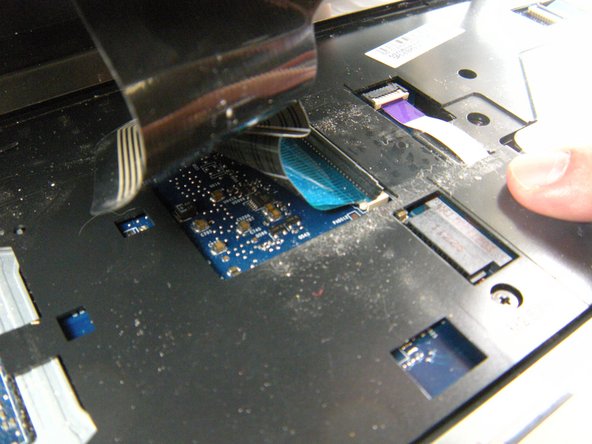
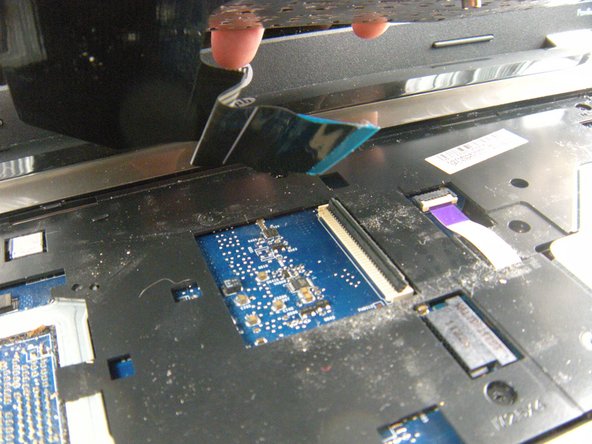
Slightly angle the keyboard back so the ribbon connector underneath it is visible.
-
Remove the ribbon cable by using your fingers to pull up and away from the connector.
-
-
-
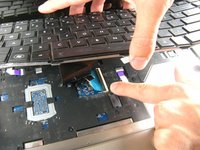
With the ribbon cable detached, you can now completely remove the keyboard.
-
-
-
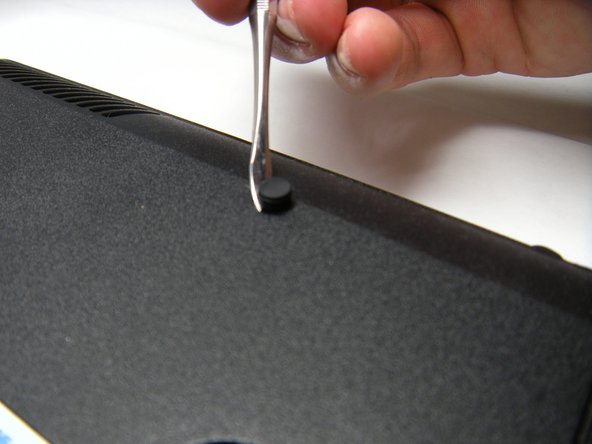
With the laptop bottom facing up, locate the rubber plug on the right side of the computer.
-
Use a metal splunger to remove the plug.
-
-
-
Remove the ten 6.7 mm screws using a PH00 screwdriver.
-
Remove the five 3.4 mm screws using a PH00 screwdriver.
-
-
-
Flip the computer over and open it.
-
Detach the two purple ribbons from the ribbon connectors.
-
Unscrew the six 4.6 mm screws using the PH00 screwdriver.
-
-
-
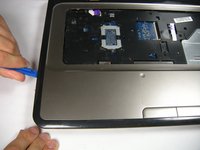
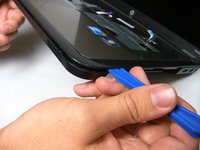
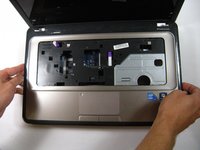
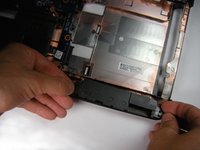
Use the plastic opening tool to pry out the front panel around the entire computer.
-
-
-
Gently lift the front panel away from the computer.
-
-
-
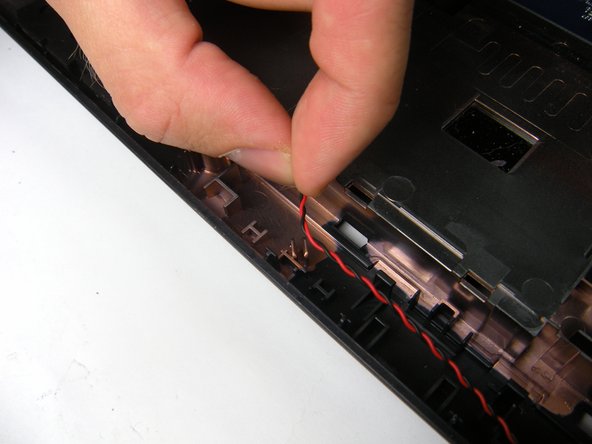
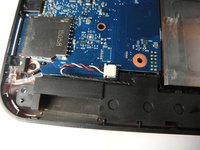
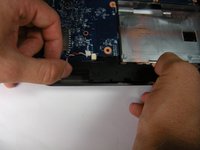
Locate the red and black speaker cables connecting the speakers and detach them from the two holders.
-
-
-
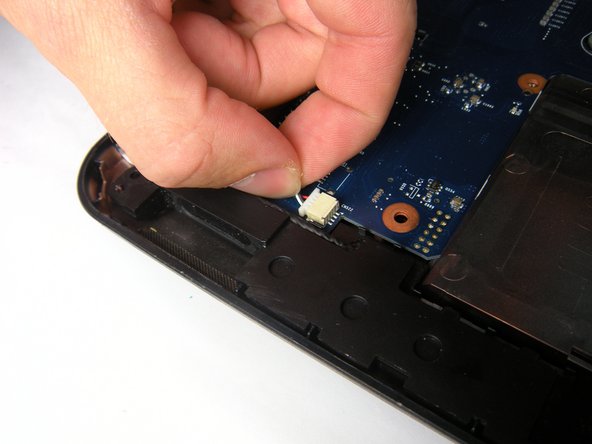
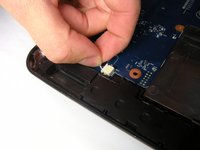
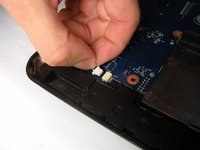
Pull the speaker cables out of their connectors.
-
-
-
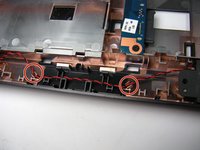
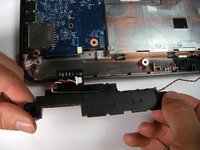
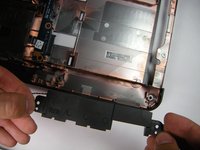
Slide the left speaker out from under the blue motherboard.
-
-
-
Lift the right speaker directly up and remove it from the computer.
-


To reassemble your device, follow these instructions in reverse order.
To reassemble your device, follow these instructions in reverse order.
crwdns2935221:0crwdne2935221:0
crwdns2935229:010crwdne2935229:0
crwdns2915084:0crwdne2915084:0

Baylor, Team 10-12, Williams Fall 2015 crwdns2935289:0Baylor, Team 10-12, Williams Fall 2015crwdne2935289:0
BU-WILLIAMS-F15S10G12
crwdns2931471:03crwdne2931471:0
crwdns2935297:08crwdne2935297:0
crwdns2947412:02crwdne2947412:0
I Love the practical very much
HP Pavilion g6 price