crwdns2915892:0crwdne2915892:0
This is a guide to locate and remove the laptop's hard drive.
crwdns2942213:0crwdne2942213:0
-
-
Flip the computer so the bottom is facing up with the battery away from you.
-
-
-
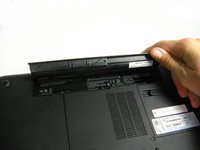
Slide the battery switch to the left until the battery unlatches from the base of the laptop.
-
-
-
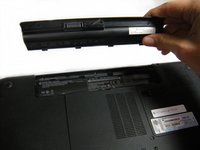
Lift the battery from its compartment away from the laptop.
-
-
-
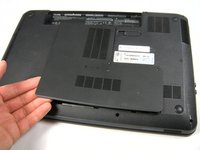
Loosen the two 5.7 mm screws on the bottom panel using a PH00 screwdriver.
-
-
-
-
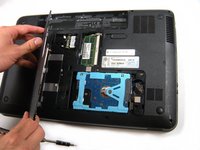
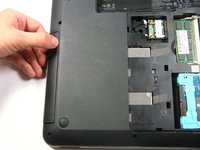
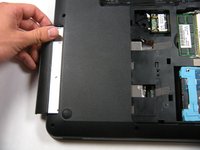
Use the metal spudger all around the panel to pop it up from the base.
-
-
-
With your hands, lift the panel completely off the base of the laptop.
-
-
-
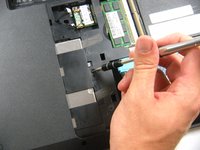
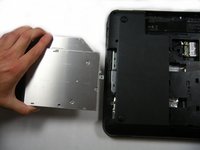
Using the PH 00 screwdriver, remove the screw left of the CD drive.
-
-
-
Slide the CD drive out from the exterior of the laptop.
-
-
-
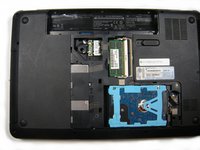
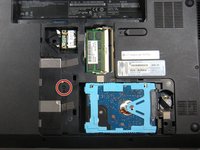
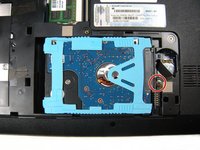
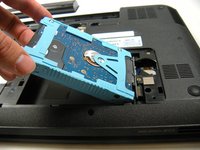
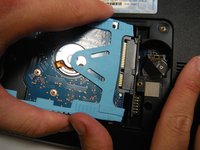
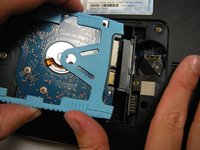
Use the PH 00 screwdriver to unscrew the 2.5 mm screw to the right of the hard drive.
-
-
-
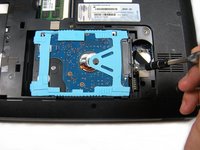
Pull the triangular blue tab to diconnect and remove the hard drive. You can see the word 'Pull' on the cover.
-


To reassemble your device, follow these instructions in reverse order.
To reassemble your device, follow these instructions in reverse order.
crwdns2935221:0crwdne2935221:0
crwdns2935229:05crwdne2935229:0
crwdns2915084:0crwdne2915084:0

Baylor, Team 10-12, Williams Fall 2015 crwdns2935289:0Baylor, Team 10-12, Williams Fall 2015crwdne2935289:0
BU-WILLIAMS-F15S10G12
crwdns2931471:03crwdne2931471:0
crwdns2935297:08crwdne2935297:0
crwdns2947410:01crwdne2947410:0
I used my (brand new!) Pro Tech toolkit to work through these instructions. Everything was pretty much as advertised except that my Pavilion g series is apparently older than the displayed model. Specifically, there was no screw to the right of the drive, and the drive is completely encased in a rubber harness that is used to friction seat the drive, and the area where the pull tab would be is covered by a plastic shield that appears to be made of same electrostatic material as antistatic bags. Solution was simply to used standard spudger to lift rear of drive against friction from rubber harness, and then simply unplug the drive. Basically, this was a good doc; it got me going in the right direction.