crwdns2915892:0crwdne2915892:0
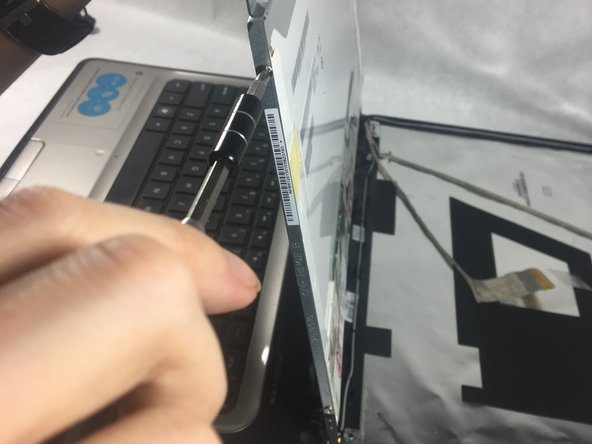
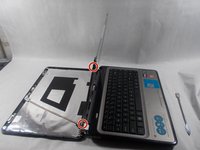
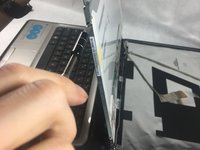
Although it does not have many prerequisites, the screen is without a doubt the most difficult part of the laptop to remove. There are several hidden screws and wire that need to be carefully removed.
crwdns2942213:0crwdne2942213:0
-
-
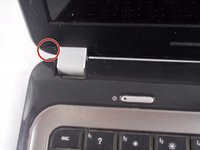
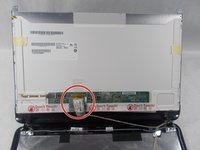
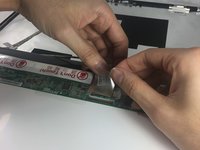
Slide pill shaped tab to the other side of the channel.
-
-
-
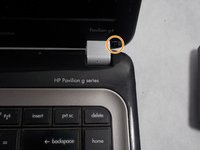
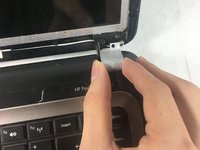
Remove battery while keeping the tab to the side.
-
-
-
Remove two triangular shaped screw covers in the bottom corners of the monitor near the hinges.
-
Unscrew the two 4.0 mm JIS #0 screws holding the hinge covers.
-
-
-
-
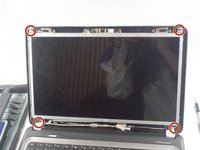
Remove four 4.0mm JIS #0 screws located at each corner of the monitor.
-
-
-
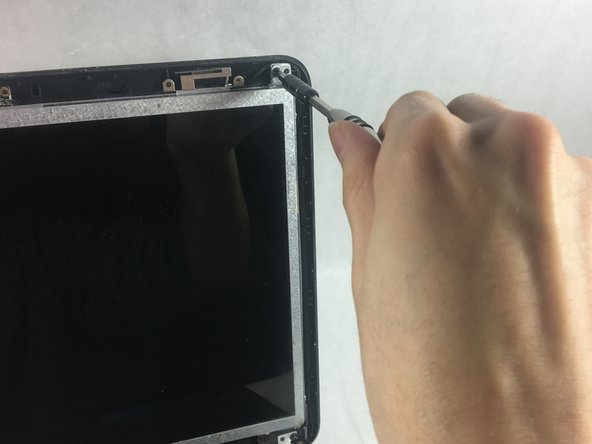
Remove four 3.0mm JIS #0 screws, two on each side of the screen.
-


To reassemble your device, follow these instructions in reverse order.
To reassemble your device, follow these instructions in reverse order.
crwdns2935221:0crwdne2935221:0
crwdns2935227:0crwdne2935227:0
crwdns2915084:0crwdne2915084:0

UMass Dartmouth, Team S2-G7, Simcock Spring 2018 crwdns2935289:0UMass Dartmouth, Team S2-G7, Simcock Spring 2018crwdne2935289:0
UMASSD-SIMCOCK-S18S2G7
crwdns2931471:04crwdne2931471:0
crwdns2935297:010crwdne2935297:0
crwdns2947410:01crwdne2947410:0
nice very informative