crwdns2915892:0crwdne2915892:0
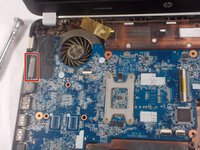
The fan is one of the more tedious components of your device to remove. It has several prerequisite guides, but when you get to the fan, it is very easy to remove.
crwdns2942213:0crwdne2942213:0
-
-
Slide pill shaped tab to the other side of the channel.
-
-
-
Remove battery while keeping the tab to the side.
-
-
-
Unscrew the two screws JIS #0 located on opposites sides of the panel.
-
-
-
Carefully pry off the L-shaped panel.
-
-
-
Pull out and unplug the tab on the right hand side.
-
-
-
-
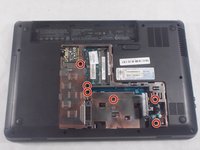
Unscrew all nine 6.0mm JIS #0 screws located on the border of the back panel.
-
-
-
Remove 3 screws located where the battery previously was.
-
-
-
Remove 6 screws located under the spot where the smaller L-shaped panel was located.
-
-
-
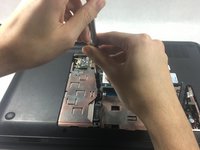
Slowly pry off the keyboard from the back panel.
-
-
-
Unplug wires connecting back panel to keyboard.
-
-
-
In lower left hand corner, pull on black tab to unplug the disc drive.
-
-
-
In upper left hand corner, unplug the large black electrical tape covered laptop plug.
-
-
-
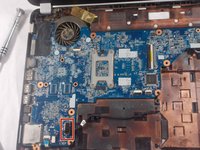
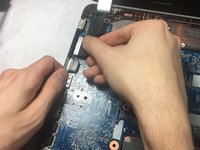
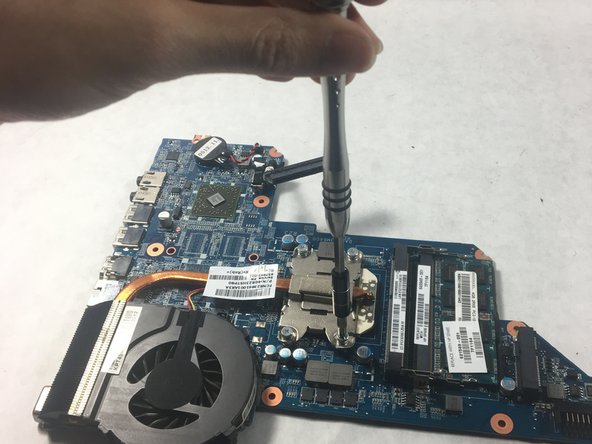
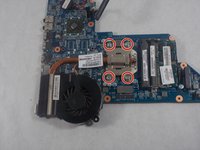
Unscrew the four screws JIS #0 screws on the back side of the motherboard.
-


To reassemble your device, follow these instructions in reverse order.
To reassemble your device, follow these instructions in reverse order.
crwdns2915084:0crwdne2915084:0

UMass Dartmouth, Team S2-G7, Simcock Spring 2018 crwdns2935289:0UMass Dartmouth, Team S2-G7, Simcock Spring 2018crwdne2935289:0
UMASSD-SIMCOCK-S18S2G7
crwdns2931471:04crwdne2931471:0
crwdns2935297:010crwdne2935297:0