crwdns2942213:0crwdne2942213:0
-
-
Flip the laptop over and remove six 7.25mm screws.
-
-
-
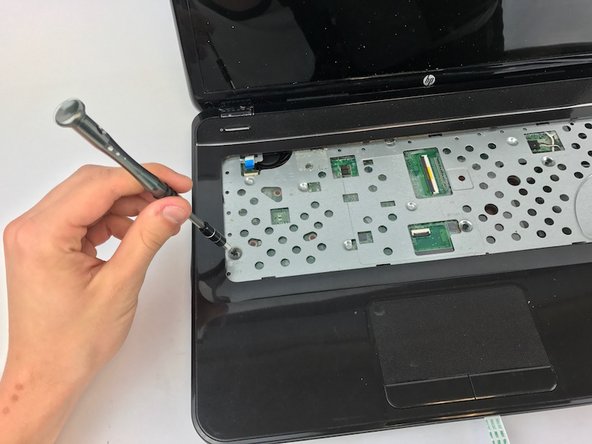
Using the plastic opening tool or spudger, separate the keyboard from the frame of the laptop.
-
Gently pull the keyboard away from the laptop, toward you, until it is completely separated from the laptop.
-
-
-
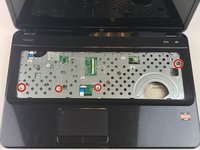
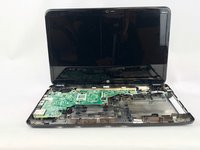
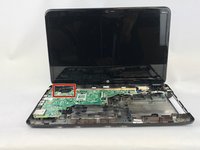
Remove the four 7.25mm screws located by the red markers.
-
-
-
-
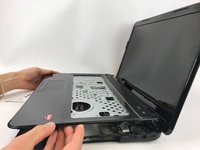
Gently lift the panel up, exposing the inside of the laptop.
-
-
-
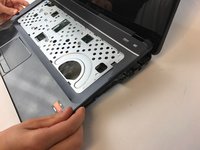
The fan is located in the top, left hand corner. Now, it can be gently lifted out using your hands.
-
-
-
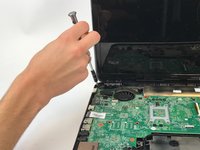
To remove the laptop's screen, you will have to remove a total of four 7.25mm screws.
-
First, remove the two 7.25mm screws found in the upper right corner as shown.
-
-
-
Next, unscrew the two 7.25mm screws in the upper left corner of the laptop as shown.
-
-
-
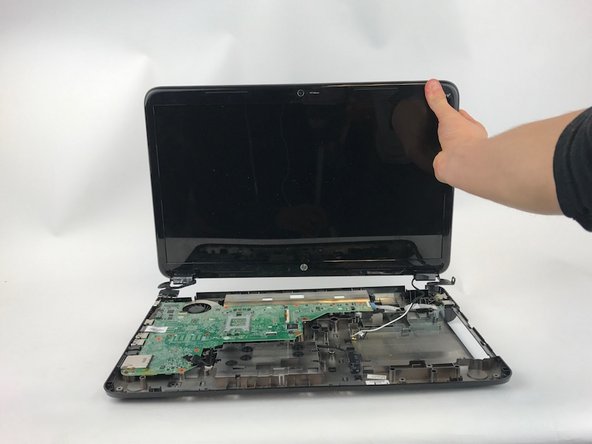
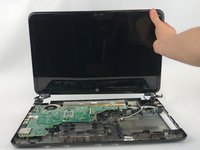
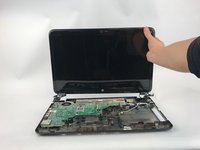
Once all of the screws have been removed, gently lift the laptop's screen from the base of the computer.
-


To reassemble your device, follow these instructions in reverse order.
To reassemble your device, follow these instructions in reverse order.
crwdns2935221:0crwdne2935221:0
crwdns2935229:02crwdne2935229:0
crwdns2915084:0crwdne2915084:0

USF Tampa, Team 1-7, Leahy Fall 2016 crwdns2935289:0USF Tampa, Team 1-7, Leahy Fall 2016crwdne2935289:0
USFT-LEAHY-F16S1G7
crwdns2931471:03crwdne2931471:0
crwdns2935297:05crwdne2935297:0