crwdns2915892:0crwdne2915892:0
This guide will show you how to replace the fan of the HP Pavilion G60-247CL.
crwdns2942213:0crwdne2942213:0
-
-
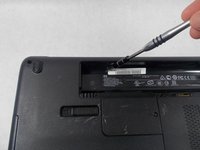
Press down and to the right on the battery lock slide.
-
Once slid over to the right the battery will pop up and out.
-
-
-
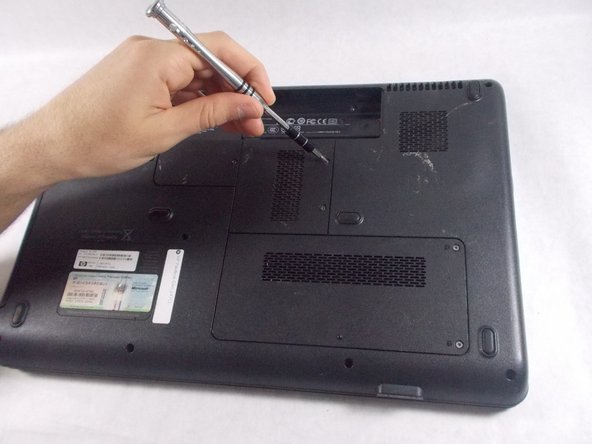
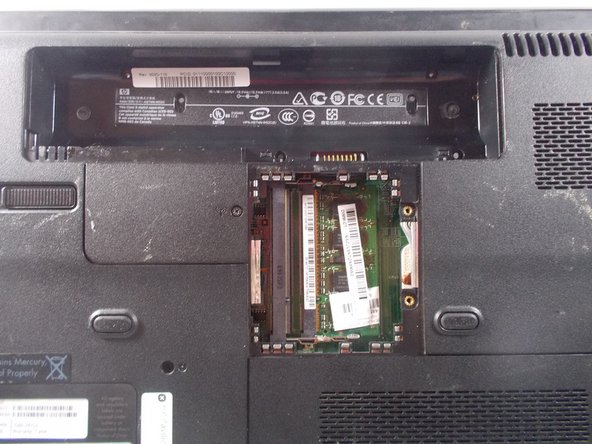
Locate RAM access door on the bottom side of the laptop.
-
-
-
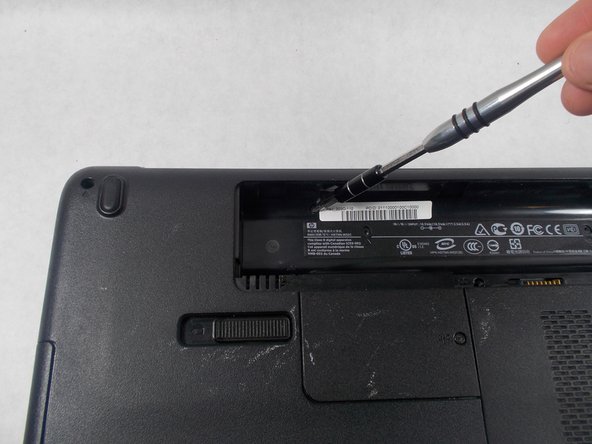
Remove the two screws holding down the RAM access door with a Phillips #1 screwdriver.
-
-
-
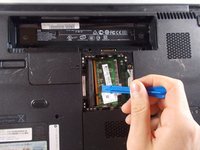
Lift up on the RAM cover and remove it to reveal RAM sticks.
-
-
-
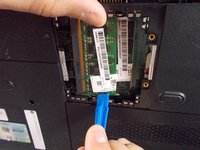
Gently pull apart the two metal tabs located on both sides of the stick of RAM.
-
-
-
Gently lift the RAM stick up and out of its seat.
-
-
-
Repeat the previous two steps for the remaining stick of RAM.
-
-
-
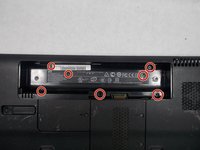
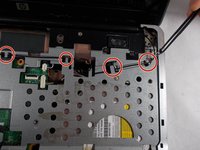
Remove the seven Phillips #1 screws from the back side of the laptop.
-
-
-
Remove the seven Phillips #0 screws from the battery compartment.
-
-
-
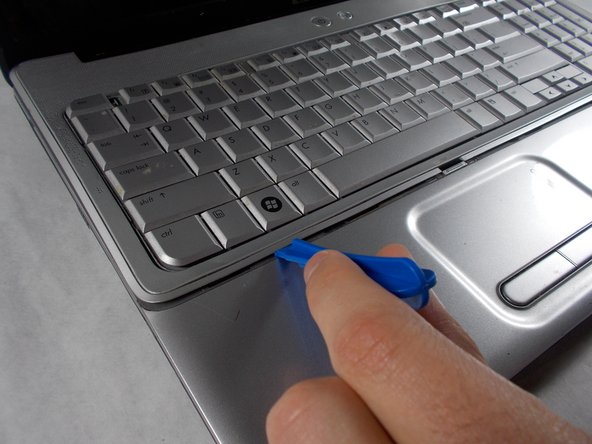
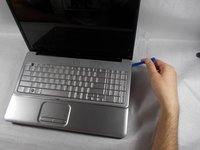
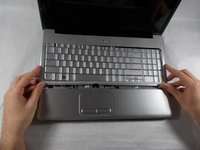
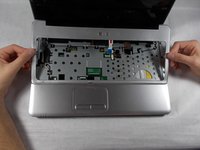
Turn the computer around to the front side.
-
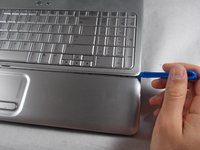
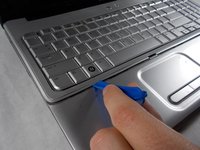
Using an opening tool, prop open the keyboard casing.
-
-
-
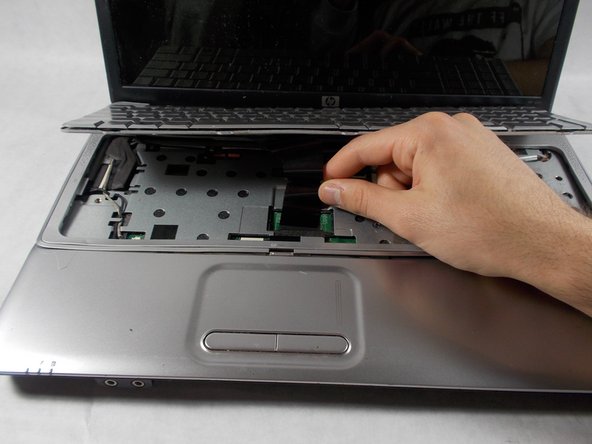
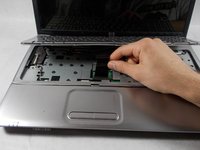
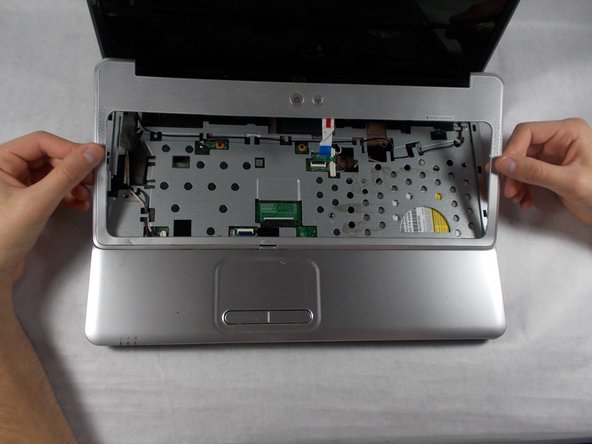
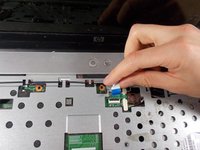
Carefully lift up the keyboard.
-
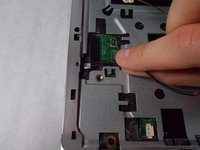
Gently pull up the connecting wire clip (located in the middle) to completely detach the keyboard.
-
-
-
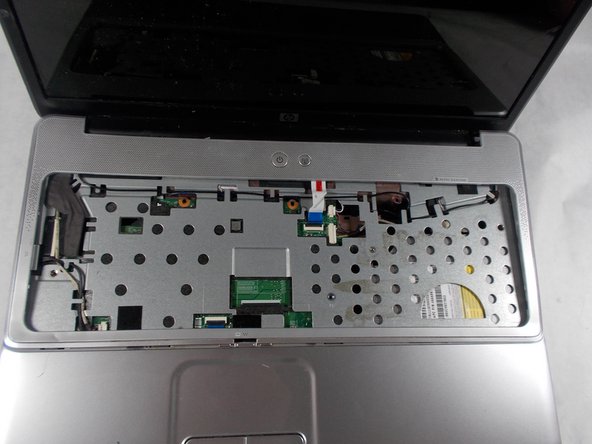
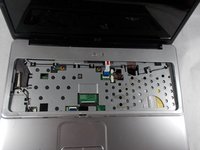
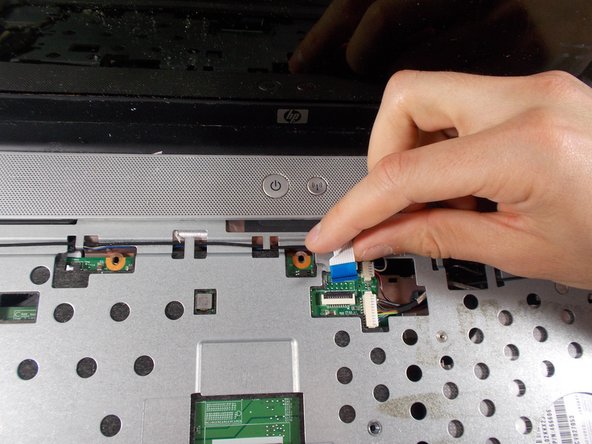
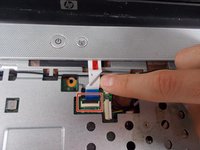
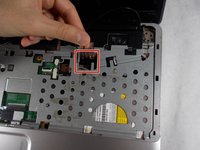
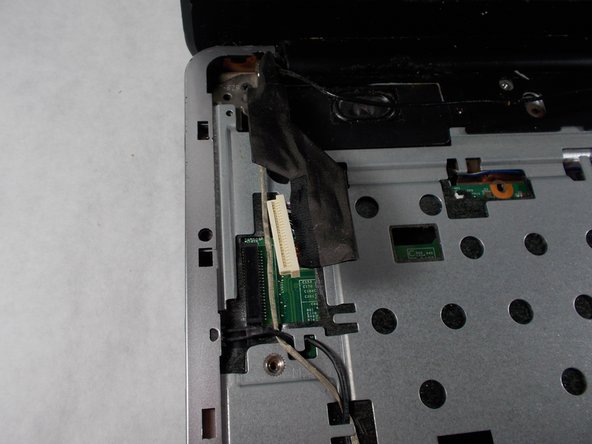
At the top right of the laptop there will be another wire clip holding the keyboard casing.
-
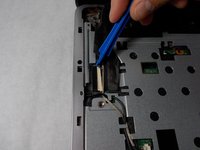
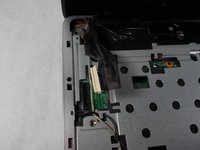
Carefully pull out the wire clip to fully detach the covering.
-
-
crwdns2935267:0crwdne2935267:0Tweezers$4.99
-
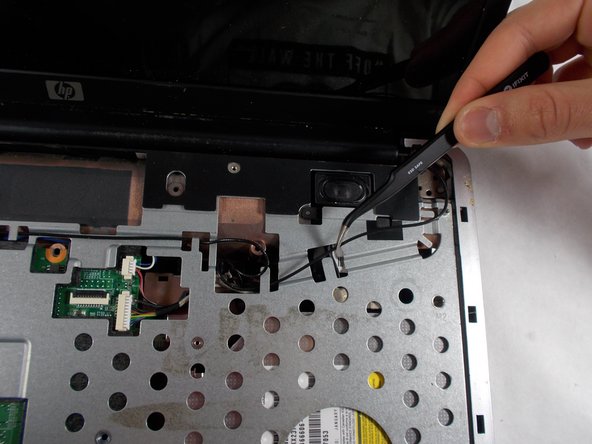
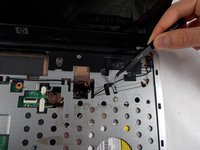
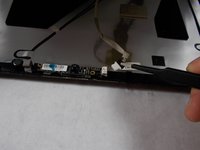
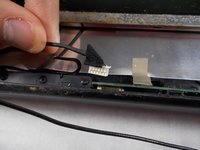
At the top right of the laptop remove the black wire from under the metal tabs using the tweezers.
-
-
-
Remove the black wire from the top right corner by gently pulling outward.
-
-
-
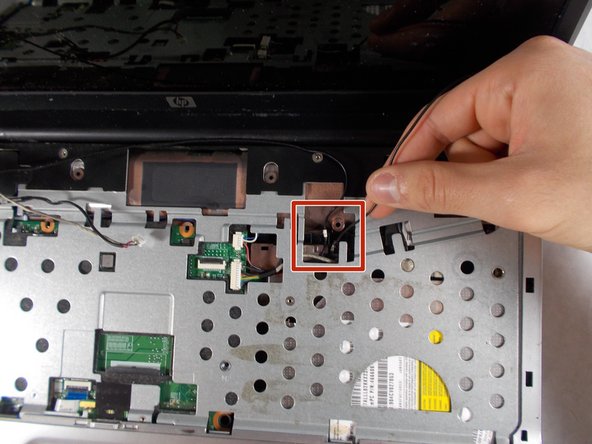
At the top left of the computer remove the black clip using the opening tool.
-
Push the opening tool to the right to pop out the clip.
-
-
-
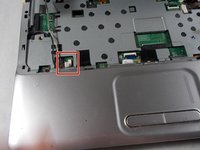
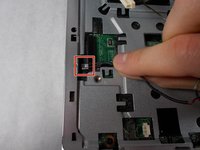
Locate at the bottom left of the computer a white clip.
-
Using an opening tool, prop out the white clip.
-
-
-
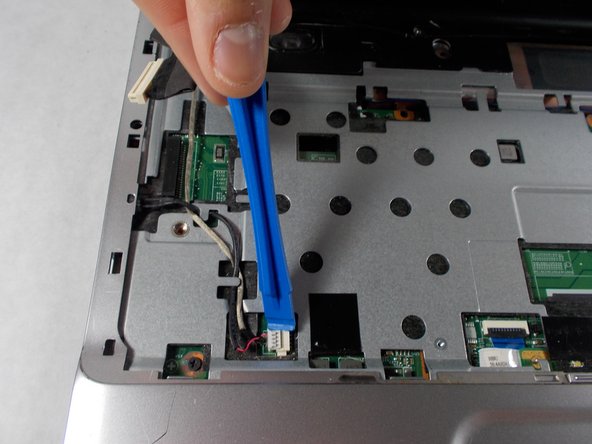
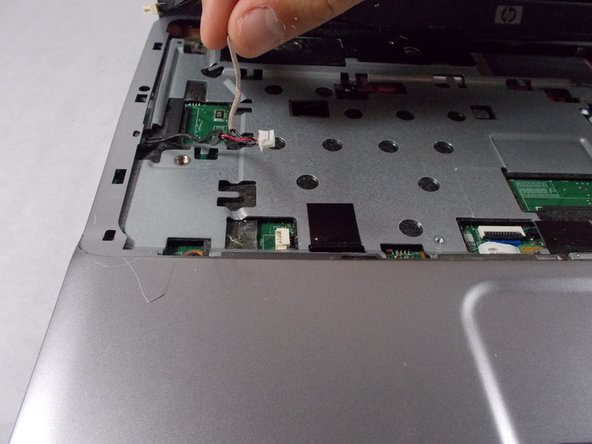
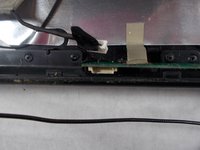
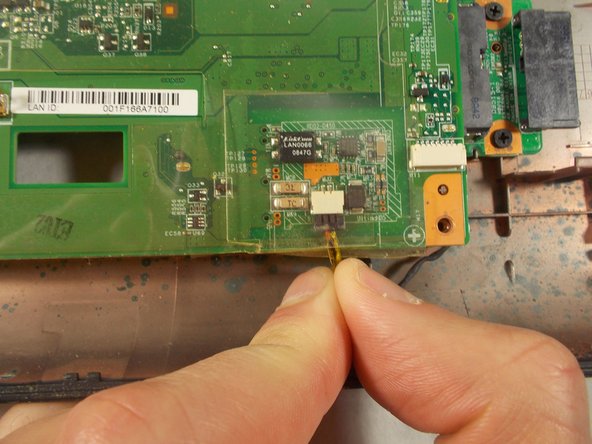
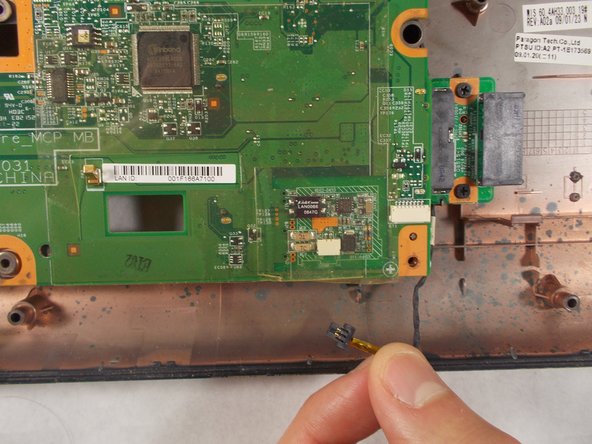
On the left side of the computer locate the black wire with the clear clip.
-
Gently pull the wire to the right to detach it.
-
-
-
-
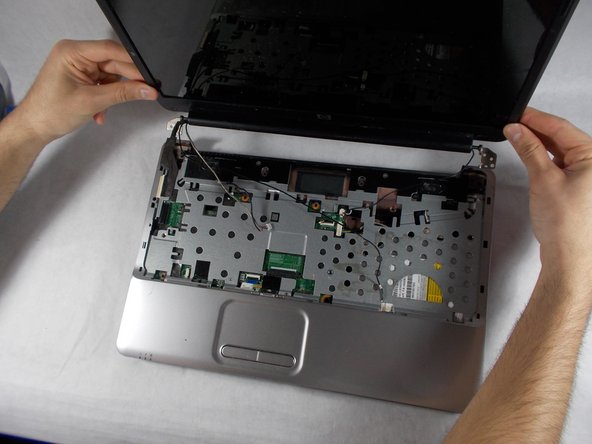
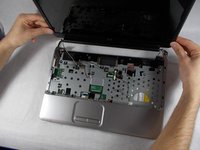
At the top corners of the computer, unscrew the three Phillips #0 screws.
-
Lift up the top half of the computer carefully.
-
-
-
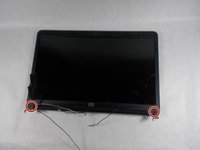
Locate the two screws at the bottom corners of the screen.
-
Using the tweezers remove the rubber black covering over the screw.
-
Remove the two Phillips #0 screws.
-
-
-
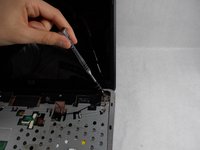
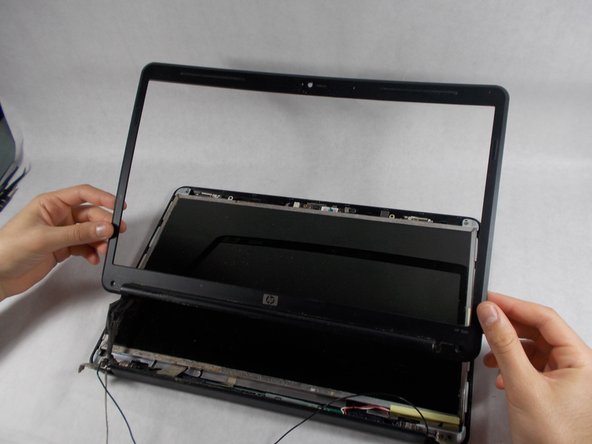
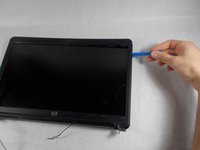
Using the opening tool, prop off the screen covering.
-
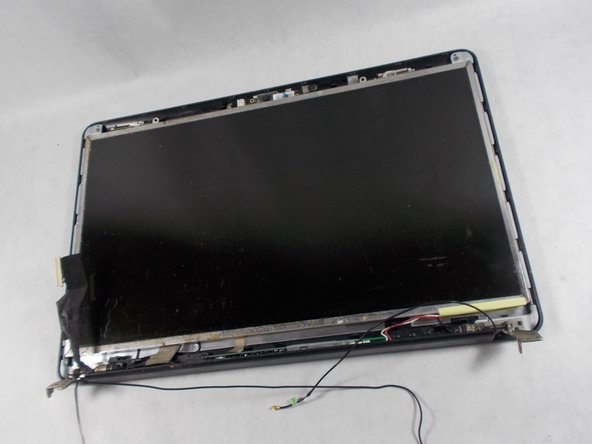
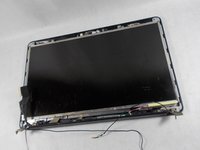
Remove the covering to expose the screen completely.
-
-
-
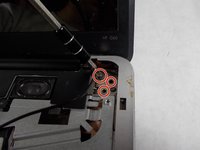
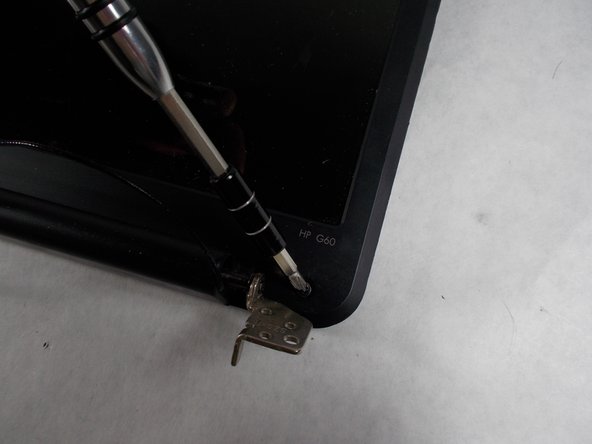
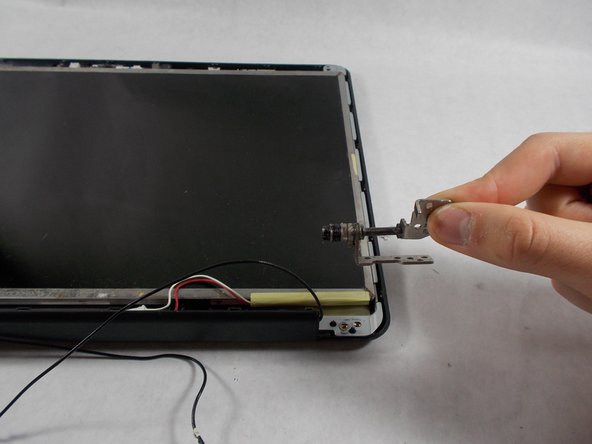
Remove the bottom two screen bearings.
-
Using a Phillips 1 screwdriver, remove the two screws on each side.
-
-
-
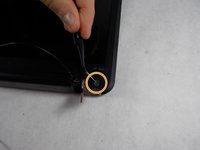
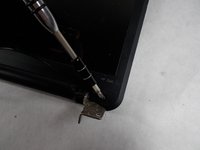
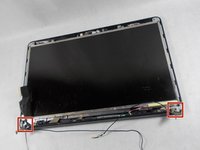
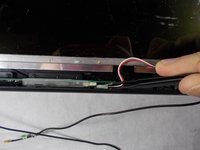
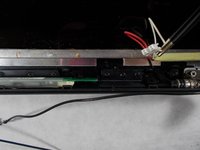
Using the tweezers remove the red and white wire from the bottom of the screen.
-
-
-
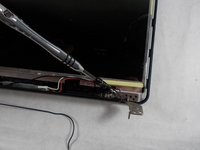
Prop the screen up slightly.
-
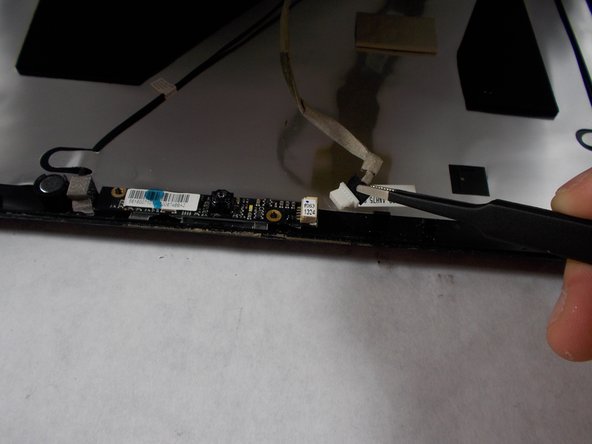
Using the tweezers unclip the white wire.
-
-
-
While the screen is still propped open, remove the black wire from the bottom middle of the screen by pulling gently.
-
-
-
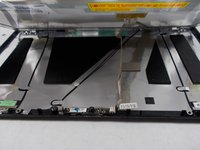
Remove the screen from the outer casing carefully.
-
-
-
Remove the battery and RAM.
-
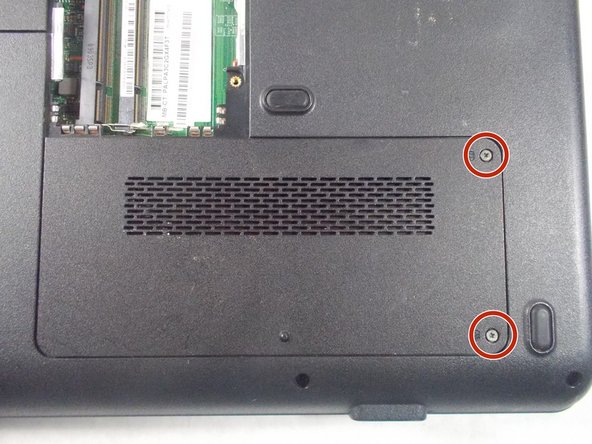
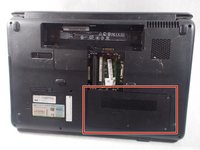
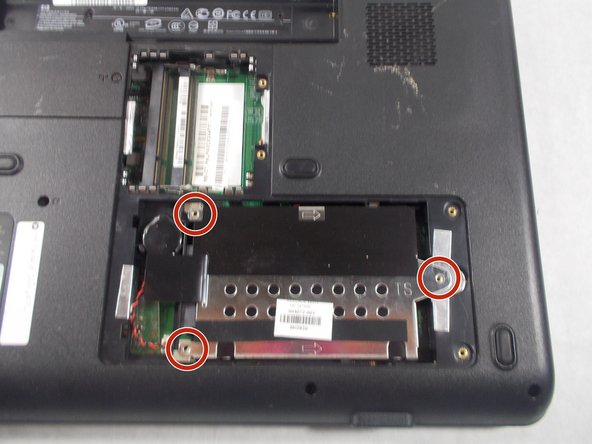
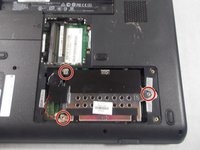
Locate the hard drive access panel.
-
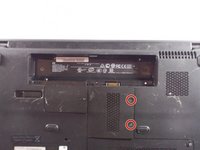
Remove the two 1.2mm Phillips #1 screws on the hard drive access panel.
-
-
-
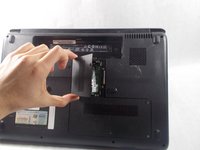
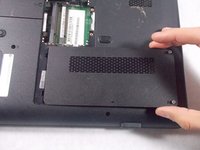
After the screws are removed, slide the hard drive panel to the right to remove it.
-
-
-
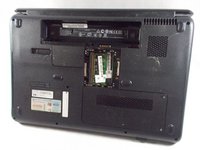
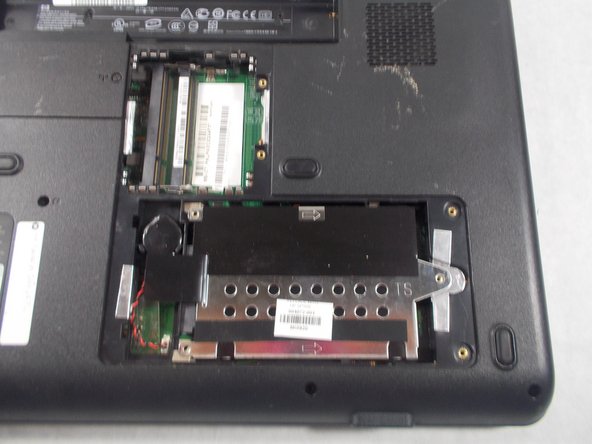
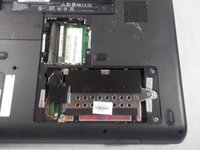
Identify the 3 screws holding the hard drive's cover in place.
-
Use a Phillips #0 screwdriver to remove the 3 screws and reveal the hard drive.
-
-
-
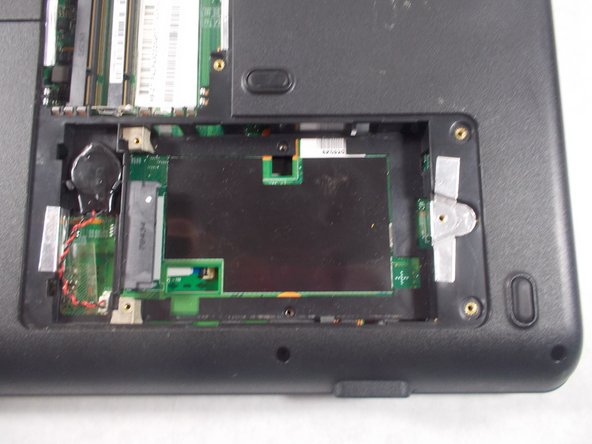
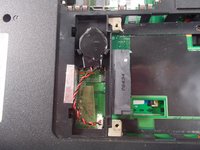
Locate the storage battery, next to the hard drive.
-
Gently pop out the storage battery with your fingers.
-
-
-
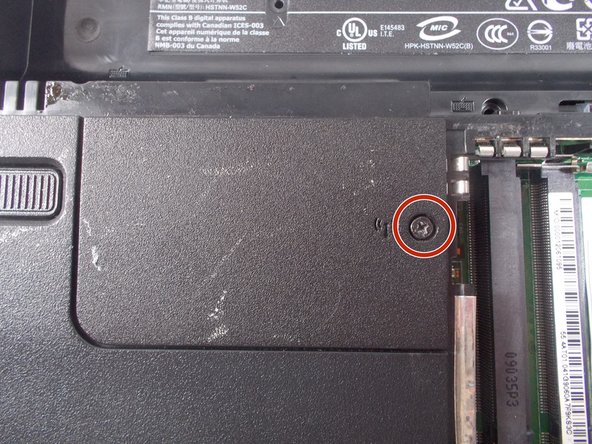
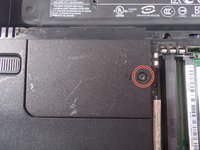
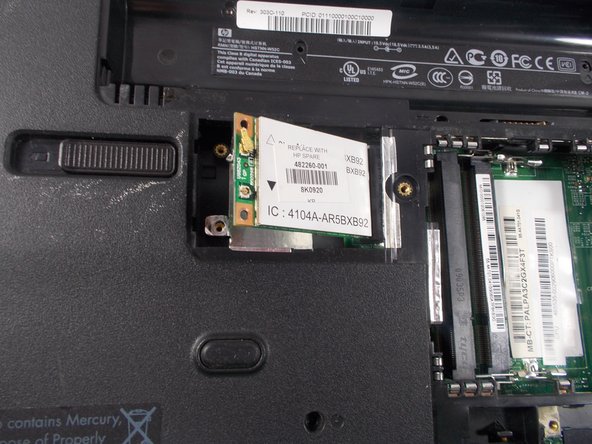
Locate the Wi-Fi card cover panel, to the left of the RAM.
-
Use a Phillips #1 screwdriver to remove the screw from the Wi-Fi card cover panel.
-
-
-
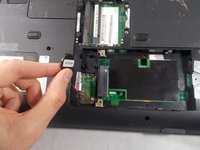
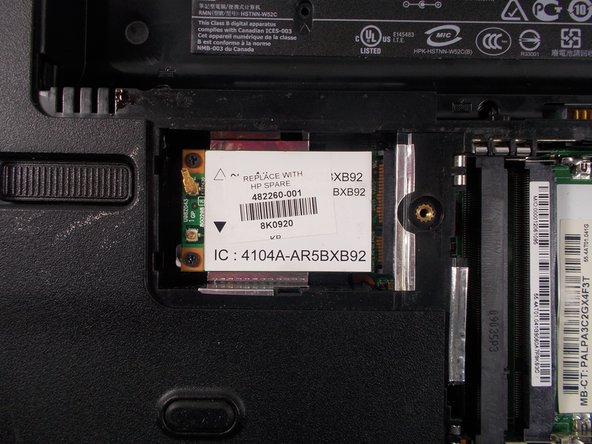
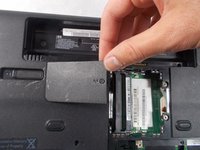
Lift up on the screw side to remove the panel.
-
-
-
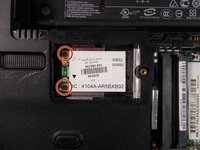
Remove two 1.2 mm Phillips #01 screws.
-
When the screws are removed, the Wi-Fi card will pop up.
-
-
-
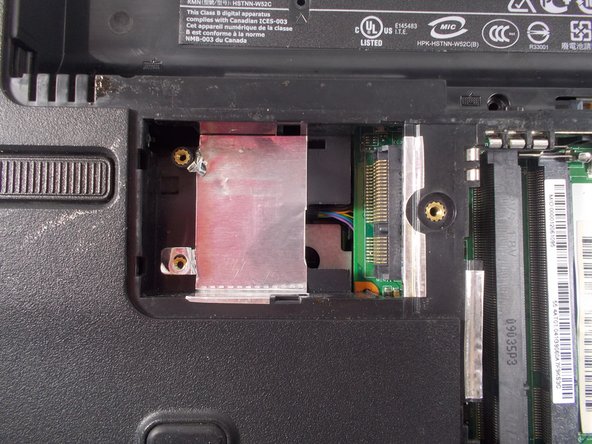
Remove the Wi-Fi card by pulling it to the left of the laptop.
-
-
-
Flip the laptop over to the top view.
-
Remove five 1.2 mm Phillips #00 screws.
-
-
-
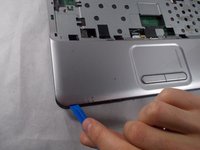
Use a spudger to unclip the casing around all the corners and edges of the laptop.
-
-
-
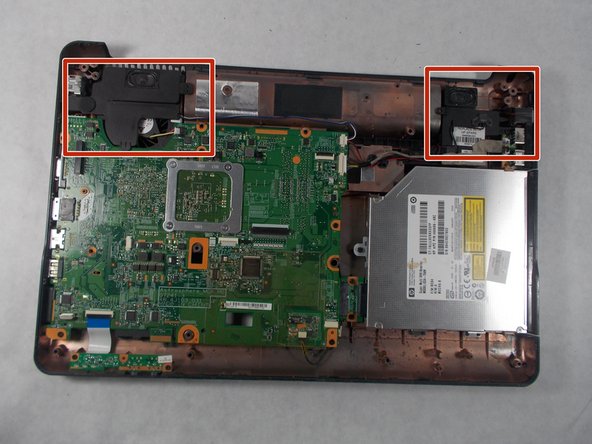
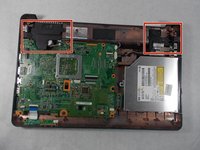
Lift up and remove the casing to reveal the speakers.
-
-
-
Remove the highlighted 1.2 mm Phillips #00 screw from the right speaker.
-
-
-
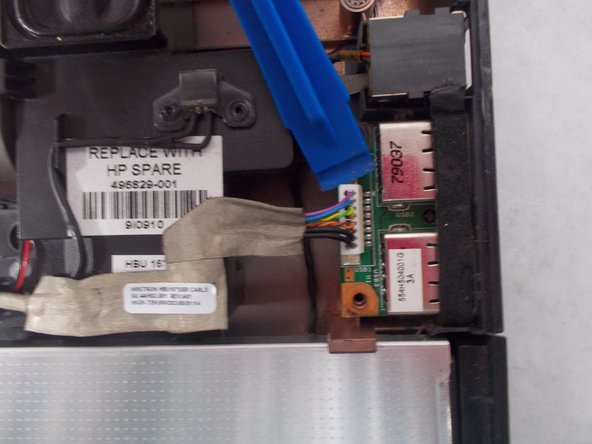
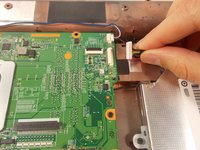
Using a spudger, remove the highlighted white wire.
-
-
-
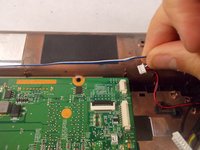
Using a spudger, remove both highlighted wires from the motherboard.
-
-
-
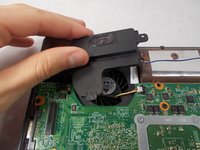
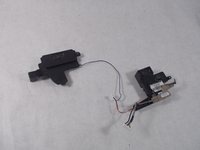
Lift each speaker up and out from the base.
-
-
-
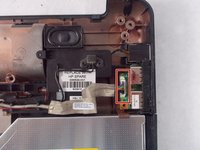
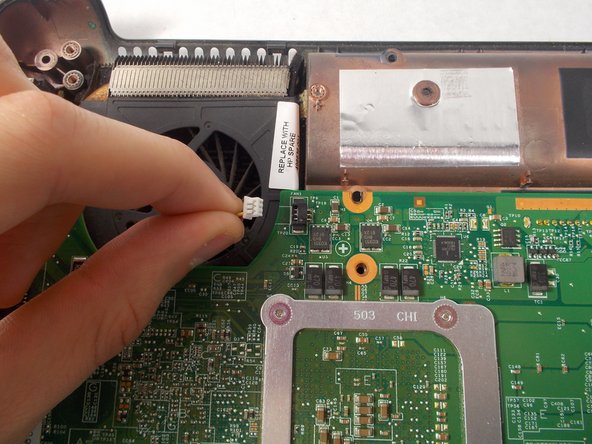
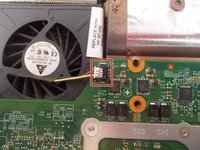
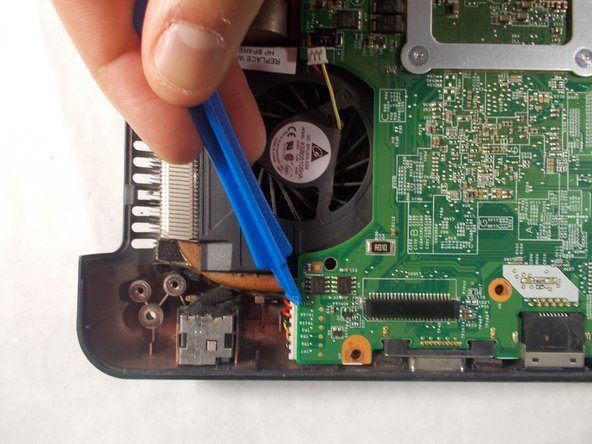
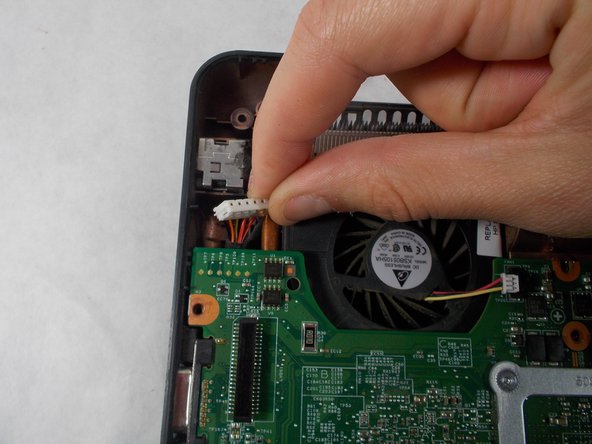
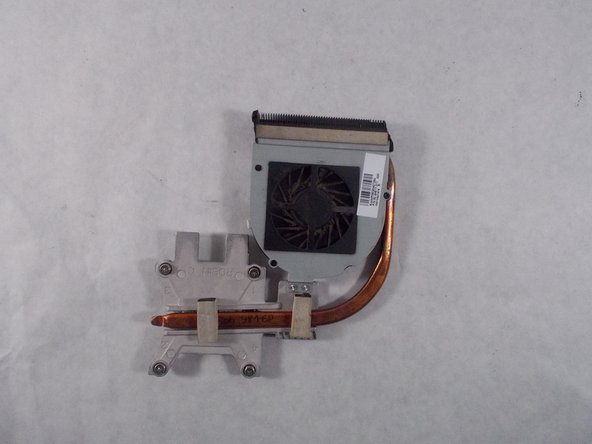
Locate the fan in the top left corner.
-
Carefully disconnect the wire attached to the motherboard using your fingers.
-
-
-
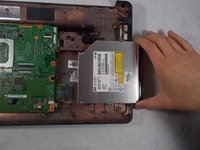
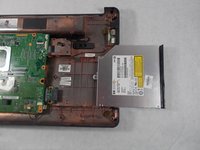
Locate the disk player in the bottom right corner.
-
Remove three screws using a Phillips #00 screwdriver.
-
-
-
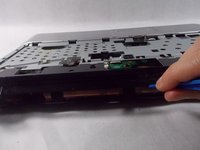
Slide out the disk player to the right.
-
-
-
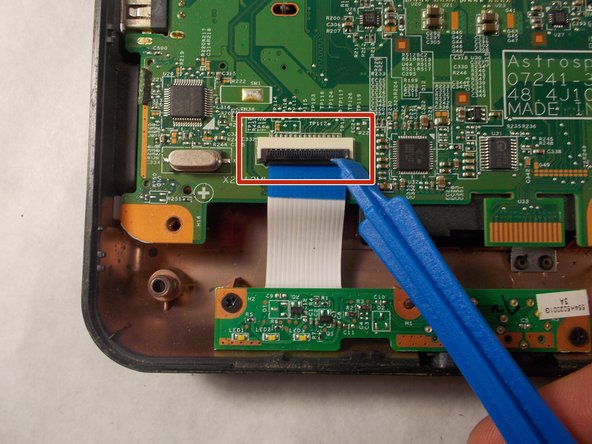
Gently disconnect the ribbon cable using an opening tool.
-
-
-
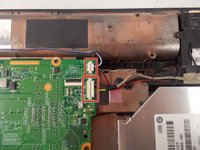
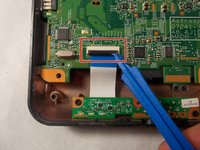
Disconnect the wire connected to motherboard by gently pulling downwards.
-
-
-
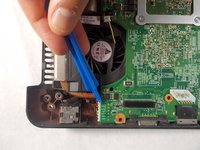
Disconnect the wire connected to the motherboard using an opening tool.
-
-
-
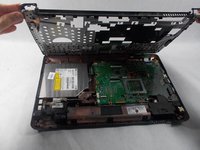
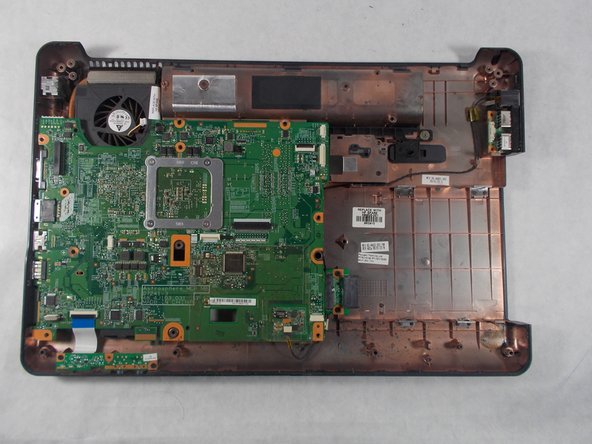
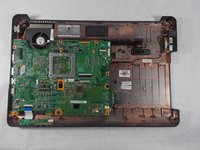
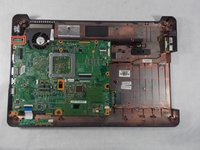
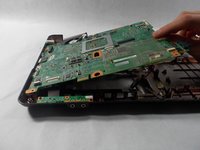
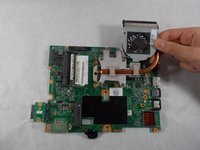
Gently remove motherboard with fan from the shell.
-
-
-
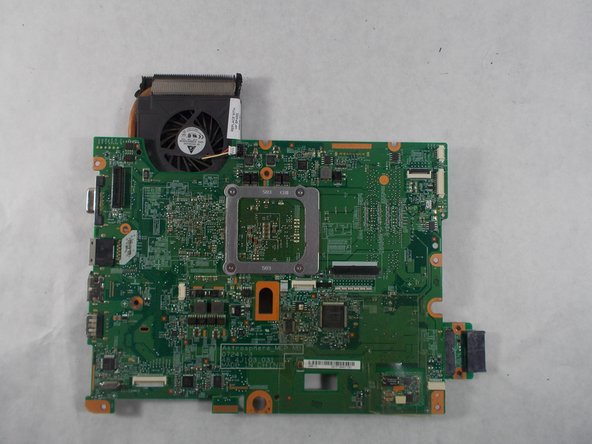
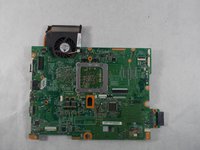
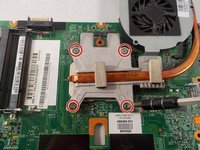
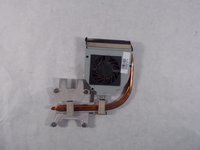
Flip over the motherboard to view the back side.
-
Remove four 1.6 mm screws with a Phillips #1 screwdriver.
-


To reassemble your device, follow these instructions in reverse order.
To reassemble your device, follow these instructions in reverse order.
crwdns2915084:0crwdne2915084:0

UMass Dartmouth, Team S4-G5, Covino Spring 2018 crwdns2935289:0UMass Dartmouth, Team S4-G5, Covino Spring 2018crwdne2935289:0
UMASSD-COVINO-S18S4G5
crwdns2931471:03crwdne2931471:0
crwdns2935297:05crwdne2935297:0