crwdns2933423:0crwdne2933423:0
crwdns2947577:0crwdnd2947577:0crwdne2947577:0

HP Pavilion DV2160BR Keyboard Replacement

crwdns2942213:0crwdne2942213:0

    1. HP Pavilion DV2160BR Keyboard Replacement, Battery: crwdns2935265:01crwdnd2935265:01crwdnd2935265:01crwdne2935265:0
      • Start with the bottom of the laptop facing up.

      crwdns2952109:0crwdne2952109:0

      crwdns2917038:0crwdne2917038:0

    2. HP Pavilion DV2160BR Keyboard Replacement: crwdns2935265:02crwdnd2935265:01crwdnd2935265:02crwdne2935265:0 HP Pavilion DV2160BR Keyboard Replacement: crwdns2935265:02crwdnd2935265:02crwdnd2935265:02crwdne2935265:0
      • Locate the battery compartment at the rear of the device.

      • There is a slider button located under the left side of the battery compartment. It is indicated by a battery symbol. Move the slider to the left and lift the battery out.

      crwdns2952109:0crwdne2952109:0

      crwdns2917038:0crwdne2917038:0

    1. HP Pavilion DV2160BR Keyboard Replacement, Keyboard: crwdns2935265:03crwdnd2935265:01crwdnd2935265:03crwdne2935265:0 HP Pavilion DV2160BR Keyboard Replacement, Keyboard: crwdns2935265:03crwdnd2935265:02crwdnd2935265:03crwdne2935265:0 HP Pavilion DV2160BR Keyboard Replacement, Keyboard: crwdns2935265:03crwdnd2935265:03crwdnd2935265:03crwdne2935265:0
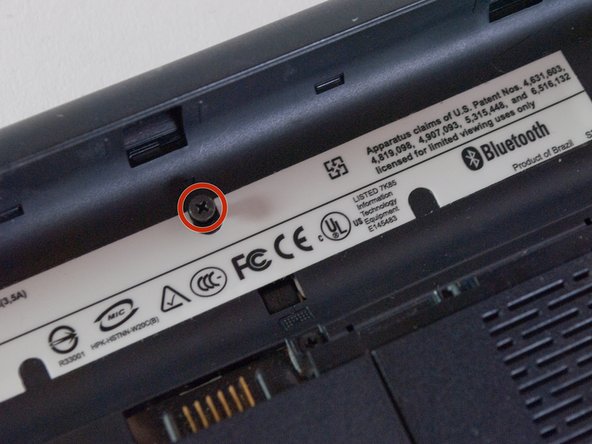
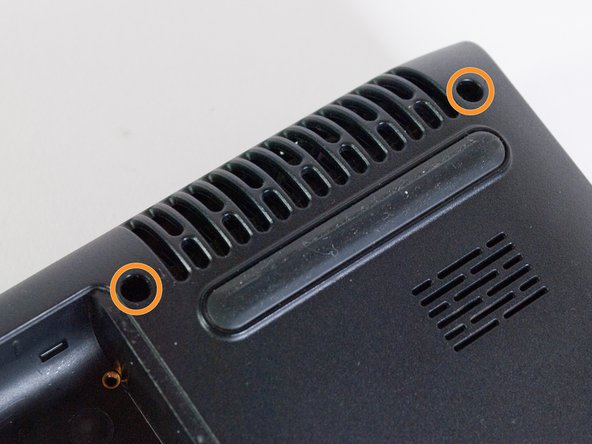
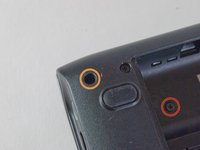
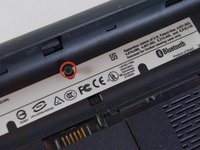
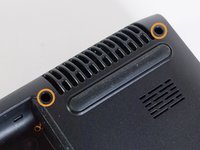
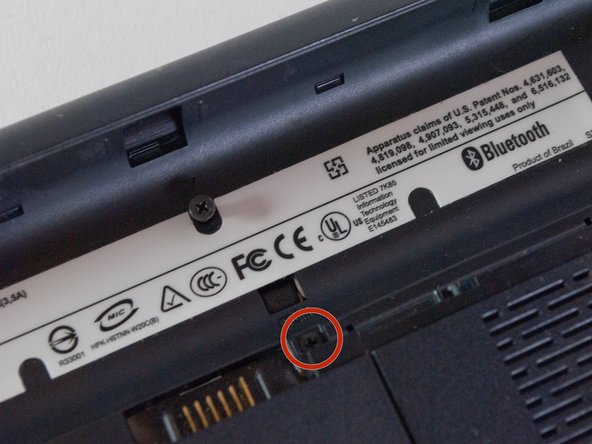
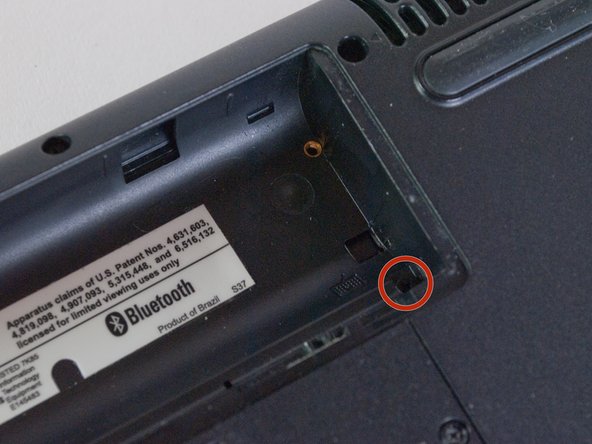
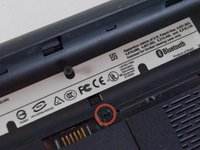
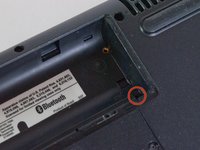
      • Unscrew the 5 screws along the top edge of the laptop’s back panel and inside the battery compartment.

      • The two screws inside the battery compartment are 5 mm Phillips #1.

      • The three screws outside the battery compartment are 9 mm Phillips #1.

      crwdns2952109:0crwdne2952109:0

      crwdns2917038:0crwdne2917038:0

    2. HP Pavilion DV2160BR Keyboard Replacement: crwdns2935265:04crwdnd2935265:01crwdnd2935265:03crwdne2935265:0 HP Pavilion DV2160BR Keyboard Replacement: crwdns2935265:04crwdnd2935265:02crwdnd2935265:03crwdne2935265:0 HP Pavilion DV2160BR Keyboard Replacement: crwdns2935265:04crwdnd2935265:03crwdnd2935265:03crwdne2935265:0
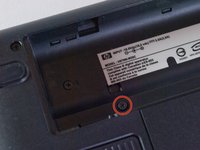
      • Remove the three 6 mm Phillips #1 screws that are marked by a keyboard symbol. These screws are holding in the keyboard itself.

      crwdns2952109:0crwdne2952109:0

      crwdns2917038:0crwdne2917038:0

    3. HP Pavilion DV2160BR Keyboard Replacement: crwdns2935265:05crwdnd2935265:01crwdnd2935265:01crwdne2935265:0
      • Flip the laptop over and open the lid.

      crwdns2952109:0crwdne2952109:0

      crwdns2917038:0crwdne2917038:0

    4. HP Pavilion DV2160BR Keyboard Replacement: crwdns2935265:06crwdnd2935265:01crwdnd2935265:01crwdne2935265:0
      • Using a blue plastic opening tool, remove the bezel by sliding the tool along the edges.

      • The bezel is held in place by plastic tabs, which you will hear snapping out of place as you slide the plastic opener tool.

      • You don't need to take the bezel all the way off the device, and shouldn't since it it connected to the laptop by two cables.

      crwdns2952109:0crwdne2952109:0

      crwdns2917038:0crwdne2917038:0

    5. HP Pavilion DV2160BR Keyboard Replacement: crwdns2935265:07crwdnd2935265:01crwdnd2935265:01crwdne2935265:0
      • Lift the keyboard from the device, starting from the top sides and pulling it away from the bottom end gently.

      • The keyboard is still connected by a cable, so do not pull it too quickly as it could become damaged.

      crwdns2952109:0crwdne2952109:0

      crwdns2917038:0crwdne2917038:0

    6. HP Pavilion DV2160BR Keyboard Replacement: crwdns2935265:08crwdnd2935265:01crwdnd2935265:01crwdne2935265:0
      • Remove the old keyboard by gently unplugging the ribbon cable

      • Prepare the new keyboard and connect it to the laptop via the ribbon cable

      • After reconnecting the ribbon cable, ensure it is securely fastened and the connector is properly locked.

      • Carefully reassemble the keyboard into its housing, making sure all tabs are aligned. Reattach the back panel and screws, then power on the laptop to test the new keyboard.

      • Confirm that all keys are functioning correctly and the keyboard is securely in place.

      crwdns2952109:0crwdne2952109:0

      crwdns2917038:0crwdne2917038:0

crwdns2915888:0crwdne2915888:0

To reassemble your device, follow these instructions in reverse order.

crwdns2935221:0crwdne2935221:0

Shannon

crwdns2935283:004/11/13crwdne2935283:0

55 crwdns2915208:0crwdne2915208:0

crwdns2935297:06crwdne2935297:0

crwdns2935287:0crwdne2935287:0

Cal Poly, Team 13-66, Johann Spring 2013 crwdns2935289:0Cal Poly, Team 13-66, Johann Spring 2013crwdne2935289:0

CPSU-JOHANN-S13S13G66

crwdns2931471:03crwdne2931471:0

crwdns2935297:068crwdne2935297:0

crwdns2947412:00crwdne2947412:0

crwdns2917038:0crwdne2917038:0

crwdns2936625:0crwdne2936625:0:

crwdns2936751:024crwdne2936751:0 0

crwdns2936753:07crwdne2936753:0 5

crwdns2936753:030crwdne2936753:0 24

crwdns2942667:0crwdne2942667:0 1,220