crwdns2915892:0crwdne2915892:0
The motherboard for the HP Pavilion 17-g192dx is a vital part of the laptop. With so many intricate parts, it is easy for it to become worn down. The motherboard is the backbone of the computer and without it, the computer’s various parts cannot work together. With a replacement, the computer will run faster. To complete this repair, you will need a spudger, a #00 Phillips screwdriver, and an iFixit opening tool. Be gentle during this repair as motherboards are delicate. Be cautious while removing the RAM, this repair might be a good time to swap out your RAM stick.
crwdns2942213:0crwdne2942213:0
-
-
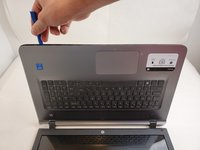
Slide the battery lock to the right until you see the open lock symbol.
-
-
-
Slide the battery release to the left until the battery pops up.
-
-
-
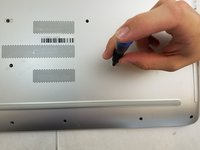
Using the metal spudger, pry up the screw covers.
-
-
-
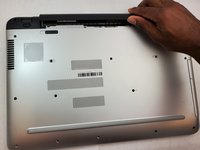
Remove the fifteen 7mm screws holding the back casing on using the Phillips #00 screwdriver.
-
-
-
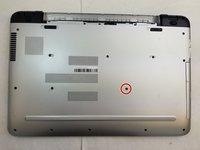
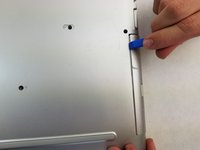
Remove the 7mm screw holding the disc drive in place using the Phillips #00 head screwdriver.
-
-
-
-
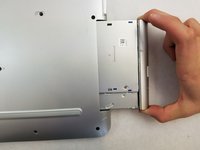
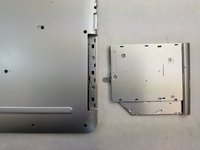
Using an iFixit opening tool, push the disc drive away from the outer case.
-
-
-
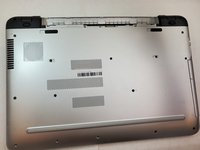
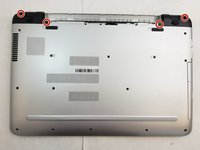
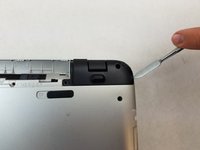
Remove the four 7mm screws holding the back resting plates on using the Phillips #00 screwdriver.
-
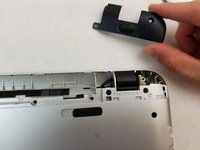
Using a metal spudger, lift up on the back resting plate until it pops off.
-
-
-
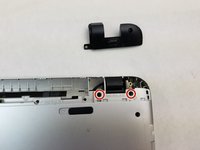
Remove the two 7 mm screws behind the plate using a Phillips #00 screwdriver.
-
-
-
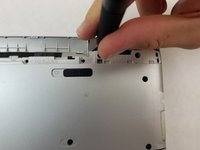
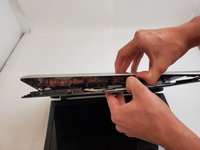
Pry up on the case with an iFixit opening tool until you can feel a snap.
-
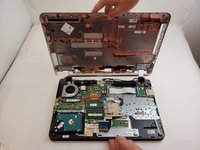
Pry around the remainder until you can separate the case from the keyboard with your hands.
-
Gently separate the two.
-
-
-
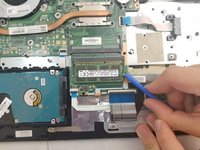
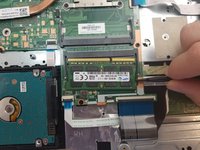
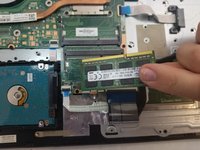
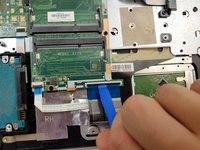
Use your fingers to pry the two black tabs on either side of the RAM stick outwards until the RAM swings upwards to rest at an angle.
-
Gently slide the RAM out from the port maintaining the angle at which it rests.
You use two different tools in the two images. Why? Also what does “away from the connection from the side” mean?
-
-
-
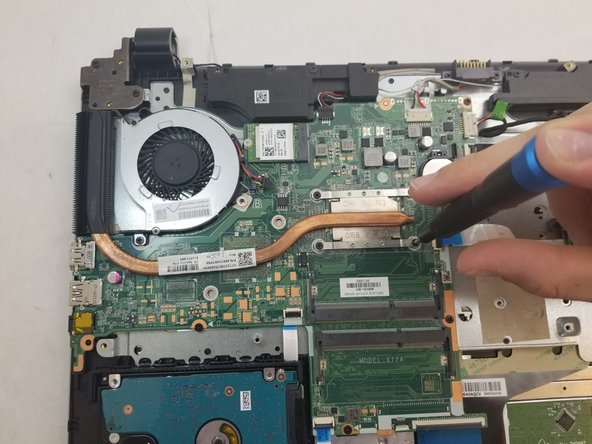
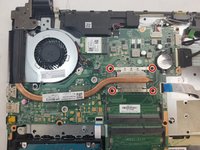
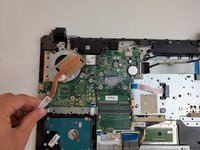
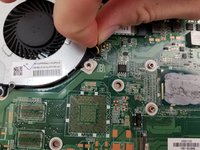
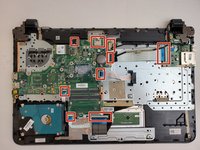
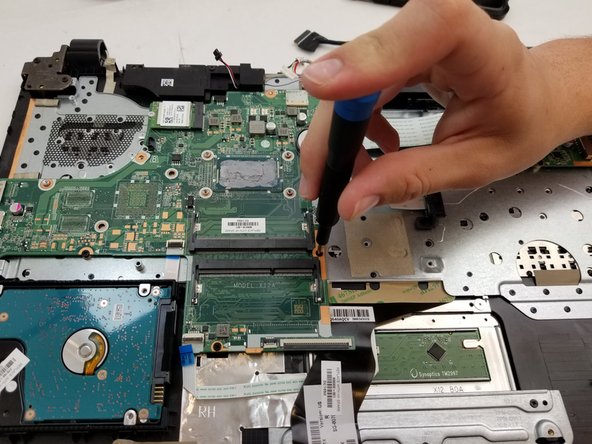
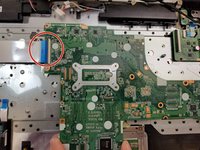
Remove the four 2mm screws on the heat sink with a Phillips #00 screwdriver.
-
Remove the heat sink.
-
When reinstalling the heat sink, be sure to clean the contact surfaces and reapply fresh thermal paste.
Why are the circles significantly differently sized? Try to condense the first step (e.g., Remove the 4 2 mm screws holding the heat sink in place). Also, since you told the user to do that, you don’t need to use transitions, like once removed. Check for commas with introductory phrases. See iFixit’s feedback about links.
-
-
-
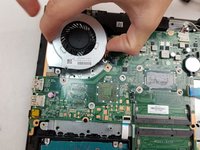
Remove the two 5mm screws holding the fan in place using the Phillips #00 screwdriver.
-
-
-
Unplug the cooling fan from the motherboard.
-
Remove the cooling fan.
-
-
-
Unplug all wires connected to the top of the motherboard.
-
Use an opening tool to lift up the tab located on top of the wires.
How do you unplug the wires? Do you just yank? Do you have to push tabs first? The order of these bullets seems confusing to me. Also, note that colored bullets should match markup.
I would also suggest just indicating that they should use the tool—it’s the plastic opening tool, right? Use iFixit terminology—then just eliminate the note.
-
-
-
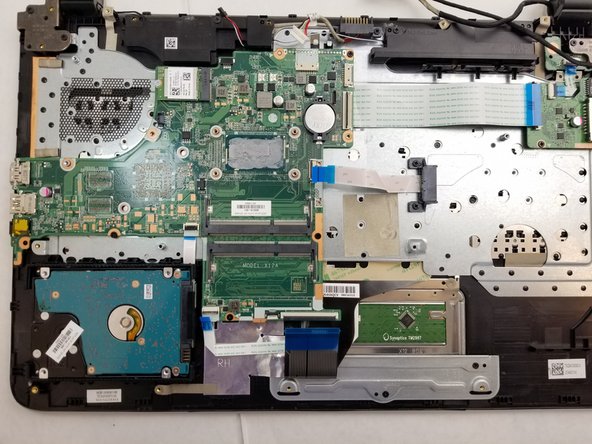
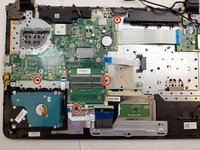
Remove the four 4mm screws with a Phillips #00 screwdriver.
To be consistent—holding the motherboard to the base? Or something along those lines.
-
-
-
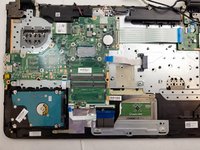
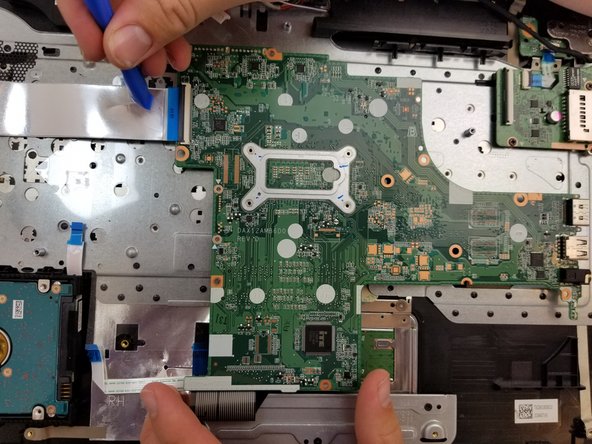
Lift up the motherboard and flip it over to the backside.
-
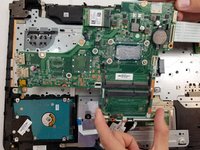
Remove the wire still attached to the back with a plastic opening tool.
-
Remove the motherboard.
Make sure markup matches the bullet color. Should they gently lift the motherboard? Should it come straight up or at an angle?
-


To reassemble your device, follow these instructions in reverse order.
To reassemble your device, follow these instructions in reverse order.
crwdns2935221:0crwdne2935221:0
crwdns2935227:0crwdne2935227:0

crwdns2915084:0crwdne2915084:0

Embry-Riddle Aeronautical University, Team S2-G121, Watkins Fall 2019 crwdns2935289:0Embry-Riddle Aeronautical University, Team S2-G121, Watkins Fall 2019crwdne2935289:0
ERAU-WATKINS-F19S2G121
crwdns2931471:03crwdne2931471:0
crwdns2935297:06crwdne2935297:0
crwdns2947410:01crwdne2947410:0
I really liked the this. Only 1 issue that I saw, lifting up the tabs some are black and some are white. That was not apparent to me to do because 1 close up shot of each would show you want to look for! Great Job overall!
Craig Minnesota USA