crwdns2915892:0crwdne2915892:0
In this guide, you will learn how to replace your HP Pavilion 17-g119dx laptop's Wi-Fi card. To perform the replacement, you will need a Phillips head screwdriver and a plastic opening tool to pop open the keyboard.
crwdns2942213:0crwdne2942213:0
-
-
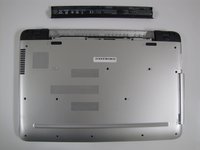
Close your laptop and turn it over so that the bottom is facing up.
-
-
-
In the upper left hand corner, slide the bar with the lock icon to the right. This will unlock the battery.
-
-
-
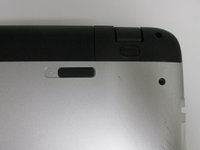
Slide the bar with the battery icon, on the right of your laptop, to the left to release the battery.
-
-
-
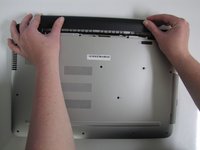
Grab the battery and remove it from the laptop.
-
-
-
-
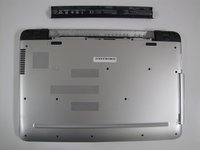
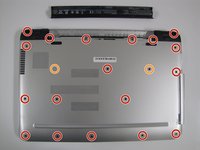
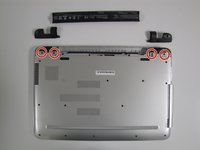
Remove the twenty 6.5mm screws using the Phillips #00 screwdriver.
-
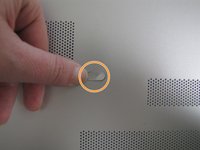
Two of these 6.5mm screws are covered by a silver sticker. Remove the sticker by gently scraping your finger nail under the sticker and then remove the screws.
-
-
-
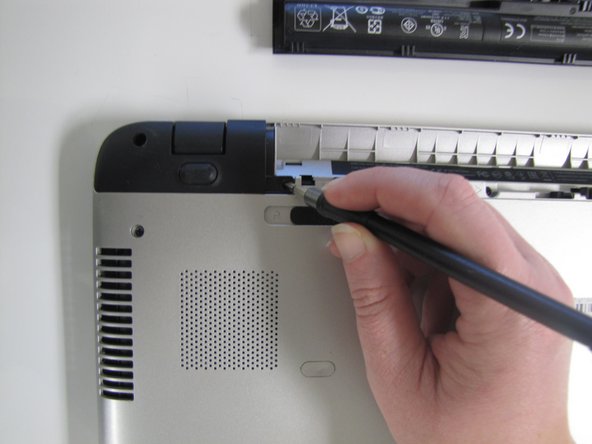
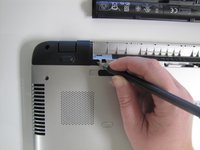
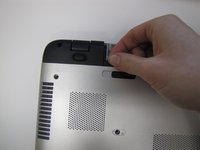
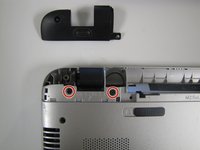
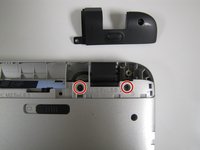
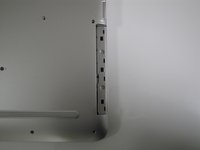
Remove the black corner covers on either side of the battery to reveal four additional 6.5mm Phillips #00 screws.
-
-
-
Remove the four 6.5mm Phillips #00 screws that were underneath the black corner covers.
-
-
-
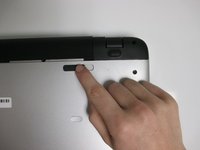
On the right-hand corner of the laptop, remove the CD-ROM by pressing the small button on the side. Pull it out of the laptop, and set it to the side.
-
-
crwdns2935267:0crwdne2935267:0iFixit Opening Tool$1.99
-
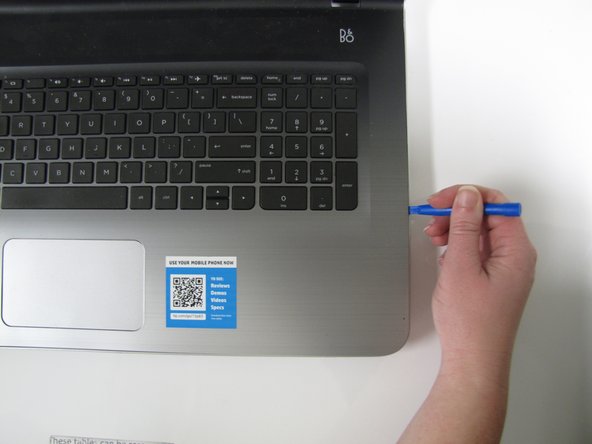
Flip the computer back over with the screen facing up and open the laptop.
-
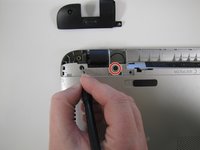
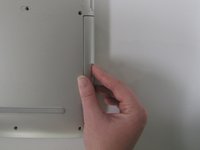
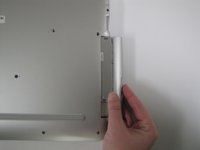
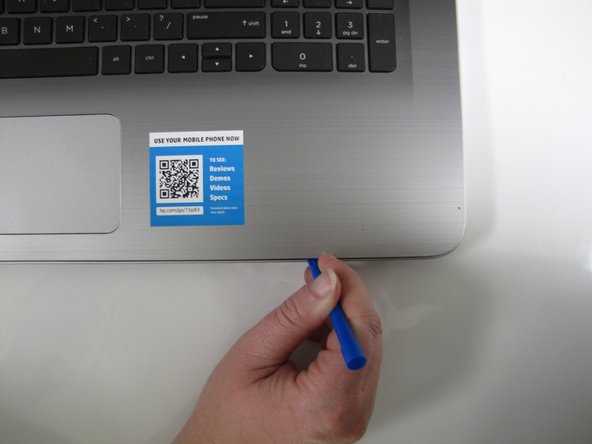
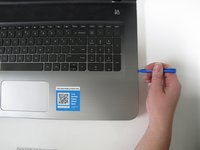
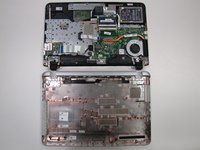
Use the Plastic Opening Tool to separate the face plate from the backing.
-
-
crwdns2935267:0crwdne2935267:0iFixit Opening Tool$1.99
-
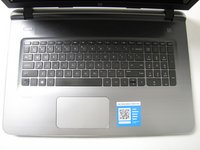
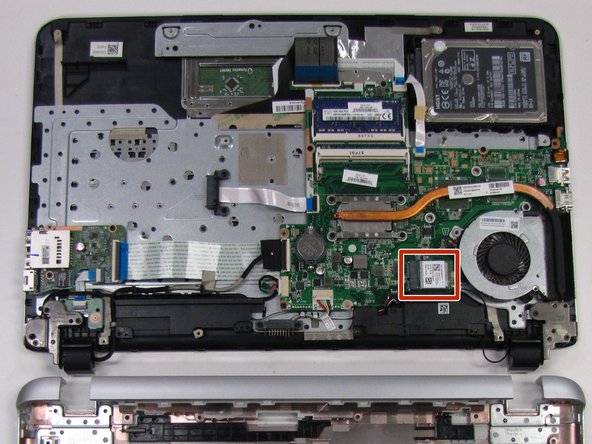
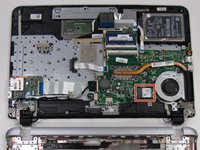
After running the Plastic Opening Tool along the sides, you can gently pop the keyboard open to access the Video Card.
-
The Video Card is located to the left of the fan and below the Processor.
-
-
crwdns2935267:0crwdne2935267:0Phillips #00 Screwdriver$5.49
-
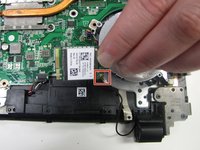
Using the Phillips #00 screwdriver, remove one 0.5 mm screw.
-
-
-
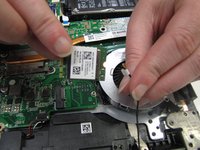
After unscrewing the screws, lift the Video Card up from the motherboard. Disconnect the wire from the Video Card by gently wiggling the gold end on the left corner of the card.
-


To reassemble your device, follow these instructions in reverse order.
To reassemble your device, follow these instructions in reverse order.
crwdns2935221:0crwdne2935221:0
crwdns2935227:0crwdne2935227:0
crwdns2915084:0crwdne2915084:0

University of North Texas, Team S1-G2, Boettger Fall 2017 crwdns2935289:0University of North Texas, Team S1-G2, Boettger Fall 2017crwdne2935289:0
UNT-BOETTGER-F17S1G2
crwdns2931471:02crwdne2931471:0
crwdns2935297:07crwdne2935297:0