crwdns2915892:0crwdne2915892:0
This guide shows you how to replace the built-in LCD display screen of the HP Pavilion 15-cc561st. This can fix issues such as broken screen, discolored screen, flickering screen, burnt-out pixels, etc.
crwdns2942213:0crwdne2942213:0
-
crwdns2935267:0crwdne2935267:0Magnetic Project Mat$19.95
-
Use a Phillips #0 screwdriver to remove five screws from the bottom cover:
-
Two 5.6 mm screws
-
Three 5.8 mm screws
-
-
-
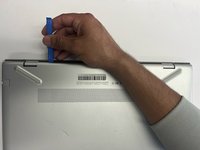
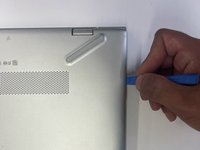
Insert an opening tool into the space between the display hinges and the bottom cover.
-
Firmly push the opening tool upwards to separate the bottom cover from these areas.
-
-
-
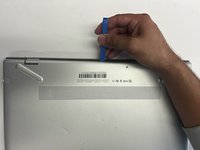
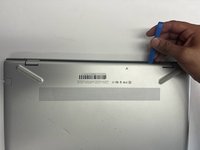
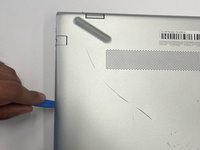
Insert your opening tool and firmly push the tool upwards along the rear edge.
-
-
-
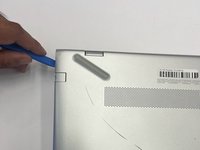
Use the opening tool again on the left and right sides.
-
Start prying at the areas closer to the rear of the laptop (near the display hinges) before moving towards areas that are closer to the front of the laptop (away from the display hinges).
-
-
-
Lift the bottom cover upwards to remove it.
-
-
-
Use a Phillips #0 screwdriver to remove the five 5.7 mm screws that secure the battery.
-
-
-
-
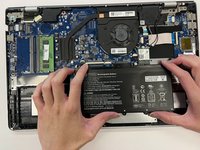
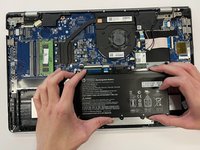
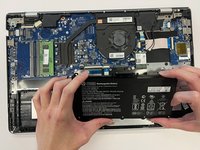
Pull the battery towards the front edge of the laptop to disconnect it from the 8-pin battery connector.
-
Lift the disconnected battery upwards to remove it.
-
-
-
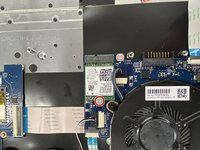
Disconnect the WLAN antenna cables from the terminals on the WLAN module:
-
Cable labeled "1/AUX" which connects to the "Aux" terminal
-
Cable labeled "2/MAIN" which connects to the "Main" terminal
-
-
-
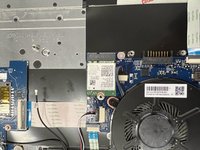
Use a Phillips #0 screwdriver to remove the 3.0 mm screw that secures the WLAN module.
-
-
-
Pull the WLAN module away from the slot at the angle it rises from.
-
-
-
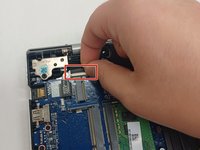
To remove the ZIF ribbon, lift the plastic tab and gently pull the ZIF ribbon away from the connector.
-
-
-
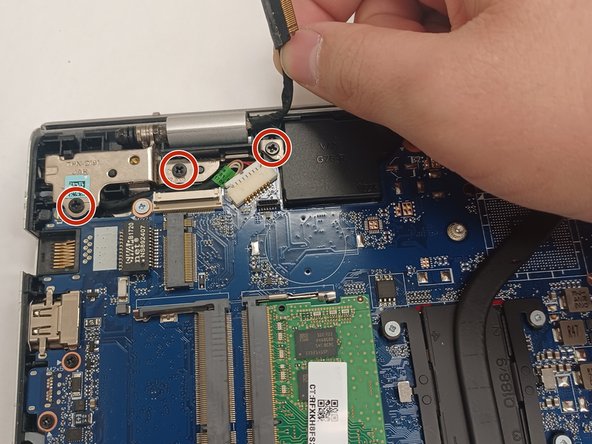
Remove a total of five 6.65 mm Phillips-head screws with Philips #00 screw driver.
-
-
-
To separate the display assembly from the keyboard assembly, rotate the display hinges away from the motherboard.
-
-
-
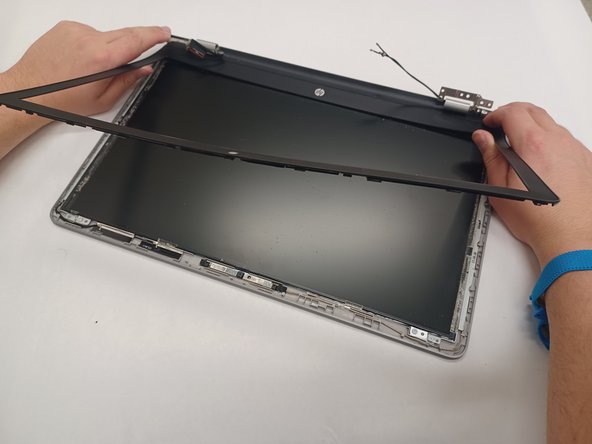
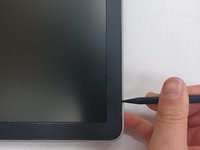
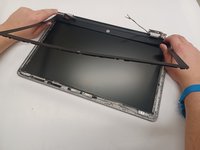
Use the black plastic spudger to pry the screen frame from the LCD display
-
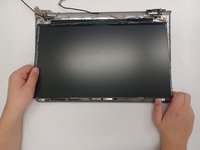
Repeat all around the frame until you can pull the screen frame off of the display asembly.
-
-
-
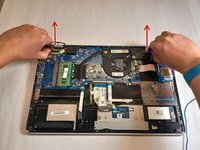
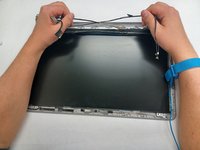
Unhook the display wires from the tabs as shown.
-
-
-
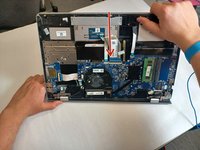
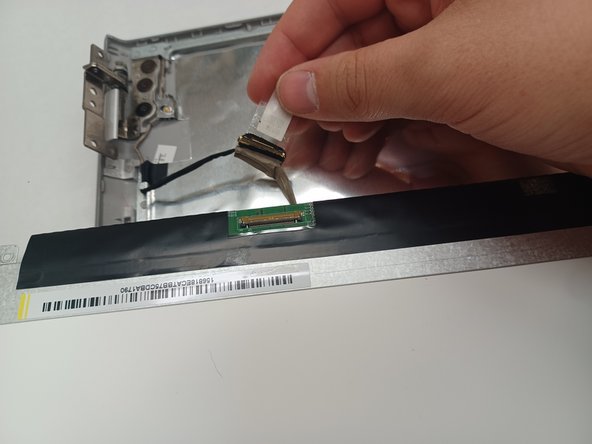
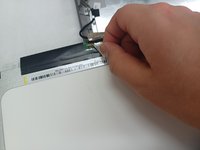
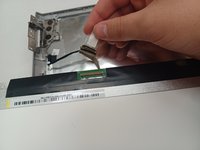
Unplug the display cable connector by removing the display sticker and gently pulling it away from the terminal.
-
To reassemble your device, follow these instructions in reverse order.
To reassemble your device, follow these instructions in reverse order.


